Download
1 / 51
520 likes | 675 Vues
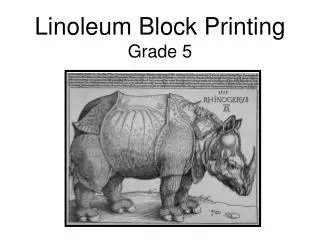
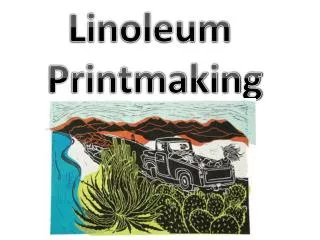
Linoleum Block Prints. Art B Ms. Filiaga. Day 1 Bell Work. What is a linoleum( lino ) block(guess)? What could you do, if you put two images together? What would you do, if you could change the negative space into positive space?

E N D
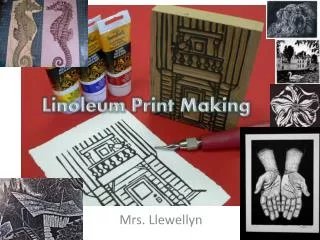
Linoleum Block Prints Art B Ms. Filiaga
Day 1 Bell Work • What is a linoleum(lino) block(guess)? • What could you do, if you put two images together? • What would you do, if you could change the negative space into positive space? • When you print one image on top of another, will the image in the background show all the way or not, please explain your answer? *IDK IS NOT AN ACCEPTABLE ANSWER!!!
Agenda 02/24/2014 • Bell work – review: with class • What is this assignment? • Library • Sketch • Studio Time • Final sketches for lino-block due Friday 2/28
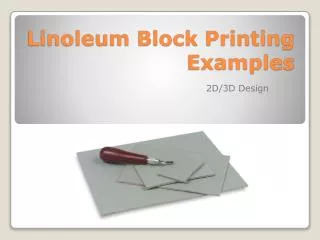
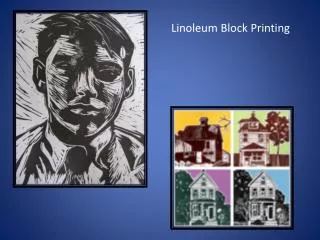
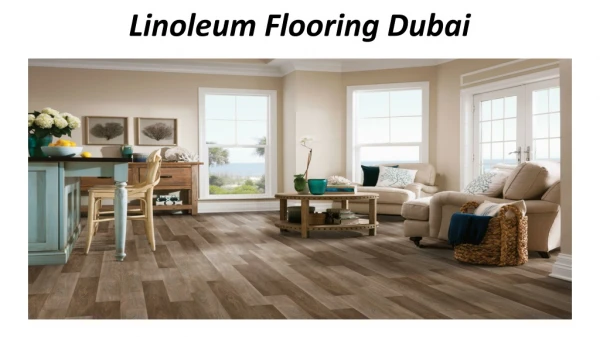
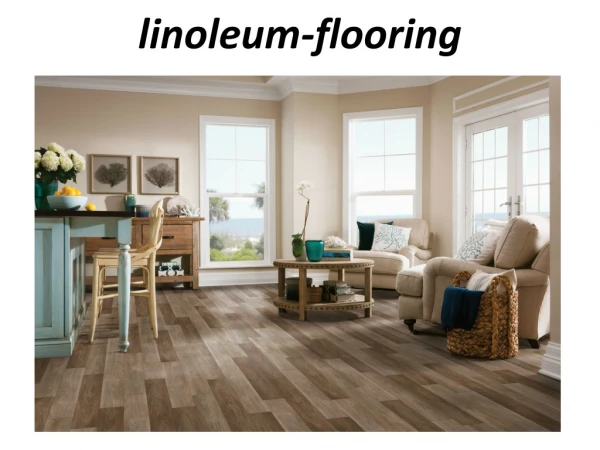
What is a Linoleum Block Print? • A Linoleum Block Print is an art media/medium & printing method. • The artist carves a linoleum block creating an image with positive and negative space to be printed.
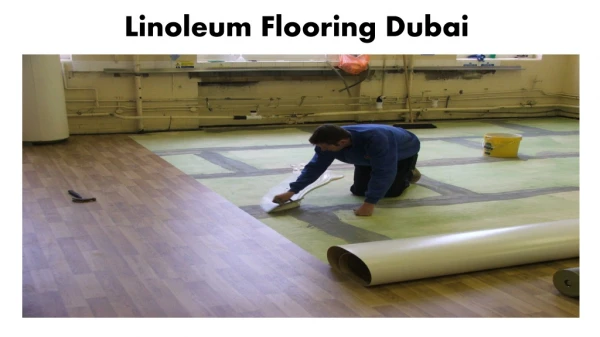
How is it done? • During video answer the following: • 1 – What is the first step? • 2 – What is the artists second step? • 3 – When the artist carved the block what will print and what will NOT show up on print?
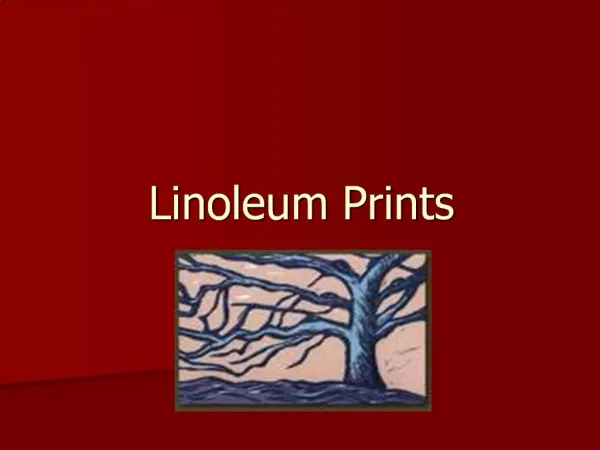
Negative and Positive SpaceWhat do you want to print and not print?
How is it done - Video • http://www.youtube.com/watch?v=WmLd4O2ROJo
Where do we start? • Objective 1 • Find an image or idea that you would like to print.
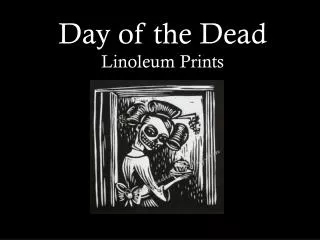
Library Visit • Look up images and print off one page • Think of something you want to make a lot of!!! • Your piece will need to be: • Balanced • Have a texture to it(see the cut marks) • A variety of lines • Good use of positive and negative space
Library Visit • You can print one page • Can have more than 1 image on it. • Images need to be school appropriate. • Friday your sketch for your print is DUE!!!
Art B & Studio Class Next Time • Process Sketch
Day 2 Bell Work • Apple/Orange Sketch
Quiz and sketch • Complete the quiz, you have to get a 100% in order to use the carving tools • You can take it as many time as you need to in order to pass • When you are done with the quiz, sketch!
Safety Test • What direction do you cut your lino-block?
Away from you • And away from other people
What tool other than a gouge do you use to cut your lino-block?
Bench plate • You always have to have a bench plate under what you are cutting
Put pressure on the cut • Walk over to the sink • Rinse it off with water • Put a paper towel over it • Get a Band-Aid from the back counter • Please tell Ms. Filiaga if you cut yourself
Accidence happen, • Tell Mrs. Lyon and she will give you a new gouge tip • If people break more than a few gouge tips, then we will wonder if it’s not an accident
You need to get a perfect score on this test • You can take the test as many times as you need to in order to pass
What’s next? • Once you pass your test • Sketch(turn in to get lino block) • Carving • Printing
Studio Goal • Complete your two sketches for your block • Make them the size of your block so you can transfer the sketches to the lino-block next class • Think about what area you want to carve out and what area you want to leave so it will take the ink in order to print
Think about the direction you carve your line to give it shape