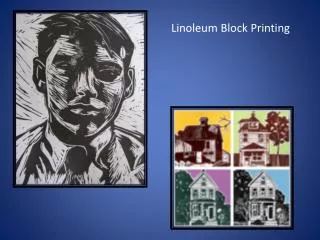
Linoleum Block Printing Examples
Linoleum Block Printing Examples. 2D/3D Design. Performance Objective: · Upon completion of this assignment, the student will be able to understand and apply basic rules for designing and creating an original greeting card or print patterns. Specific Objectives:

Linoleum Block Printing Examples
E N D
Presentation Transcript
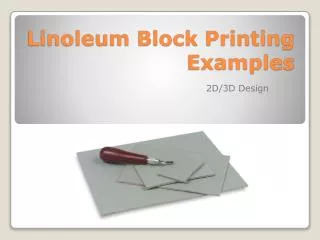
Linoleum Block PrintingExamples 2D/3D Design
Performance Objective: • · Upon completion of this assignment, the student will be able to understand and apply basic rules for designing and creating an original greeting card or print patterns. • Specific Objectives: • Upon completion of this lesson the learner will be able to: • Design an original greeting card for a purpose, holiday or occasion of their choice and multiple prints on one paper. • While keeping the card design original and simple, they will incorporate the application of design principles such as line, tone, color, and proportions. • Refine the design, if needed and create a design suitable for block printing. • Cut and print a linoleum block print design 4 times in multiple colors if desired and make one card from your block. • Identify and abide all safety procedures related to linoleum cutting tools • Identify uses for and describe the linoleum block printing process. • Be able to distinguish the 4 types of printing. Objective of the lesson
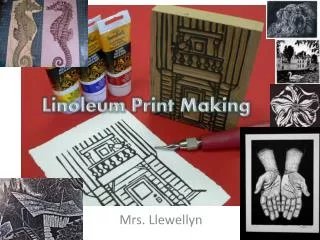
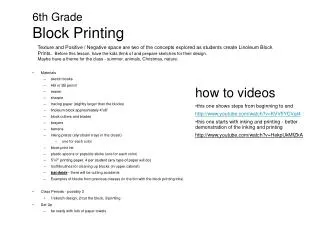
Pencil, paper, eraser, and masking tape • Carbon paper • Linoleum (battleship gray variety) • Linoleum cutting tools (V-shaped and U-shaped gouges) • Assorted colors of Speedball type water soluble inks, • One brayer (roller) per printing station • Newsprint (to protect work surface and for batten) • Styrofoam type meat tray/plate, cardboard or plexiglass 8” x 10” for rolling ink • Paper • Drying rack Materials Needed
Plan out 4 designs (4X6) • Transferring the best image to linoleum block. • Cutting linoleum block. • Cut out only what is to stay white. Carefully remove material from the linoleum block using linoleum cutters. Remember that a relief image is being created. The surface which is left behind is what accepts the ink. • Proper handling of the cutting tools. • Using bench hook/guards to hold linoleum. • Preparing the ink and applying ink to the block. • Preparing ink - ink trays, brayers. • Before printing write name on back of paper. • Place ink on tray and spread it evenly on brayer. • Printing the block. • Roll ink onto linoleum. • Print block using baren. • Washing tools and block. • Place prints on drying rack to dry. • Creating edition of prints. • Sign and number prints. • Students should place title of print on the left bottom margin, number (1/10, 2/10, 3/10, ec...) in the center, and signature on the right. (We are not using this for this assignment.) Steps for making Relief Print
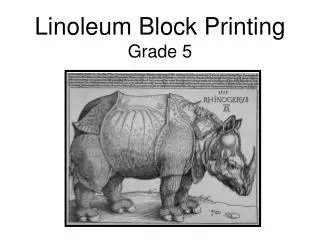
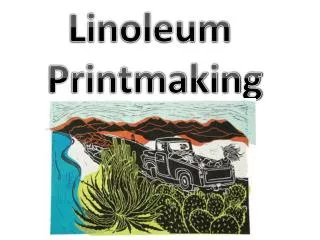
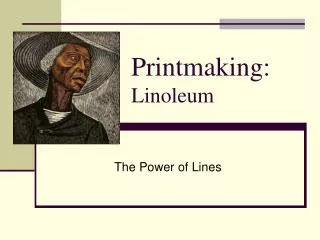
Lithography - A chemical process in which an image is drawn onto a piece of limestone which is carefully ground down to a smooth surface. The image is drawn with a grease based material. A chemical “etching” process releases the grease from the drawing material into the porous surface of the stone creating an invisible image. A grease-based ink is applied to the image and then printed. • Seriography(Silkscreen) - A process by which ink is forced through a silk material onto the print surface. Parts of the screen are covered with stencils or other materials to block the ink, thus creating the image. • Intaglio(Etching) - A zinc plate is covered with asphaltum, an acid resisting ground. Etching tools are used to draw an image through the asphaltum revealing the zinc underneath. The plate is then soaked in acid. The acid etches the scratched lines into the zinc plate. The plate is covered with a thick etching ink. The ink is then carefully wiped away from the surface of the plate but left in the etched lines. A heavy weight paper is thoroughly dampened and then laid over the plate. The plate with the paper on top is run through a printing press and the image is printed. • Relief - Possibly the first and simplest of the printing processes. Any relief surface can create a relief print. An image is cut into a piece of wood or linolium. The parts of the wood that are not cut (left in relief) accept ink which is applied to the surface with a brayer. Paper is laid over the block and pressure is applied to create the print. Four basic printing methods.
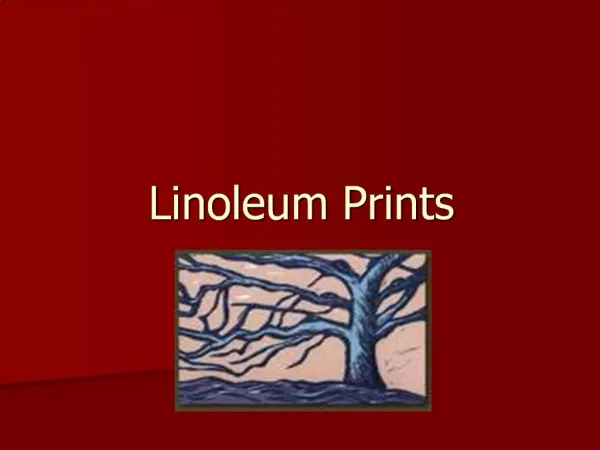
Samples 7th grade works. • Self portrait prints. • Repetitive prints lesson • Greeting card lesson Samples of prints
Wood and block printing artist Alex Slotzkin • Mary Mark artist http://www.marymark.com/LinoleumBlockPrinting.htm • “Fine Art, Commercial Art and Printing Through History and Their Relevance to Each Other” (High School lesson): http://www.chatham.edu/PTI/AmericanHistorythroughArt/FineArt_curriculum.htm References