Download
1 / 23
260 likes | 632 Vues
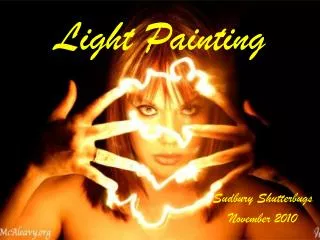
Light Painting. Sudbury Shutterbugs November 2010. Contents. Definition Equipment History Techniques Details Examples. Light Painting is….

E N D
Light Painting Sudbury Shutterbugs November 2010
Contents • Definition • Equipment • History • Techniques • Details • Examples
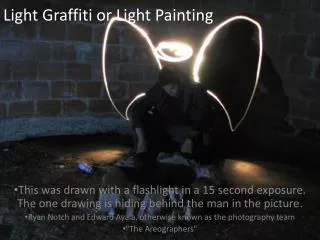
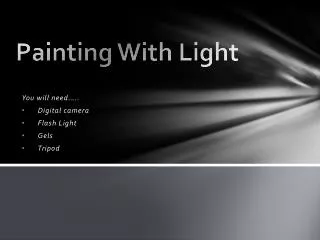
Light Painting is… • A photographic technique in which exposures are made usually at night or in a darkened room by moving a hand-held light source or by moving the camera. In many cases the light source itself does not have to appear in the image. The term light painting also encompasses images lit from outside the frame with hand-held light sources.
Equipment…. • light sources: flashlights, light pens, laser pointers, glowsticks, sparklers, poi, etc… • Tripod, shutter release cable/remote shutter release and/or timer release (lessen camera shake) • Camera: Manual focus (autofocus not always effective in low light), low ISO (eliminate grain), small aperture (large apertures can create blur)
History of Light Painting Title: "Pablo Picasso" Photographer:GjonMiliDate: 1949 Location:Vallauris, France
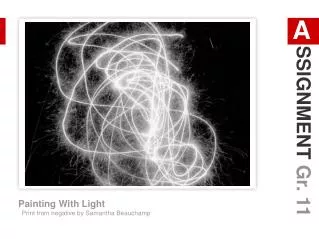
Basic Technique • The light can either be used to selectively illuminate parts of the subject…
Basic Technique (cont’d) • …or to "paint" a picture by shining it directly into the camera lens.
Moving the Camera Dancing Lights Ferris Wheel
And for the Adventurous… • The infamous ‘CAMERA TOSS’ Select settings Press shutter release Toss camera Catch Camera Don’t cry to me if you break your camera!
Details… • ISO: Set this to 100, or as close to 100 as your camera will go (some have a minimum of 200). Don’t set it to auto or the camera will turn it up in the dark and you’ll get increased noise. • Shutter Speed: Set this to at least 10 seconds. The longer you set it the more time you will have to complete the paint, but more noise will accumulate in the image. • Aperture: Start with this at f16. If the image is too dark, open it up. Continue to vary it until you get a good exposure. If you run out of f-stops, change the brightness of the light.
Details… • White Balance: Set this to a fixed setting if you can – either Daylight on Incandescent. Different settings will give different effects. Auto will be somewhat unpredictable. • Focus: If you can, set this to manual focus. If you don’t do this the camera will attempt to refocus when you press the shutter button, and as the lights will be out it might not get it right unless it has a focus assist lamp. • Self Timer: If you’re using a slightly wobbly camera mount or tripod like the Gorillapod, the self timer will give any movement caused by pressing the shutter button time to die down before the shutter opens.
Details… • Taking the Image: Put the camera onto the tripod, place it on a firm, level surface and point it at your subject. Set the camera up as outlined above, focus it, turn the room lights out and press the shutter button. Light your subject with your light source, then turn it off and wait for the shutter to close. • Keep the light moving during the exposure and try not to go over the same area twice. You can vary the brightness of your light by changing the speed that you move it (slower = brighter) or how close it is to the subject (closer = brighter). • Check the image, note any errors and keep trying until you get it right. This may take some time. • Thanks to McAleavy.org
Resources… • Just search for ‘Light painting’ on your favorite internet search engine…