Download
1 / 8
80 likes | 393 Vues
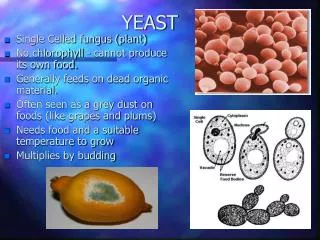
The Art of Culturing Yeast. Master Terafan Greydragon University of Atlantia 1 February A.S. XXI. Why culture yeast. Every time you brew mead, beer, or wine you MUST HAVE a yeast culture

E N D
The Art of Culturing Yeast Master Terafan Greydragon University of Atlantia 1 February A.S. XXI
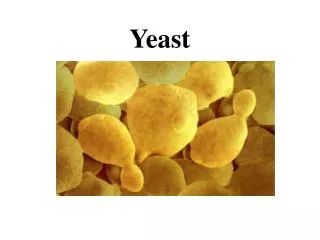
Why culture yeast • Every time you brew mead, beer, or wine you MUST HAVE a yeast culture • Liquid cultures are VASTLY superior to dry yeast, especially in terms of consistency, flavour, and use • If you use a “fresh” liquid culture every time, it can become cost prohibitive ($4-6 per batch) • You can achieve “personalized” yeast (stable mutations) with unique consistency
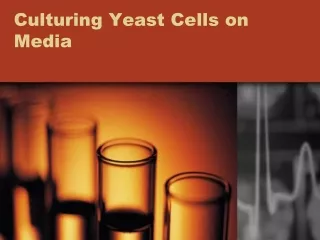
Ways to Culture Yeast • Create pure agar slants • Brew enough to pitch from batch to batch • Home culture generation to generation until you have a stable mutation
Pure Agar Slants • Create sterile agar solutions • Innoculate with fresh liquid culture • Release pressure every 2 days • After a week, you should have a PURE WHITE film • Slants should stay active 4-6 months
Pitching batch to batch • Brew your first batch and pitch the yeast • *** • Within 2 weeks (5-8 days is ideal) draw off a quart of the rapidly fermenting liquid • Keep in the refrigerator less than 7 days • Brew another batch and add the quart you drew off (after letting it warm to room temp) • Repeat from ***
Home Culture • Brew your first batch and pitch the yeast, keeping 1 quart of must separate (freshly boiled) (This is the ‘sterile must’) • *** • Between 5-8 days draw off 1 quart, in two quart jar, and place in refrigerator • Every 14 days, let jar and sterile must warm to room temperature, and add 1/2 cup of the sterile must to jar • Let sit 4 hours and return to refrigerator • Brew another batch and add that 1-2 quarts (after letting it warm to room temp) • Repeat from *** Adding a 1/2 cup of sterile must every 14 days will provide enough fermentable sugars on a regular controlled basis to extend the life of your yeast for years. Very similar in method to keeping a "sourdough starter" alive, you must feed your yeast every two weeks. The low temperature in the refrigerator keeps the yeast working very slowly, but still alive.
Alternate Sterile Musts Each of these below is a 'sterile' must that can be used to maintain the steady growth and life of your yeast culture • 1 TBS malt, 1/16 tsp yeast nutrient, 1 cup water • 1/4 cup malt, 1/4 tsp yeast nutrient, 1 quart water • 1 cup malt, 1 tsp yeast nutrient, 1 gallon water • 1 /4 cup dextrose, 1/4 tsp yeast nutrient, 1 quart water • 1/2 cup honey, 1/2 tsp yeast nutrient, 1 quart water • 1/4 cup sugar, 1/4 tsp yeast nutrient, 2 cups water, 2 cups pasteurized juice (boiled)
Bibliography • Leistad, Rog, Yeast culturing for the Homebrewer, GW Kent Inc, Ann Arbor, MI, Dec 1983 • Crenshaw, Donald G. “Yeast cycles and Fermentation”, Zymurgy, American Homebrewers Assocation, Boulder, CO, Fall 1983 • Eckhardt, Fred, The Amateur Brewer, J.I. Takita, Portland, OR, Summer 1979