Mehndi /Henna
Mehndi /Henna. The art of painting the body in ornate designs with henna. Art Form. Beautiful and mysterious, it has been used for centuries to heal, adorn and bless. Paste applied to skin. Made from crushed leaves and other natural ingredients “It feels like cold mud coming out of a bag.”

Mehndi /Henna
E N D
Presentation Transcript
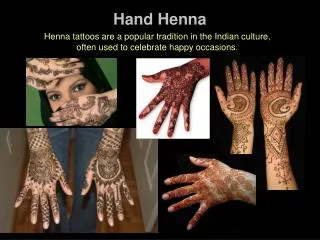
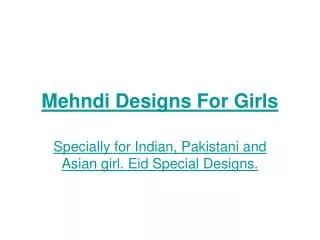
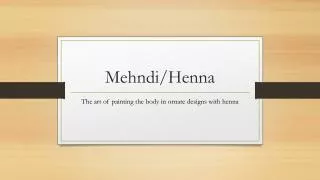
Mehndi/Henna The art of painting the body in ornate designs with henna
Art Form Beautiful and mysterious, it has been used for centuries to heal, adorn and bless.
Paste applied to skin Made from crushed leaves and other natural ingredients “It feels like cold mud coming out of a bag.” Reacts with proteins in the skin Removed several hours later – goes from orange to dark brown Leaves markings that last from 1 to 3 weeks
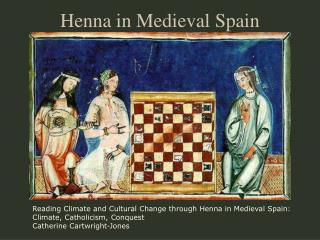
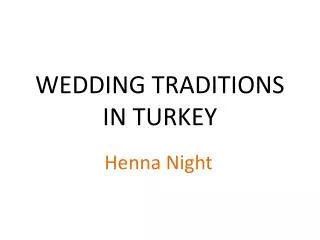
History Earliest cosmetic use of henna – Egyptians For Centuries mehndi has been practiced in Africa, India, Asia and the Middle East
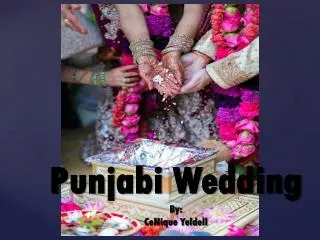
Symbols Usually part of a wedding ceremony, special occasion or festival Groom’s name hidden in design – if found before the wedding, many years of happiness and luck Sometimes religious symbolism Geometric, paisley or natural forms
http://www.desiznworld.com/2013/08/beautiful-mehndi-designs.htmlhttp://www.desiznworld.com/2013/08/beautiful-mehndi-designs.html
Focus • Pattern • Rythym • Unity
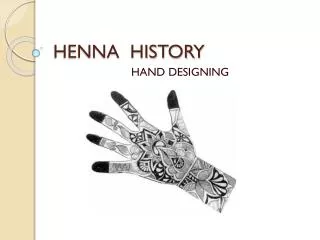
Steps • Place glove on non-writing hand • Mark nine points, as equally as possible, on the front and back of the hand. • Choose one point and begin a simple radial design based on 4, 6 or 8 radius. Repeat on the opposite side of the hand. • Return to each radial design and expand until the entire glove is designed. • Allow ink to dry and remove glove by rolling, not pulling. • To display, stuff with fiberfill and insert a jar lid.
How do we start?...Sketchbook • Practice 4, 6 and 8 point expanded radial designs • Practice finger designs