Download
1 / 9
310 likes | 1.31k Vues
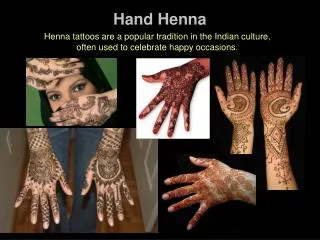
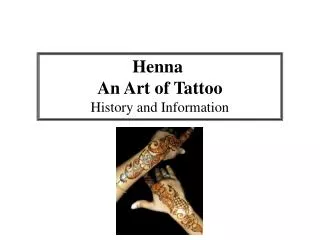
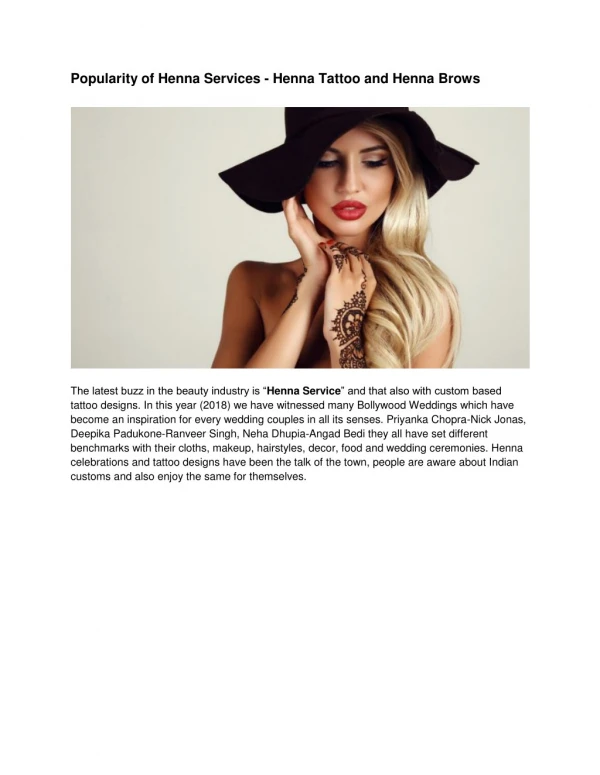
HENNA HISTORY. HAND DESIGNING. ORIGIN. This artform of using henna is sometimes referred to as Mehndi , in India. . ORIGIN. The henna plant is thought to come from Egypt over 5000 years ago. Later henna was brought to India as a state gift from the Egyptians.

E N D
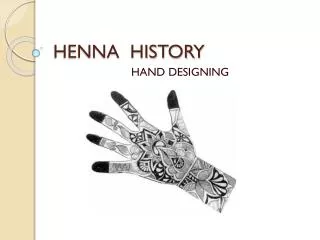
HENNA HISTORY HAND DESIGNING
ORIGIN • This artformof using henna is sometimes referred to as Mehndi, in India.
ORIGIN • The henna plant is thought to come from Egypt over 5000 years ago. • Later henna was brought to India as a state gift from the Egyptians. • Queen Mumtaz who ruled in the 1600's was the first Indian queen to be decorated with henna. • Today, it is common to find artists practicing their henna crafts outside the TajMahal, which was built to honor Queen Mumtaz. • Traces of henna have been found on mummies from 1200 BC. It is also known that Pharoahs hands and feet were first dipped in henna prior to mummification.
MODERN HISTORY • Traditionally, henna and the Mehndiartform is an important part of wedding ceremonies. • Intricate and beautiful designs cover her hands and feet in a lacy manner. • It is common belief that henna brings good luck.
DECORATING FOLDER • On the back of your folder place your hand flat with fingers spread apart. • Carefully trace the silhouette of your hand with your pencil • Keep your pencil perpendicular to the paper. • Clean up any bumps or dents from the outline afterwards.
DESIGNING • Decide where to start. • Begin with a design in the palm and work outwards. • Begin with designing on the wrist and work upwards. • Begin at the fingertips and work towards the center.
DESIGNS & VALUES • Designs can consist of all the elements of art: • Line, color, shape, value, form, texture, space • Create contrast with value • Make your design work stand out.
MATERIALS • Use pencil, sharpie, markers, and/or colored pencils. • Keep values and/or colors intense.
COMPLETE • If you have used all pencil, have it sprayed with fixative to avoid smudging. • You can fill the negative space around the hand with color or design, but don’t distract from the hand as the point of interest.