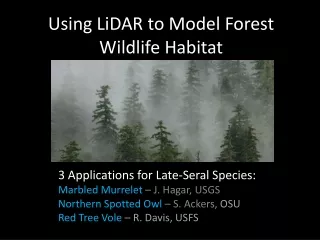
Create a Vibrant Forest Habitat Display with Simple Craft Shapes
Dive into the delightful world of forest habitats by creating your own display! This hands-on activity uses various shapes and colors to represent a vibrant ecosystem. Gather materials such as black board, colored construction paper, scissors, and glue. Follow simple steps to cut out trees, mountains, the sun, clouds, tents, flowers, and even a ranger station. Once your shapes are cut, assemble and glue them onto the board. Enjoy showcasing this creative representation of a forest habitat, perfect for educational or decorative purposes!

Create a Vibrant Forest Habitat Display with Simple Craft Shapes
E N D
Presentation Transcript
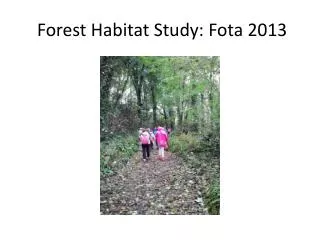
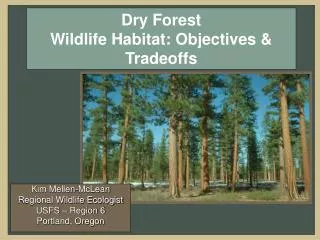
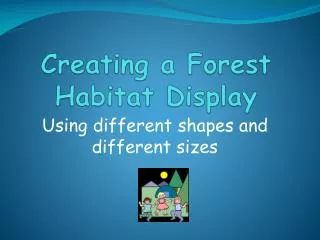
Creating a Forest Habitat Display Using different shapes and different sizes
Materials that you will need: • A black board • Construction paper, different colors • Scissors • Glue
Using the shapes to create a Forest Habitat: Follow the steps. • Cut 4 rectangles for tree trunks in dark brown construction paper. • Cut 4 triangles for the trees in green construction paper. • Cut 3 large and 2 small triangles for the mountains in purple construction paper. • Cut one big circle for the sun in yellow paper. • Cut one oval for the cloud and 2 small squares for the snowy peaks in white construction paper. • Cut 2 semi-circles for the tents in red paper.
Continuation for the steps: • Cut 2 medium circles for the flowers in pink paper. • Cut 1 medium circle for bush in green paper. • Cut 2 small circles for the center of the flowers in yellow. • Cut 3 small circles for the berries in pink. • Cut 4 ovals for the green leaves, 3 rectangles for the green stems. • Cut 1 big triangle for the ranger station roof in red and 1 big square for the building in light brown. • And last, cut 1 small rectangle for the door in dark brown.
After you cut all the shapes, glue them on the board. Here is how your Forest Habitat display will look