Locating Cell Phones in Dispatch
160 likes | 175 Vues
Learn how to locate missing persons using cell phone pings and overcome the frustrations of poor GPS location. Follow step-by-step instructions and use a specific example to map cell phone towers and sectors. Improve search accuracy and ensure community safety.

Locating Cell Phones in Dispatch
E N D
Presentation Transcript
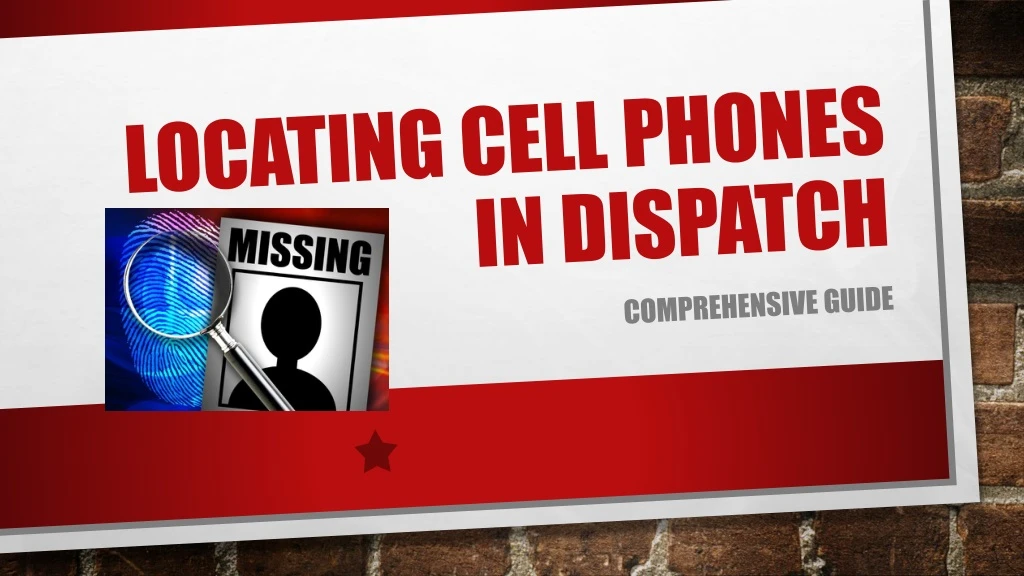
Locating Cell Phones in Dispatch Comprehensive guide
Have you ever had to try and locate a missing person by cell phone ping? This Photo by Unknown Author is licensed under CC BY-NC
Take the provided information and go to www.caltopo.com • Following are instructions using a specific example Given information • Tower GPS – 39.741661, -96.95494 • Sector Used – 3 • Azimuth of Sector – 240 • Horizontal Beam Width – 82.25 • Distance Measurement – 6.42 miles
The view can be changed to Hybrid Satellite on the left hand sideClick “Add New Object” also located on the left side, then choose “Sector”
How to fill in the information • after Clicking Sector a dialog box will appear, this is where we type in our data • Some of the data from the phone company will need to be worked before entering • Put a simple title into the “label” box – the date/time of the “ping” • Click on the color to change to a more visible one
Example • Set the fill to 40% - making it dark enough to see but still able to see through • The “Coordinates” box will be the GPS Coordinates of the tower – as in our example 39.741661, -96.95494
Fill in the bearing section • Begin with the Azimuth of the sector – in our example 240 – which is a compass heading • Starting from the azimuth we need to add on the beam width – in our example 240 + 82.25 = 322.25 – this will be the measurement to put into the “bearing” box on the right. • Next, starting from the azimuth we need to subtract the beam width – in our example 240 – 82.25 = 157.75 – this will be the measurement to put into the “bearing” box on the left. • It is important to remember we are working from a compass, which is 360 degrees. If the azimuth is 0 that will be the same as 360.
Last we need to fill in the “range” boxes. • The left range box is always 0 – we are starting our measurement from the tower • The right range box will be your distance measurement – in our example 6.42 miles • After filling in all the boxes click “create”
Your result • The arc itself is our area of interest. The target phone can be located anywhere on the arc line. The measurement is never exact so there is always a margin of error.
Always check The phone company also often gives a GPS point. This can easily be plotted by using the “marker” object and simply entering in the coordinates given. These points are very often best guesses and rarely ever a good location for the phone. However they should always be checked.
Any questions? If you would like the instructions emailed to you or your agency please send your request to bsnook@mitchellcountyks.gov Always happy to share this information to make a difference in the safety of our communities.
If you need more information please contact Undersheriff kyle Applegarth at 785-325-2293 or emal at wcs2924@gmail.com Thank you for coming!