Your Works Cited Page
150 likes | 339 Vues
Your Works Cited Page. Documenting your sources MLA style. Directions. Today, we are going to begin with the end of your research paper. First, let’s create the Works Cited page. Directions. Open up a new Word document.

Your Works Cited Page
E N D
Presentation Transcript
Your Works Cited Page Documenting your sources MLA style
Directions Today, we are going to begin with the end of your research paper. First, let’s create the Works Cited page.
Directions • Open up a new Word document. (Tip: Right-click on the desktop if Word is not in the “Programs” menu.) • Save the document in your H-drive as “English IV Research Paper Clarke” (of course, use YOUR last name, NOT mine).
Directions • Under “Paragraph” in the middle section, click the box (with an arrow in it) at the bottom right.
Go to “Indentation””Special.” • Change “Special” to “Hanging.” • Go to “Spacing”“Line spacing.” • Change “Multiple” to “Double.” • Check the box beside “Don’t add space between paragraphs of the same style.”
Directions • Click “OK.” • Center your cursor.
Directions • Under “Font,” change Calibri to Times New Roman. • Under “Font,” change 11 point font to 12 point font.
Directions • Type “Works Cited” (WITHOUTthe quotations around it). • Hit “Enter” once. • Change your cursor from “Center” to “Align Text Left.”
Directions • Type in your first source (the bibliography from the top part, or T, of your legal pad), ALPHABETIZING your entries by the first word (usually the last name of your author or editor; use article name if no author/editor).
Directions • After typing the entire source, be sure to place a PERIODat the end of every entry.
Directions • Hit enter only ONCE to begin typing your next source. • Continue until all the sources you will use in your paper are alphabetized on your Works Cited Page.
Directions • Save your work often. • Be sure to save a second/backup copy (flash drive, email, Gaggle digital locker, etc.).
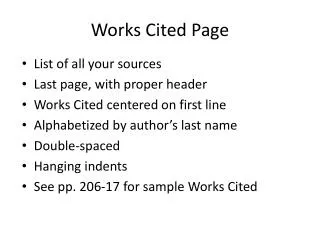
Helpful Hints • Alphabetize your list. • Every entry should have a period at the end. • There should be double space in between each entry.
Helpful Hints • The Works Cited page should be the last page of your research paper. • Check “Works Cited Sample” for correct formatting.
Danger—WARNING—Danger!!! • Do not list any source that has not been directly cited in your paper with MLA parenthetical documentation! • Your Works Cited and parenthetical documentation must match!