Download
1 / 26
260 likes | 409 Vues
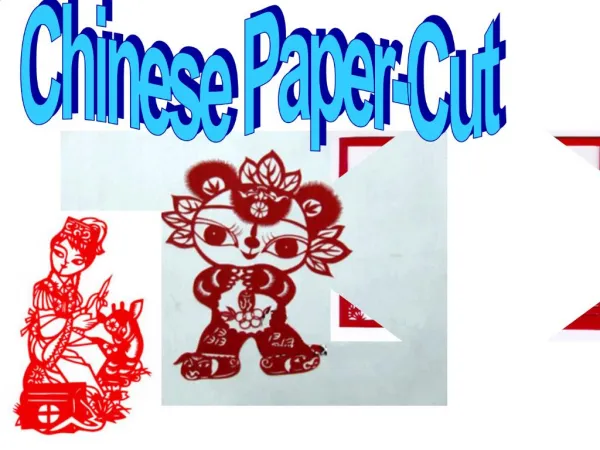
Cut Paper as a form of ART. PAPERCUTTING. art of cutting paper designs evolved uniquely all over the world to adopt to different cultural styles .

E N D
PAPERCUTTING • art of cutting paperdesigns • evolved uniquely all over the world to adopt to different cultural styles. • oldest surviving paper cut out is a symmetrical circle from the 6th century period found in China. Papercuttingcontinued to be practiced as a popular form of decorative art. • eighth or ninth century papercutting appeared in West Asia and in Turkey in the 16th century then most of middle Europe.
Kara Walker(born November 26, 1969) is a contemporary African American artist who explores race, gender,violence and identity in her work.
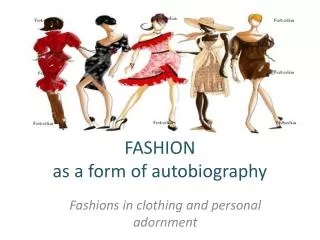
Nahoko Kojima – Japanese Paper cut artist - started with Kirie(Japanese papercutting) under private tutelage at the age of 5 and continued. An avid follower of fashion and trends, she found much of her inspiration in the city.
William Schaff– American paper cut artist , art deals with debt and loss, as well as the consequences of, and responses to, human violence
Things you will have to research • research a species which is on the Canadian Endangered Species list and then communicate findings via a cut paper composition. • What you will learn: • develop artistic perception • become aware of historical and cultural context of art develop skills in aesthetic valuing • Become aware of endangered species in Canada and Alberta
Things you will have to think about. space • an element of visual arts; the area above, below, around, and within a piece of artwork spatial devices • methods used to create the appearance of space and illusion of depth in an artwork; foreground/middle ground/background, overlap, placement, size, detail, color,
Fore, Middle and BackGround • foreground—the area of an artwork that appears closest • middle ground—the area between the foreground and background • background—the area of an artwork that appears farthest away: a way of showing space
OVERLAPPING • An object appears to be in front of the object(s) it overlaps. • Overlapping is the strongest indicator of relative distance, overriding all other signs when there is seeming conflict.
COLOURS • humans tend to perceive bright, warm colors like red, orange and yellow as being close, and dark, cool colors like blue and dark purple as being further away • For landscapes, adding blue will make hills and mountains look more distant. The further away the bluer. This is because the color changes as it goes through more and more atmosphere.
PLACEMENT • generally perceive what is at the bottom of painting to be in front, and what is at the top to be in the back
Size and Detail • Things that are detailed tend to be perceived as closer than things that are out of focus • objects that have more intense color, detail and contrast often appear closer than objects that are blurrier, hazier and having less focus.
VALUE an element of visual arts the lightness and darkness of a line, shape, or form lightness or darkness of a color
Step one – research North America Endangered Species • White Sturgeon • Beluga Whale • Harbour Seal • Killer Whale, orca • Black Footed Ferret • Blue Whale • Northern Bottlenose Whale • Right Whale • Stellar Sea Lion • Woodland Caribou • Leatherback Seaturtle • Map Turtle • Musk Turtle • Painted Turtle • Snapping Turtle • Spiny Softshell Turtle • Spotted Turtle • Stinkpot Turtle • Eastern Hog-nosed Snake • Eastern Ribbon Snake • Northern Pacific Rattlesnake • Queensnake Red Knot Arctic Geese Barrow’s goldeneye Piping Plover ivory Gull Sabine’s Gull American Eels Atlantic Cod Basking Sharks Blue Shark By-catch CoastrangeSculpin Columbia Sculpin Cutthroat Trout Freshwater Mussels Lake Sturgeon Mako Shark Mountain Sucker Nooksack Dace Olympia Oyster Porbeagle Shark ShortheadSculpin White Shark • Swift fox • Bison • Sage grouse • Piping plover • Ord's kangaroo rat • Whooping crane • Mountain plover • Short-horned lizard • Burrowing owl • Ferruginous hawk • Peregrine falcon • Woodland caribou • Barren ground caribou • Trumpeter swan • Northern leopard frog • Western silvery minnow • Lake sturgeon • Westslope cutthroat trout • Grizzly bear • Coastal Giant Salamander • Northern Leopard Frog • Oregon Spotted Frog
Step two - Print • Print off a couple of pictures of your chosen endanger species • Plus print off a couple of pictures of their habitat and other interesting things you might like to include. • Things to consider: exagerration, interesting shapes, details, close up vs far away
Step three – combine elements • Cut and paste the picture(s) of your chosen endanger species and background to create a visual appealing composition. • Combining photos of animals with other photos of foliage, landscape etc.
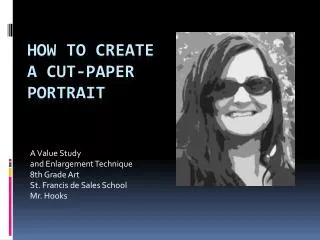
Step four – line drawing • Convert the image into a line drawing for the purpose of • identifying shapes • Light and shadows that help represent the structure • 3 strategies to create drawing. Choice one. • Placing tracing paper on top and outlining • Carbon copy the back of the composition with pencil and then trace onto a new piece of paper • Outline shapes directly on composition
Step five – Shape and Value • Student plan which shapes would be rendered in values of which colour • BLACK, WHITE, shades of GRAYS, BLUES, PURPLE Or • BLACK, WHITE, shades of YELLOW, ORANGE, RED • NOTE: you will have to put in order which colours are lightest to darkest
STEP SIX – CUT and PASTE • Start and work back to front. • Start working on background first, middle ground second and foreground last • Cut out shapes and paste