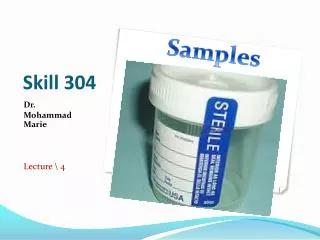
Skill 304 Lecture \ 3
Blood samples. Skill 304 Lecture 3. Learning objectives. To know how communicate with patient in order to take a sample. To learn how to extract blood from a vein. To recognize the vacutainer tubes and their uses. COMMUNICATION. Most patients have had a blood extraction before.

Skill 304 Lecture \ 3
E N D
Presentation Transcript
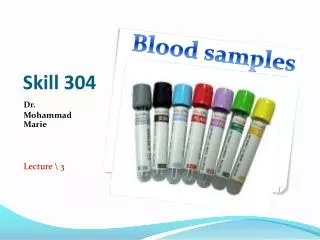
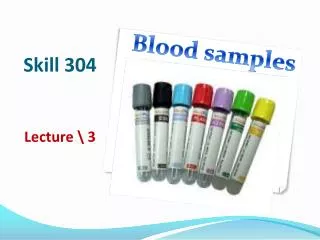
Blood samples Skill 304Lecture \ 3
Learning objectives • To know how communicate with patient in order to take a sample. • To learn how to extract blood from a vein. • To recognize the vacutainer tubes and their uses.
COMMUNICATION • Most patients have had a blood extraction before. • To them the phlebotomist's statement of intending to perform a blood test is usually sufficient to understand what is about occur. • To a patient who has never had a blood test, a more detailed explanation may be necessary. • Special procedures may require additional information.
COMMUNICATION • The phlebotomist must always inform the patient of the procedure and determine that the patient understands what is about to take place before proceeding. • If a patient does not speak or understand your language, the phlebotomist may have to use sign language or other nonverbal means to demonstrate what is to occur, or an interpreter must be located. • Speaking slowly and distinctly, using sign language or writing down information may be necessary for patients with hearing problems.
COMMUNICATION • Most patients understand that the blood tests are needed in the course of their treatment. • Reminding the patient that the test was ordered by the doctor as part of their care will sometimes convince the patient to cooperate.
Remember • The patient has the right to refuse the test . • When it has been determined that the patient truly refuses to cooperate, the phlebotomist should write on the requisition that the patient has refused to have blood drawn.
Recommendations • Receive the patient with pleasant smile. • Gain the patient trust and confidence. • The phlebotomist should have a pleasant appearance and behave in a professional manner to convey confidence with the patient when taking blood. • In handling difficult and irritable patients, the phlebotomist should remain calm and treat the patient in a caring manner under all circumstances. • Thanking the patient for their cooperation makes them feel traumatic-free and positive about the laboratory.
Procedure of blood collection 1- Let the patient be seated on the chair comfortably. 2- Ensure the identity of the patient
Procedure of blood collection 3- Apply a soft tubing tourniquet fastening arm band to the upper arm of the arm to enable the veins to be seen and felt. Do not apply the tourniquet too tightly or for longer than 2 minutes. Ask the patient to make a tight fist which will make the veins more prominent.
Procedure of blood collection 4- Using the index finger, feel for a suitable vein, selecting a sufficiently large straight vein that does not roll and with a direction that can be felt.
Procedure of blood collection 5- Cleanse the puncture site with 70% ethanol and allow to dry. Do not re-touch the cleansed area.
Procedure of blood collection 6- With the thumb of the left hand holding down the skin below the puncture site . 7- make the venepuncture with the bevel of the needle of syringe directed upwards in the line of the vein.
Procedure of blood collection 8- steadily withdraw the plunger of the syringe at the speed it is taking the vein to fill. Avoid moving the needle in the vein. • NB-If the plunger is withdrawn too quickly this can cause haemolysis of the blood and the collapse of a small vein.
Procedure of blood collection 9- When sufficient blood has been collected, release the tourniquet and instruct the patient to open his or her fist. Remove the needle and immediately press on the puncture site with a piece of dry cotton wool. Remove the tourniquet completely. Instruct the patient to continue pressing on the puncture site until the bleeding has stopped.
Procedure of blood collection 10- remove the needle from the syringe, discard the needle in sharp waste container safely and carefully fill the vacutainer tube(s) with the required volume of blood . • Do not attempt to re-sheath the needle as this can result in needle-stick injury. • Important: Do not fill a container with the needle attached to the syringe. Forcing the blood through the needle can cause haemolysis .
Procedure of blood collection 11- Mix immediately the blood in an EDTA, Heparin or citrate (anticoagulated) container.
Procedure of blood collection 12- Check that bleeding from the venepuncture site has stopped. Cover the area with a small dressing. Putting adhesive tape is subjective- if a patient has lot of hair then it is better to keep it pressed for 5 min & check for any bleeding.
Procedure of blood collection • PRECAUTION Sometimes the patient gets a vaso-vagal attack on piercing the needle or when patient sees his blood. The phlebotomist should be experienced enough to assess such conditions, take the appropriate 1st aid e.g laying down the patient on a flat surface with protrusion of the chin forward. Call ER for help if needed.
blood collection • Vacutainer ( adapter cap ) & wings
blood collection • syringe
vacutainer tubes Micro tubes
Uses of vacutainer tubes • RED & YELLOW TOP • Plain (without anticoagulant) • serum • Uses : 1- all chemistry test 2- hormones 3- serology & virology
Uses of vacutainer tubes • PURPLE OR LAVENDER TOP • EDTA (anticoagulant ) • Plasma • Uses : 1- CBC 2- blood film 3- ABO grouping 4- malarial test 5- HA1C 6- cross matching 7- HB electrophoresis 8- sickle cell test
Uses of vacutainer tubes • LIGHT BLUE TOP • SODIUM CITRATE 1:9 (anticoagulant ) • Plasma • Uses : 1- PT 2- PTT 3- INR 4- D-dimer 5- FDP
Uses of vacutainer tubes • GREEN TOP • HEPARIN • Plasma • Uses : 1- chemistry test 2- βHCG ( hormone )
Uses of vacutainer tubes • BLACK TOP • SODIUM CITRATE 1:4 • Plasma • Uses : 1- ESR
Uses of vacutainer tubes • GRAY TOP • FLUORIDE & OXALATE • Plasma • Uses : 1- Glucose (especially when testing will be delayed) 2- blood alcohol