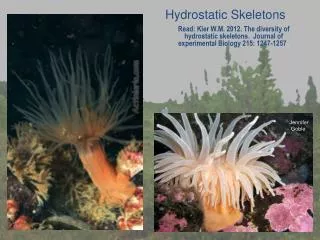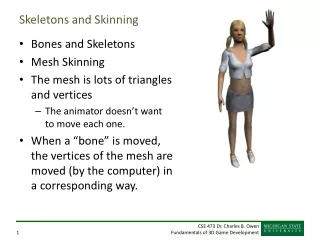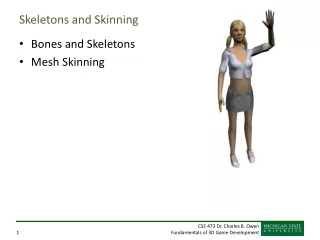
Skeletons
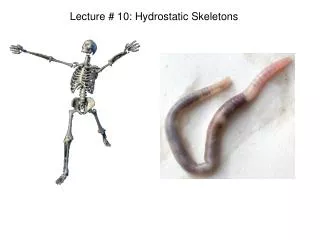
Skeletons. CGDD 4113. An Exercise. Start with Animation Menu -> Joint Tool ->□ Left-click to add more joints Press Up arrow to go up the joint hierarchy Skeleton -> Reroot Skeleton Skeleton -> Mirror Joint -> □ Note: move individual joints by holding the ‘d’ key. Doesn’t affect children!.

Skeletons
E N D
Presentation Transcript
Skeletons CGDD 4113
An Exercise • Start with Animation Menu->Joint Tool->□ • Left-click to add more joints • Press Up arrow to go up the joint hierarchy • Skeleton->Reroot Skeleton • Skeleton->Mirror Joint->□ • Note: move individual joints by holding the ‘d’ key. Doesn’t affect children!
The Joint Hierarchy • Window->Hypergraph:Hierarchy
Creating a Skeleton for our Dog • Start with 08-PolyTexturing_02.ma • Turn on X-Ray Joints • Start by building spine • Then build the leg
Parent and Mirror • Select the child (hip), then shift-select the parent (pelvis) • Skeleton->Connect Joint->□, the Parent Mode (or press the ‘p’ key) • Skeleton->Mirror Joint->□
ARMS/HANDS • Make sure it looks good from the perspective view…
Mirror the Clavicle (CRAVICRE) • Select the clavicle bone and then Skeleton->Mirror Joint->□ • Search and replace l’s with r’s • Well, at least it works…
Finishing out the ears and tail • Select the head joint and addmore joints • Select the pelvis joint and add more joints • Hide polygons and NURBS underthe “Show” menu in the perspectiveview
Zeroing out Joints • Select the pelvis and the Modify->Freeze Transformations • Select Skeleton->Orient Joint->□ to reorient the x-axis to their first child. • May have to manually orient these joints (double-click rotate tool and set discrete to step size 90).