Download
1 / 1
10 likes | 33 Vues
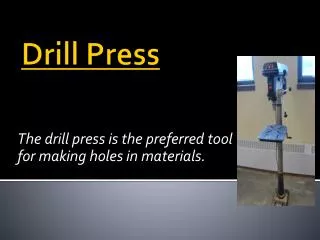
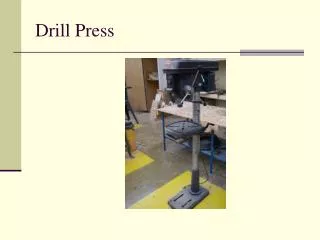
Drill Press Swaging Tool Operating Instructions<br><br>For More Details Please Visit: http://www.carterbearings.co.uk/aerospace-bearing-tools/aerospace-bearing-tool-visual-guides/

E N D
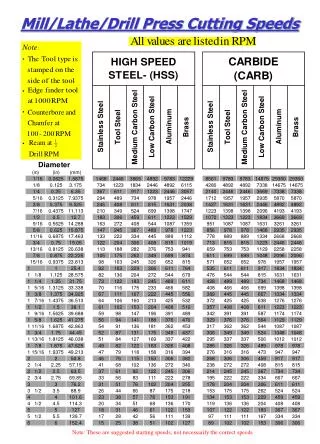
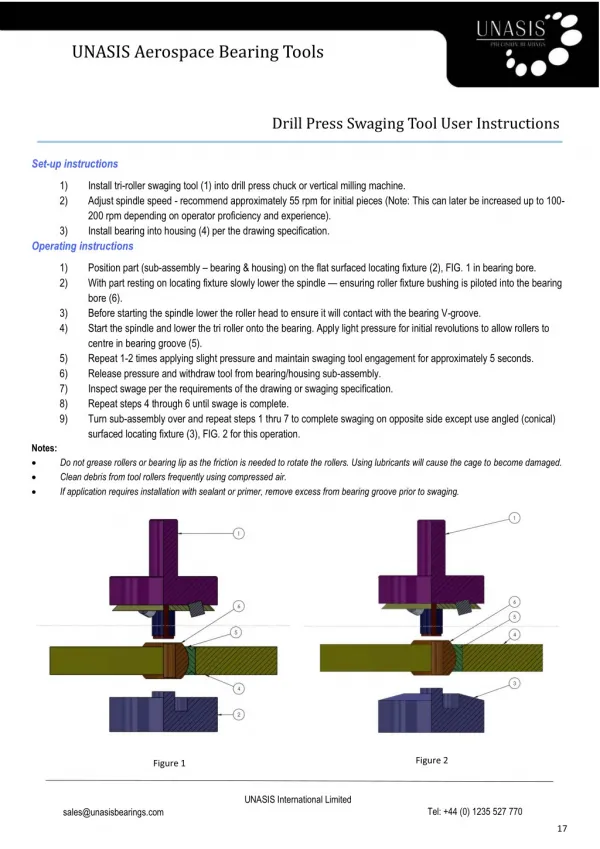
?????????????????????????????? ?????????????????????????????????????????? Set-up instructions Install tri-roller swaging tool (1) into drill press chuck or vertical milling machine. Adjust spindle speed - recommend approximately 55 rpm for initial pieces (Note: This can later be increased up to 100- 200 rpm depending on operator proficiency and experience). Install bearing into housing (4) per the drawing specification. Operating instructions 1) 2) 3) 1) 2) Position part (sub-assembly ? bearing & housing) on the flat surfaced locating fixture (2), FIG. 1 in bearing bore. With part resting on locating fixture slowly lower the spindle ? ensuring roller fixture bushing is piloted into the bearing bore (6). Before starting the spindle lower the roller head to ensure it will contact with the bearing V-groove. Start the spindle and lower the tri roller onto the bearing. Apply light pressure for initial revolutions to allow rollers to centre in bearing groove (5). Repeat 1-2 times applying slight pressure and maintain swaging tool engagement for approximately 5 seconds. Release pressure and withdraw tool from bearing/housing sub-assembly. Inspect swage per the requirements of the drawing or swaging specification. Repeat steps 4 through 6 until swage is complete. Turn sub-assembly over and repeat steps 1 thru 7 to complete swaging on opposite side except use angled (conical) surfaced locating fixture (3), FIG. 2 for this operation. 3) 4) 5) 6) 7) 8) 9) Notes: Do not grease rollers or bearing lip as the friction is needed to rotate the rollers. Using lubricants will cause the cage to become damaged. ?? Clean debris from tool rollers frequently using compressed air. ?? If application requires installation with sealant or primer, remove excess from bearing groove prior to swaging. ?? ???????? ???????? UNASIS International Limited Tel: +44 (0) 1235 527 770 sales@unasisbearings.com ??