Beginner's Guide to Soldering: Essential Tips and Troubleshooting
80 likes | 196 Vues
This introduction covers sensor basics, motor ports, analog ports, digital ports, and basic soldering tips for fresh engineering scholars. Learn to create perfect solder joints and troubleshoot common issues. Also, find first aid steps for soldering burns.

Beginner's Guide to Soldering: Essential Tips and Troubleshooting
E N D
Presentation Transcript
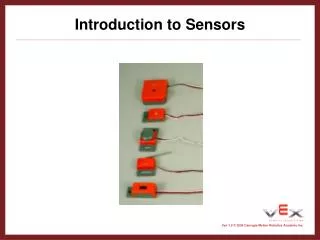
Introduction to Sensors - Part 1 Freshman Engineering Honors Program
Basic Soldering Tips • Heat Wire with Iron • Let Wire Melt Solder (where possible)
How to make the perfect solder joint • All parts must be clean from dirt and grease • Try to secure the work firmly • "Tin" the iron tip with a small amount of solder (Do this immediately with new tips being used for the first time) • Clean the tip of the hot soldering iron on a damp sponge • Helps to add a small amount of fresh solder to the cleansed tip • Heat all parts of the joint with the iron for under a second or so • Continue heating, then apply sufficient solder only, to form an adequate joint • Remove and return the iron safely to its stand • This should only take 2-3 seconds at most to solder the average P.C.B. joint • Do not move parts until the solder has cooled
Troubleshooting Guide • Solder won't "take" - grease or dirt present - desolder and clean up the parts. Or, material may not be suitable for soldering with lead / tin solder • Joint is crystalline or grainy-looking - has been moved before being allowed to cool, or joint was not heated adequately - too small an iron / too large a joint • Solder joint forms a "spike" - probably overheated, burning away the flux
First Aid • In the unlucky even of burns which require treatment, follow these steps: • Immediately cool the affected area with cold running water, ice, or even frozen peas for ten minutes • Remove any rings etc. before swelling starts • Apply a sterile dressing to protect against infection • Do not apply lotions, ointments, etc, nor prick any blisters which form later • Seek professional medical advice where necessary