Download
1 / 14
140 likes | 263 Vues
This guide provides detailed instructions on how to create and send an ESD event email campaign using MailChimp. Start by logging in with your ESD credentials and creating a new campaign. You'll learn how to select your recipient list, choose an appropriate template, enter event details, and review your campaign before sending. Additionally, discover how to send reminder emails by replicating previous campaigns. Follow these steps to ensure your communications are effective and engaging for your audience.

E N D
Sending ESD non-essential EMAIL COMMUNICATIOnS • February1, 2014
www.mailchimp.com • Click on the login link on the top right of the screenand enter the ESD credentials (email Sherry if you need the credentials)
Create a New Campaign • Click on the red ‘Create Campaign’ button in the top left of the screen and choose ‘regular ol’ campaign’
Send to entire list • As of writing this, we only have one list (ESD Events). Leave this list selected and just click the ‘Send to Entire List’ blue button.
Campaign info • Campaign Name and Email Subject Should be the same or mostly similar. The other suggested defaults are listed. Leave everything else on the page as-is. Click ‘NEXT’ when you’re done.
Choose template • Choosean ESD events template
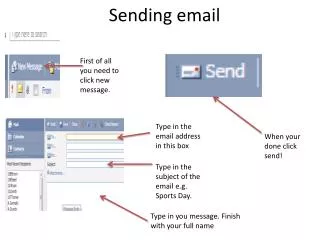
Enter event details • Click on each dashed area to add content for the particular event. At the bottom of the screen, you can send a test to your email account. Click on ‘next’ when you’re done.
plain text email • This is done for you by MailChimp automatically. Just click ‘next’ to proceed.
Review and send • Last chance for changes/edits!When you’re ready, click the red ‘Send Now’ button at the bottom of the page
Sending a Reminder Click ‘Campaigns’ from the top of the interface
Sending a Reminder Choose the ‘replicate’ link from the campaign you want to send a reminder for.
Sending a Reminder Click on the ‘edit’ button for the subject line
Sending a Reminder Add ‘REMINDER’ to the name of the campaign and the message subject line. Click ‘next’ through the remaining steps (while making any other corrections you need to).
Sending a Reminder Click ‘Send Now’ when you’re ready!