Download
1 / 18
550 likes | 2.11k Vues
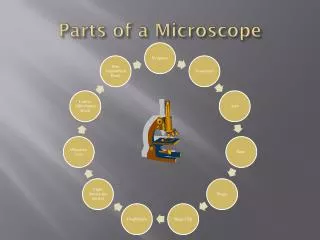
Parts of the Microscope and Their Function. On the next slide there is an image of a microscope, very similar to the scopes we use in class. Click on the boxes to see the name and function of each part of the microscope. Click on Me. Click on Me. Click on Me. Click on Me. Click on Me.

E N D
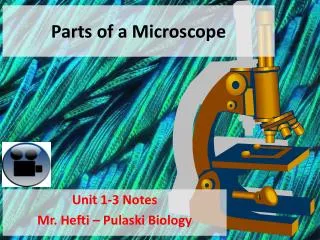
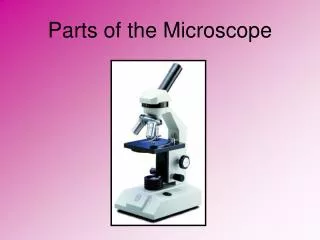
Parts of the Microscope and Their Function On the next slide there is an image of a microscope, very similar to the scopes we use in class. Click on the boxes to see the name and function of each part of the microscope.
Click on Me Click on Me Click on Me Click on Me Click on Me Click on Me Click on Me Click on Me Click on Me Click on Me Click on Me Click on Me Click on Me Click on Me
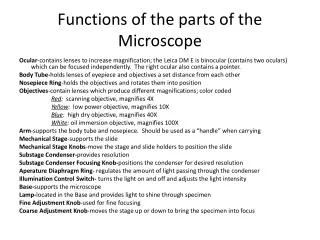
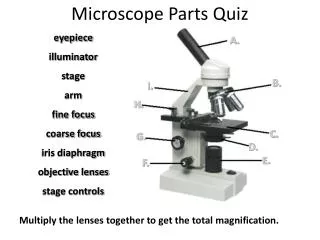
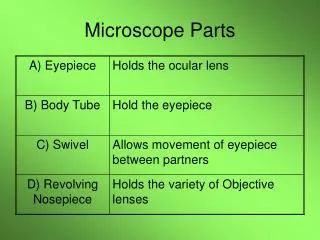
#9 Eye Piece—The part you look at with your eye. Usually 10 X magnification. Click Here to Return to the Main Slide
#10 Neck – Used to safely transport microscope Click Here to Return to the Main Slide
#11 Stage – Slides are placed on this Click Here to Return to the Main Slide
#12 Coarse Adjustment – Used to make large changes in focus. NOTE Never use this when viewing on high power Click Here to Return to the Main Slide
#13 Fine Adjustment – Used to small adjustments of focus Click Here to Return to the Main Slide
#14 Base – Used to safely transport the microscope Click Here to Return to the Main Slide
#1 Tube – Reflects light up to the viewers eye Click Here to Return to the Main Slide
#2 Rotating Objects – Allows for quick change of objectives Click Here to Return to the Main Slide
#3 Low Power Objective – The first lens you use when doing proper microscope work. Usually 4 X Click Here to Return to the Main Slide
#4 Medium Power Objective – The second lens you use when doing proper microscope work. Usually 10 X Click Here to Return to the Main Slide
#5 High Power Objective – The highest magnification used. Usually 43 X. NEVER use the course adjustment when using this lens. Click Here to Return to the Main Slide
#6 Stage Clips – Use to keep the slide in place. Click Here to Return to the Main Slide
#7 Diaphragm – Use to vary the amount of light passing through the slide. Usually it is better if the amount of light is low. Click Here to Return to the Main Slide
#8 Light Source – Sends light up through the diaphragm and through the slide for viewing Click Here to Return to the Main Slide
Techniques for Carrying • Check to make sure the cord is wrapped around the base of the microscope. • Hold the microscope firmly on the neck and below the base. • Hug the microscope close to your body. • Do not carry other items at the same time you are transporting the microscope.
Techniques for focusing • Lower the stage as far from the objectives as possible. • Be sure the low objective is pointing down towards the stage. • Place the slide on the stage with clips. • While watching from the side, raise the stage as high as it goes, making sure it does not hit the objective. • Now begin looking through the eyepiece and slowly lower the stage away from the objective using the coarse adjustment knob. • Look for a change in view where objects come into focus… this will be require only a small amount of rotation on the knob. • Use the fine adjustment knob to make the image clearer. *** When you are ready to switch the objective to the next power, do so while looking from the side. ONLY use the fine adjustment knob on any of the other objectives.