Download
1 / 33
370 likes | 833 Vues
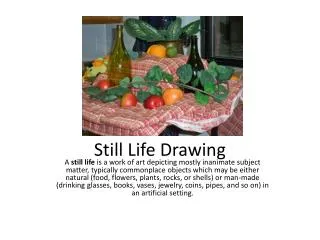
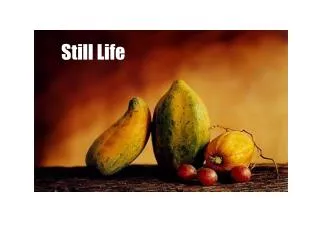
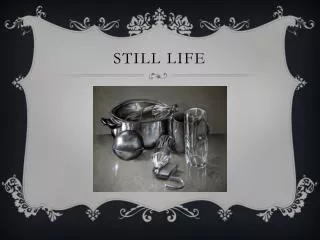
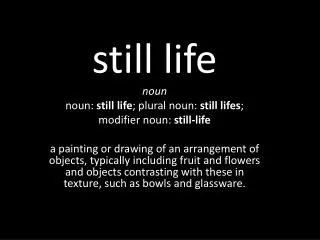
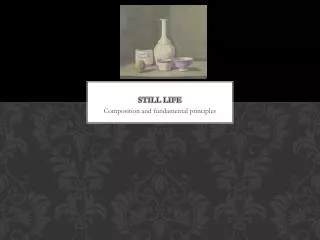
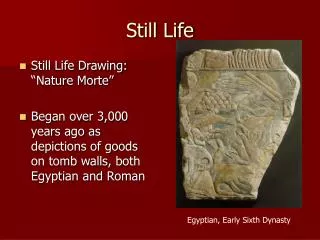
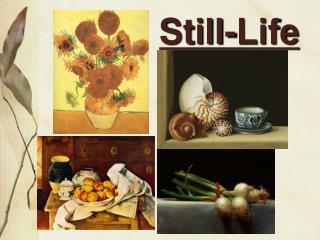
Still-Life. What is a Still-Life?. Still-Life. Aims. Be able to Identify Objects that can be used in a still-life composition selecting objects and arrange to create a still-life composition. Build observational recording skills

E N D
Aims • Be able to Identify Objects that can be used in a still-life composition • selecting objects and arrange to create a still-life composition. • Build observational recording skills - By drawing the whole or sections of your still life from different viewpoints, and media.
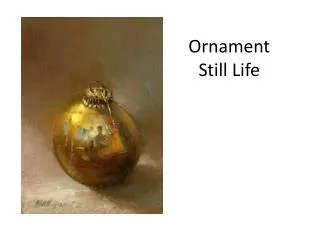
Pick out an object that you find interesting (you are going to draw this) Using just line, draw the shape/outline of your object, and add in any detail you think is important Change the position of your object so you are looking at something different or from a different angle. In a different colour pencil draw the shape of your object on top of your previous drawing.
Choose 2/3 objects and create a still life composition. Draw the whole composition using pencil in detail, it can be a line drawing, or a tonal drawing Once you have completed your large drawing pick a section and create a detailed study in oil pastel.
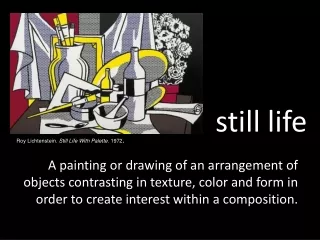
Georges Braque He has used different views of his objects in the same space to create these paintings.
To understand how colour was used in analytical Cubism • We will look in detail at the analytical cubist work of Georges Braque and Pablo Picasso • We will explore colour using acrylic painting techniques and processes.
Which artist Painted which? 5 Mins In groups Match the information with the correct artist and painting.
Task Two: Colour Palette • Using Acrylic paints Try to mix colours to match the colours you see in one of the paintings. • 5 Mins
Analytical Cubism • The main elements of Cubism were to show a simplified subject from several different points of view, • Analytical Cubism was concerned with the breaking down, or analysis, of forms • SYNTHETIC • Colour schemes were simplified, to nearly monochromatic (hues of tan, brown, gray, cream, green, or blue preferred) in order not to distract the viewer from the artist's primary interest--the structure of form itself
Task 3: Exploring Monochrome colour palette • You should have your still life set-up from last week • Find your drawing of your one object from 3 different viewpoints • Enlarge it on the photocopier to A3 • Using the blending Techniques choose one colour and white to create a monochromatic painting of your line drawing. • You are exploring different hues of One colour to fill in the shapes created by your line drawing.
Quick Q’s • What kinds of colours can we find in Analytical Cubism? • What is the colour palette we have been exploring called? • Whos work did you prefer?
CUBISM EXAMPLE IMAGE OF ANALYTICAL CUBISM YOUR STUDY OR COPY OF A SECTION OF IMAGE 3 ARTIST IMAGE 3 BRAQUE OR PICASSO WHAT IS ANALYTICAL CUBISM? HOW DO WE RECOGNISE IT? ANNOTATION ABOUT YOUR STUDY/COPY WHAT YOU DID HOW? WHY? WHAT MEDIA? WHY THAT SECTION/IMAGE? WHY THAT ARTIST? WHAT HAVE YOUR LEARNT? EXAMPLE IMAGE OF SYNTHETIC CUBISM RESEARCH COLLECTED ABOUT THE ABOVE IMAGE AND ARTIST. HOW WERE THEY INVOLVED IN CUBISM WHAT IS SYNTHETIC CUBISM? HOW DO WE RECOGNISE IT?
What is Synthetic Cubism???? Grew out of analytical cubism Real pieces of paper, scores of music replaced drawn musical notation. Fragments of newspaper, playing cards, cigarette packs, and advertisements that were either real or painted were added to paintings. Artist such as Picasso and Braque began to add found objects and textures into their paintings that surrounded them in their everyday environments They were bringing their real life objects and their paintings together They were inventing……COLLAGE Or as they called it PAPIER COLLE (French: pasted paper)
Task 1 Using the papers provided I would like you to explore Ripping and Layering strips and pieces together 1st Ground: Brown Paper 2nd ground: Newspaper 3rd Ground: Mixture of the both
Fruit Dish 1913 Georges Braque These paintings are all tonal Studies or monochromatic Studies with paper added to emphasise the flat areas. This paper is also with the exception of certain areas the boldest area of colour, and add texture to the surface of the paintings. Verre, violin and papier musique 1913 Woman with guitar 1913
Task 2 Using Charcoal and chalk you are going to create small studies of a section of one of Braque’s paintings. You will draw these studies on top of the collaged grounds and surfaces you have already pre-made Things to look out for… Small changes in tone- where dark turns to light or light turn to dark What Direction are the paint strokes going? What kinds of marks are you seeing? How can you copy those using the charcoal and chalk?
MUSICAL INSTRUMENTS TIONAL INK WASH AND GUASCHE
Activity One: Enlarge your homework on the photocopier to A3 Cut out your drawings and pick one view where the object is really clear. Cut this view into strips or segments Remember: Cubists used geometric shapes, and angular lines and you need to show this in your cuts!! Now do the same with the other two viewpoints Piece them together to make a cubist composition of your object You can do this activity more than once if you have time!!! Top Tip: You don’t have to use ALL your pieces
Activity TWO: Once you have your cubist composition stick it down using glue Can you see where your segments overlap? Using a pencil and a ruler, you need to draw the edges of your segments in. Like the cubists you can also extend some of the Lines so the begin to cut other bits in half! This makes your geometric cuts and angles more apparent See Miss O’s example!!! Get tracing paper and a biro and trace your new Object. You need to include the outline, extended lines, edges and any important details of your object.
Photocopy and enlarge your three viewpoint drawings Cut up your photocopies using angular straight cuts You need to get to this stage where you have traced your cubist composition Stick them down. Think about overlapping and matching up detail and lines. But also making it look angular and cubist
Lesson Objectives • Develop our existing 2D skills By exploring different Media to create small cubist images • Develop our knowledge of Cubist techniques to create a • cubist still-life By focusing our studies on formal elements in Cubist work such as colour and texture Your cubist Object On one piece of A3 we need to create small studies (in preparation for postcards) of sections of the traced cubist object in different media. Choose 3 sections of your object and trace them spaced out onto A3. Label them Study1,Study2, Study3. STUDY 1 = AccurateTonal Study of that section STUDY 2 = Monochromatic Study of that section using analytical cubism colours. Blues Browns Yellows Greens STUDY 3 = Any medium of your choice. Full colour or Tonal Top Tip: We are studying Cubist style so remember the marks and colours they made, and how they blended their colours together.
Homework Find or take an Image of a Still Life object. Fragment it into a cubist composition by cutting it into strips and bits and layering them down on a page. Stick them down. Then create a Monochrome Study from it (different shades of one colour)
Lesson Aims • To broaden our knowledge of Cubist Art • To be able to identify Artists who created work in a cubist style We are going to research the cubist Artist Juan Gris Pass- Be able to identify influences of different art movements, use contextual research to support your development ideas and present relevant information about the work studied Merit Complete all of the Pass Criteria and Be able to talk about the different influences and art movements, Make connections between your work and the art movement studied Present all work clearly. Distinction Complete all pass and merit criteria and, be able to analyse works of art and design movements, make creative links from your work to the work you have researched and studied, Present imaginative, and individual insights about the work you studied.
Artist Study Juan Gris Work in pairs or 3’s and share 1 computer You have 20 minutes to find and print out, At least 3 small images and of his cubist work including titles and Dates The following information: Name, Born-Died, Where did he live? What kind of art did he make? What kinds of subjects did he paint? Who was his artist friends? How is his work described? How did he make his work?
What can we find out… What is the Subject? Why do you think he has chosen this subject? What objects can you see? What words would you use to describe the painting? Which type of cubism do you think this fits in? Why do you think this? How would you describe the colours he has used? Why do you think he has used these colours? What other things do you notice about this image? Juan Gris Violin and Checkerboard 1913 Oil on Canvas
What is the Subject? Why do you think he has chosen this subject? What objects can you see? Do you think the artist had a theme for the painting? What words would you use to describe the painting? Which type of cubism do you think this fits in? Why do you think this? How would you describe the colours he has used? Why do you think he has used these colours? What other things do you notice about this image?
Juan Gris born…..- Died……. Image No.1 Title Date Media Image No.2 Our Research Where did he live? What kind of art did he make? What kinds of subjects did he paint? Who was his artist friends? How is his work described? How did he make his work? What this painting is? Why did you choose it? What this painting is? Why did you choose it? All About image 3 - Use the Question Sheet! What is the Subject? Why do you think he has chosen this subject? What objects can you see? Do you think the artist had a theme for the painting? What words would you use to describe the painting? Which type of cubism do you think this fits in? Why do you think this? How would you describe the colours he has used? Why do you think he has used these colours? What other things do you notice about this image? Image No.3 (Miss will give you) Title Date Media Your opinion What do you like about this painting? Do you like the work of Juan Gris? why? What do you think he does really well as an artist? What have you learnt from his work?
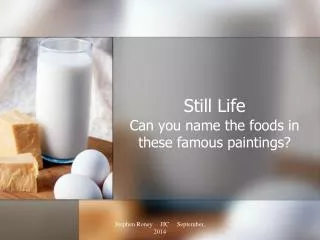
You have 2 minutes to write down as many types of objects as you can think of that can be put into these categories; Music Cosmetics Food Sport Entertainment
Over 1/2 Term Next term we will be starting your own cubist style finalpiece Your designs will be based on ONE of these themes; FOOD MUSIC SPORT COSMETICS ENTERTAINMENT Think about which theme you would like to study For your lesson after 1/2 term bring with you 3 objects that link to your chosen theme.