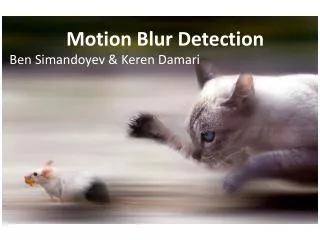
Create Stunning Motion Blur Effects in Photoshop
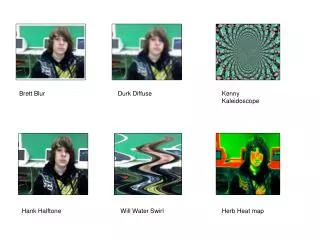
Master the art of motion blur effects in Photoshop with this step-by-step guide. Start by opening your image and entering Quick Mask mode to select the areas for your effect. Use a hard-edged round brush to paint your selection and save it. Duplicate your layer for the motion blur effect, adding both monochromatic noise and then applying a Gaussian blur for depth. Finally, add a layer mask to enhance your final product. Elevate your design skills and create captivating visuals with these techniques!

Create Stunning Motion Blur Effects in Photoshop
E N D
Presentation Transcript
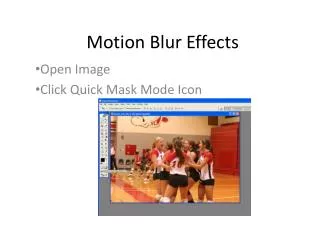
Motion Blur Effects Open Image Click Quick Mask Mode Icon
Click Selected Areas and hit OK (hit Q on the keyboard to enter Quick Mask mode) • Ensure that black is the foreground color *select a standard hard-edged, round brush.
Paint the red Quick Mask over the object which you want to be still • *reduce the size of the brush with the square bracket keys on the keyboard
Hit Q to exit Quick Mask mode • Save this by going to Select> Save Selection • Naming it “Figure” • Hit Ctrl + D to deselect
To begin constructing the blur motion, > click Layer>Duplicate Layer > Naming layer“Motion Blur” • Go to Filter>Noise>Add Noise >Choose Monochromatic and Gaussian, noise amount 13
Open saved selection by Select>Load Selection, Choosing “Figure” from Channels box >Hit backspace key on the keyboard to delete main figure from layer
Ctrl + D to deselect *Go to Filter>blur>Motion Blur • Set Angle to 0, and Distance to 193 *Click ok • Go to Select>Reselect and hit backspace key
Add another layer naming it Gaussian Blur • Reload the saved selection again(Select>Load Selection and choose figure from channels box)
*Hit the backspace key on keyboard to delete main figure • Go to Filter>Blur>Gaussian Blur Blur radius of 25 • Add a layer mask to the layer by going to Layer>Layer Mask> Hide All