Adjusting Power Settings
60 likes | 233 Vues
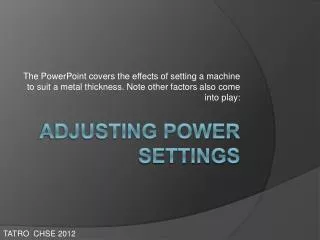
The PowerPoint covers the effects of setting a machine to suit a metal thickness. Note other factors also come into play:. Adjusting Power Settings. TATRO CHSE 2012. Welding Speed: How Fast The Torch is Moving.

Adjusting Power Settings
E N D
Presentation Transcript
The PowerPoint covers the effects of setting a machine to suit a metal thickness. Note other factors also come into play: Adjusting Power Settings TATRO CHSE 2012
Welding Speed: How Fast The Torch is Moving • The speed of welding will affect the weld appearance and penetration. Decreasing the speed of torch travel will increase penetration. • The weave pattern of the torch also influences weld penetration. • Preparing the joint in to a "V" shape or leaving a root gap can dramatically reduce the power required for a given metal thickness. TATRO CHSE 2012
Power controls, amps and voltage • The power controls on a MIG welder adjust the voltage rather than the amps, though to some extent that's academic as increasing the voltage will also increase the amps. • It's worth knowing that the wire speed also controls the amps. Comparing the different settings • The calculator (see below) provides a rough starting point for power settings. The easiest way to fine tune the setting is to practice on scrap steel of the same thickness as the steel you want to weld. • Here a series of welds have been laid on 1.2mm sheet using increasing power settings from left to right. Welds made on the lower settings are quite narrow and tall, and welds on the higher settings are wide and flat. To use the calculator, visit http://www.mig-welding.co.uk/calculator.htm TATRO CHSE 2012
Weld Penetration • Looking at the reverse side of the weld is more informative. The two welds on the left side haven't penetrated all the way through the sheet, but the three welds on the right have penetrated a little too far. • The aim when welding two pieces together edge-to-edge is to end up with the edges of the metal melted into the weld on both sides of the joint, but not to have excessive penetration. TATRO CHSE 2012
Sectioned welds • The sectioned sheet shows the effect of the increasing power settings more clearly. In the first two welds the weld builds up above the sheet, but doesn't penetrate through. • The third weld has build up on the top and bottom of the sheet. It is the best weld in the photo. • The welds to the right have more penetration below the sheet than above which shows the power setting is too high.
Adjusting Our Welders Power Adjustment 1-6 Wire Speed Power Switch Credit… http://www.mig-welding.co.uk/