Poster Printing
Poster Printing. Using PowerPoint for Posters. Michael Shook ETRL 203 shook@wsu.edu. Why a poster?. Posters can serve several functions Visual aid for a talk to a small group Complete synopsis of a project One poster may not be able to do all functions. Why a poster?. Good posters are:

Poster Printing
E N D
Presentation Transcript
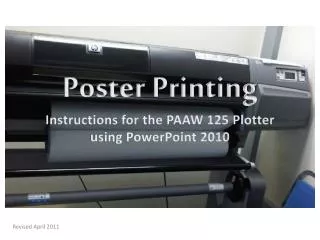
Poster Printing • Using PowerPoint for Posters Michael Shook ETRL 203 shook@wsu.edu
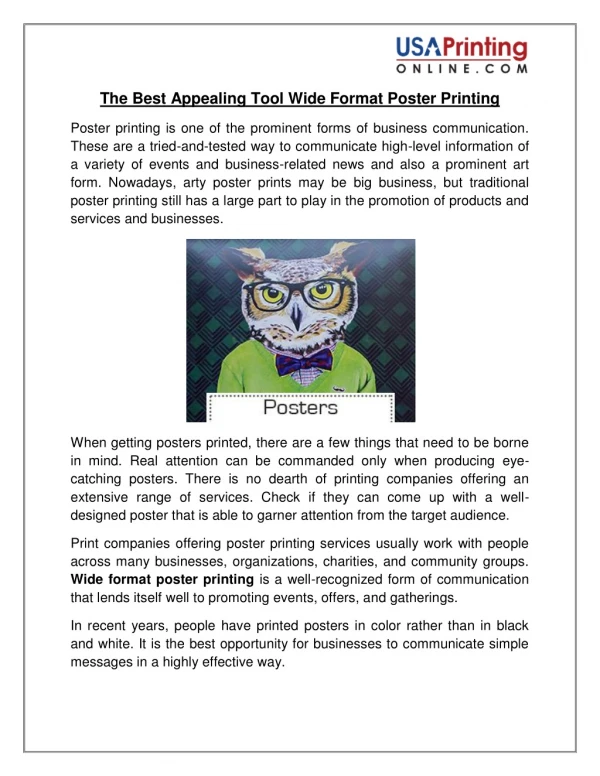
Why a poster? • Posters can serve several functions • Visual aid for a talk to a small group • Complete synopsis of a project • One poster may not be able to do all functions
Why a poster? • Good posters are: • Succinct – under 1000 words • Visual – attract audience • Orderly – • A natural order to the presentation • Logical grouping of topics
Posters • A project poster should have: • short title • introduction • overview of your approach • results • discussion of results • related published articles • brief acknowledgements
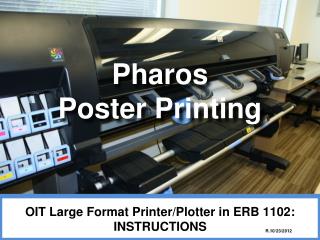
Why PowerPoint? • Allows large layout area up to 56”x56” • Works with figures and text • Found on most desktop computers • Users are familiar with it • Help is available from other users
PowerPoint Printing • Desired poster size 48 x 36 inches. • No scaling required. • Standard paper size is 36 inches, printer requires a margin of .25 inches on each side of paper. • Set size to 35.5 x 47.5 in PowerPoint.
Setting custom size File > Page Setup OR Design > Page Setup Changing size can alter the aspect ratio of slides after they are defined. You need to set the correct size before you begin your Poster.
FONTS • If you use a non-standard font, one that we do not have on our computer, a font will be substituted for it. • This substituted font will not have the same size per character. • Layouts will break. • Suggested fonts: • Arial • Verdana • Times New Roman • Lucida Sans WSU recommended font • Stone Sans WSU official font
Use quality graphs and charts TIFF formatted file JPG file image
Figures from other applications Cut and paste figures from other applications may not always be correctly saved in PowerPoint.
Inserting Figures • Best to save figure as a separate file then insert into PowerPoint. • Save line drawings as WMF, TIFF or BMP files for best resolution. • Save pictures as PNG or JPG files. • Save the image as close to the size you need on the poster, avoid drastic resizing on the poster.
Use High resolution images 75dpi 14.7” 75dpi 2.1”
High resolution graphics • Pictures should have at least 72 dpi printed size • A 10 inch X 10 inch image at 100dpi is 1 Mega Pixel • A 40 inch X 40 inch image at 100dpi is 16 Mega Pixels • Dots Per Inch (DPI) or Pixels Per Inch
WSU Logo - Signature • DO NOT copy/paste from a web page. • Download from lfp.mme.wsu.edu or identity.wsu.edu • LFP web site has a Windows Metafile version. • Insert as picture, scale to the size you need. • All logos need to be high resolution, not copied from small web page logos. Check with company before you use their logo.
Text boxes • The width of text boxes should be approximately 40 characters (on average: 11 words per line). • Lists are easier to read than blocks of text • Posters should not be journal articles on a wall • Have a plain contrasting background behind your text, avoid translucent backgrounds.
More details on the web at: http://lfp.mme.wsu.edu/ Tips page has links to other web sites with good information on poster design and common errors to avoid.
Getting your poster printed • Bring your file with the poster to ETRL 203 − Any time • Before Noon on Tuesday November 27th • You may bring it on: • CD/DVD • USB Memory device (preferred) We will copy your file onto our computer, have you view it ensure that it has a high probability of printing. This should only take a few minutes for each poster. You may need to wait for other students to check their posters.
Operating Systems • The LFP uses Microsoft Windows PCs with Office 2007 & 2010. • Most Macintosh developed PowerPoint Posters have printed. Some have required workarounds. • For non-PC developed posters come early and have us check for compatibility. • In the past we have always worked out a way to get the poster printed.
Other file formats • Check with us before starting to ensure that we can accommodate your needs. • You may bring more than one format, an entire folder with all supporting figures could help get past a printing problem.
Do Not Over Edit Poster • Making many changes to a poster will increase the chance that it will not print. • Start with a clean PowerPoint file • Set the correct size first • No advantage in using “backgrounds” for a poster. Use a large image sent to the back if you need a background image. Backgrounds are for PowerPoint shows, like this one.