1 / 4
0 likes | 28 Vues
Are you tired of unreliable toilet flange installations? Look no further! Our toilet flange installation guide is your ultimate solution to ensure a seamless and hassle-free installation process. With our step-by-step instructions, you can easily install the flange without any fear of leaks or wobbling toilets. Say goodbye to plumbing disasters and say hello to a perfectly functioning toilet with our toilet flange installation guide. For more information, read our PDF: https://easyrooterplumbing.mystrikingly.com/blog/how-to-install-a-toilet-flange

E N D
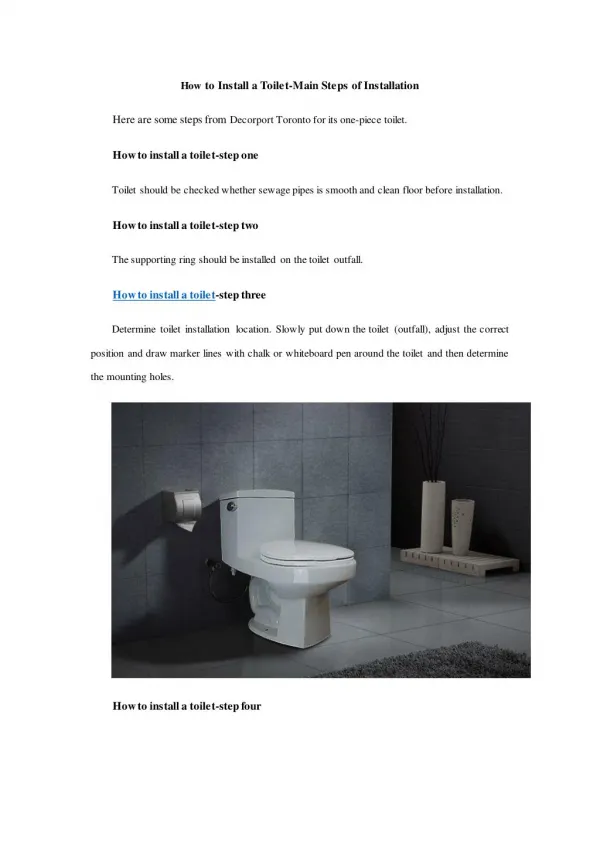
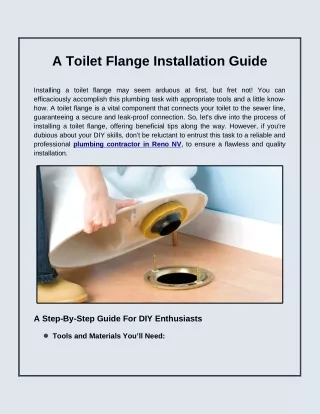
A Toilet Flange Installation Guide Installing a toilet flange may seem arduous at first, but fret not! You can efficaciously accomplish this plumbing task with appropriate tools and a little know- how. A toilet flange is a vital component that connects your toilet to the sewer line, guaranteeing a secure and leak-proof connection. So, let's dive into the process of installing a toilet flange, offering beneficial tips along the way. However, if you're dubious about your DIY skills, don't be reluctant to entrust this task to a reliable and professional plumbing contractor in Reno NV, to ensure a flawless and quality installation. A Step-By-Step Guide For DIY Enthusiasts Tools and Materials You’ll Need:
Before commencing installation, keep the following necessary tools and materials at your disposal: Tools ■ Screwdriver ■ Hacksaw or PVC cutter ■ Adjustable wrench ■ Hammer ■ Level Materials ■ New toilet flange ■ Wax ring with sleeve ■ Closet bolts ■ PVC primer and cement (if using a PVC flange) ■ Concrete screws or anchors (if installed on a concrete floor) Remove the Old Flange (If applicable): Begin by disassembling the toilet if you're replacing an old toilet flange. To do so, turn off the water first, flush the toilet to empty the tank, and then disconnect the water supply line. Now, unscrew the nuts securing the toilet to the flange and take off the toilet from the old flange. Remove any residual wax from the old flange using a putty knife. Prepare the Toilet Flange: Check the existing drain pipe for defects or blockages before installing the new flange. Clean the space carefully and ensure it is leveled and debris- free. Choose the Right Flange:
Since several types of flanges are available on the market, including PVC, cast iron, and stainless steel, choose the appropriate one that aligns with your plumbing system and floor type. You can seek assistance from a professional offering plumbing contractor services in Reno NV, to help you select the right one. Install the New Toilet Flange: Apply PVC primer and cement to the flange's inside and the outside of the drain pipe if you're using a PVC flange. Diligently insert the flange into the drain pipe while ensuring it sits flush with the floor surface. Use a level to ensure it is entirely horizontal. If you're putting on a concrete floor, secure the flange using concrete screws or anchors. Attach the Closet Bolts: Insert the closet bolts into the slots on the flange, positioning them evenly for a proper fit with the toilet base. These bolts will eventually be used to secure the toilet to the flange. Install the Wax Ring: Place the wax ring with the sleeve on the flange, pointing the sleeve downward. The wax ring prevents leaks by forming a watertight barrier between the toilet and the flange. Position and Secure the Toilet: Place the toilet gingerly over the wax ring and line it with the closet bolts. Firmly press down to compress the wax ring and form a tight seal. Once the toilet is in position, gently move it from side to side to confirm a correct fit. Tighten the nuts on the closet bolts to secure the toilet, but avoid overtightening as this may cause the toilet to crack.
Reconnect the Water Supply and Test: Connect the water supply line and turn the water back on. Allow the tank to be full before checking for leaks around the toilet's base. If there are any leaks, adjust the toilet and tighten the nuts. Conclusion While installing a toilet flange requires some elbow grease, any DIY enthusiast can accomplish the task without a hitch with appropriate instructions and a little patience. However, if you experience issues during the process, it's best to contact a reliable plumbing repair contractor in Reno NV, to do the work accurately and conscientiously. A correctly constructed toilet flange guarantees an uninterrupted and leak-free connection, giving you peace of mind for many years ahead. Source: https://easyrooterplumbing.mystrikingly.com/blog/how-to-install-a-toilet- flange