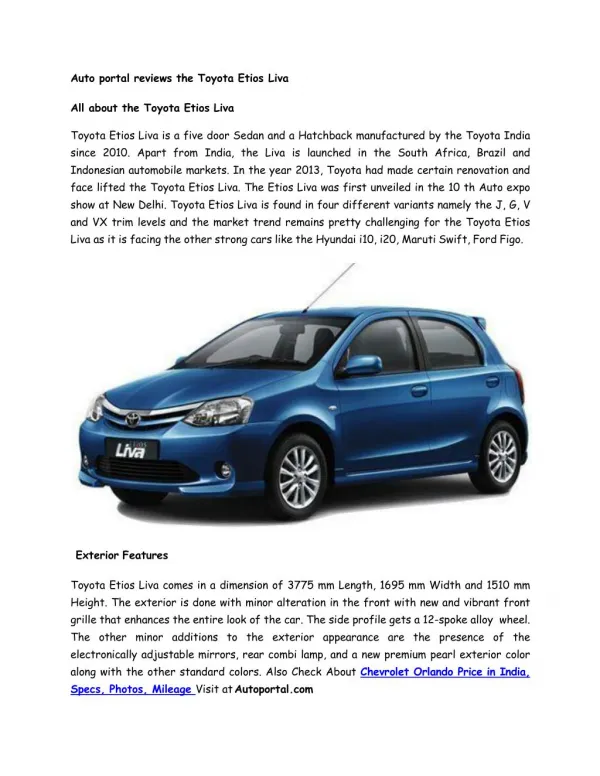
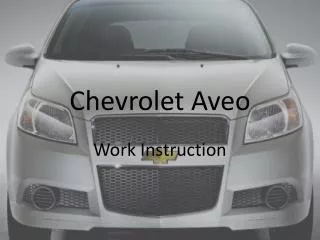
Chevrolet Aveo
Chevrolet Aveo. Work Instruction. Under Hood. I.P. inspectors collect pamphlets (Owner’s manual, OnStar , XM radio) and proceed to car where they record V.I.N. at the top V.I.P. sheets Step 1: Under Hood Inspectors are checking under the hood and looking for/at:

Chevrolet Aveo
E N D
Presentation Transcript
Chevrolet Aveo Work Instruction
Under Hood • I.P. inspectors collect pamphlets (Owner’s manual, OnStar, XM radio) and proceed to car where they record V.I.N. at the top V.I.P. sheets • Step 1: Under Hood • Inspectors are checking under the hood and looking for/at: • Hoses, links, pipes, seals, kinks, gaskets for leaks, and correct alignment • Presence of all under hood labels
Vehicle Verification • Step 2: Vehicle Verification • After the inspector shuts the hood they are moving on to and opening the passenger door: • Verifying the V.I.N. on paperwork (Monroney, Manifest and S.P.I.D.) • Placing the paperwork on dashboard • Inserting the owner’s manual in glove box and attaching the S.P.I.D. inside glove box lid • Putting “getting to know you” pamphlet around gear shift knob • Placing the Monroney on the back seat • Removing V.I.N. label from windshield and any extra adhesive • Making sure passenger seatbelt is plugged in properly • Go to rear passenger door: • Checking rear for correct seatbelt attachment
Visual and Physical Inspection • While completing steps 1 and 2: An exterior inspection of vehicle is being performed • Complete visual and physical inspection of car exterior by checking: • The exterior finish for dents, scratches, blemishes and imperfections • The overall fit and finish (includes all glass surfaces) • For the correct alignment of all body moldings, emblems, and door fits • The ease of opening and closing of hood and doors
Electrical System Check • Step 3: Electrical System • The inspector gets into driver seat and is checking the electrical system looking for: • Correct dome, door, map and vanity light operation • HVAC fan motor and mode operation • Proper window function (manual and power) • Power door lock function • Instrument panel cluster and telltale operation • Proper Radio-CD, clock operation and speaker check • Key fitness and remote start operation • Ignition key chime telltale operation
Interior Scan • Step 4: Vehicle Interior • While seated in driver’s seat the inspector is scanning the vehicles making sure that / and or looking for: • Trim parts are free of dirt, scratches, scuffs, • Proper fit and finish • Carpets, door pads, headliner, headrests, instrument panel, sunroof are clear from any scratches, scuffs of flows or fits • Fitness of seat belts, glove box door • Presence of all applicable labels (price/fuel econ.CIL/SPID) • Accessibility of rear seat pass through • The proper tire pressure label in kPa and PSI
Vehicle Operation Check • Step 5: Vehicle Operation • The inspector drives the vehicle (if conforming) off the V.I.P. conveyor and around to the final inspection and release conveyor making sure that: • There is proper engine operation • There is proper transmission and ‘PRNDL’ operation • There is proper brake and parking brake operation • There are no observable fluid and water leaks • The inspector then gets out of the vehicle and repeats steps 1-5
F.Q.I. • Step 6: Final Quality Inspection and technician comments • The Monroney and OnStar (if applicable) stickers are placed onto rear driver side window (parallel to the ground) and the inspector • Verify presence of applicable vehicle owners manual package(s) • Evaluator comments • The car then moves on to Scanner where they are : • Making sure that manuals are paperwork are properly placed in car • Pulling V.I.P. sheet • Pulling the manifest, writing down the bay location and re-inserting it on the dashboard • Scanning the vehicle
Remember…. Safety First