Objective 3: Lighting
Objective 3: Lighting.

Objective 3: Lighting
E N D
Presentation Transcript
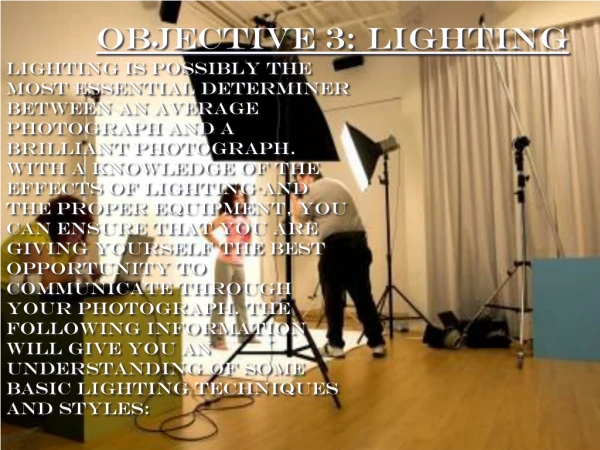
Objective 3: Lighting Lighting is possibly the most essential determiner between an AVERAGE photograph and a brilliant photograph. With a knowledge of the effects of lighting and the proper equipment, you can ensure that you are giving yourself the best opportunity to communicate through your photograph. The following information WILL GIVE YOU AN UNDERSTANDING OF SOME BASIC LIGHTING TECHNIQUES AND STYLES:
Video Clips of Studio Lighting • Prophotolife.com - Photo Studio Quality of Light • Why Angles of Light Matters in Photography
Lighting Terms Continuous Lighting - (photoflood) • Light that is continuous like a spotlight • Pro = you can see the light effects before the photo • Con = Much brighter more abundant light as a rule Electronic Strobe - • light flash that is timed to fire as the camera takes the photograph
Main Light - the most dominant light source on the subject • Fill Light - A secondary light, not as prominent as the main flash. Used to fill in detail in the shadow created by the main light. • rim Light - A light used behind the subject in order to create a lit “RIM” behind the subject.
Other lighting tools: • Reflectors = Any surface which can be used in place of a fill light. Will reflect light from the main flash to the off side. Made out of white or mirrored surfaces. • How to Use Reflector as Photo Fill Light | Expert Village Videos • Umbrellas = Used to bounce a flash in order to achieve a soft lighting effect and to be able to control the intensity of the illumination. Typical colors are white, silver and gold. • Diffusers = any material which is placed between the subject and the flash which helps to soften and spread out the flashes light. Diffusers help to decrease contrast and to decrease reflections from shiny surfaces. • : Photography Lighting: Using Diffusers
Light Boxes = box with several lights inside, used to evenly light large images, (full human body) • Light tent = a box (usually white) that can be illuminated and then subjects placed inside are photographed • Bounce flash = bouncing the flash off the ceiling or wall helps to spread out the light to cover a larger area and makes the light more gentle and realistic.
Paramount Lighting - named after paramount studios. Uses high and low instead of left and right to create highlights and filled shadow. Rembrandt Lighting - named after the artist rembrandt. the angle of lighting appealed to him. (because it created a triangle of light under the far eye) Note: Main light creates highlight and shadow. Reflector or fill light is optional.
1 source lighting Techniques: • Front- light placed at same angle as a camera. Flashes on camera uses this type of lighting. Creates full lighting of subject and is fast and convenient, but lighting is flat and dimensionless. • Side - light placed at angle to figure. Creates shadow, highlight and depth on figure / subject. • Back - Light placed behind figure / subject. Also known as “rim light”. Creates a halo of light around the outline, creates separation between the subject and the background. • 1-Light Portraiture: Tony Corbell & Profoto D1 - YouTube
2 source lighting: • 2 source lighting has an advantage over 1 source lighting in that space, form and line can be played with and light and shadow can be largely controlled. • 2 source lighting produces a stronger fill light than simply using a reflector. Note: Ensure that 1 of the lights is the dominant source and the other is much dimmer to detail shadow.
2 source lighting techniques: • Option 1: 2 lights both placed at 45 degree Angles to the subject: #2 - lights have equal intensity (Creates very comprehensive lighting but is very flat looking) #4 - 1 light is main light, 2nd light is a fill light.
Option 2: 1 light placed at side, the other light is placed behind subject, reflecting off the background. (This helps to accentuate the subject.)
Option 3: Main light placed at side, 2nd light placed above and behind subject accentuating hair and/or detail from a different angle.
3 source lighting techniques: • Typically with 3 lights the organization is: -1 main light at 45 degrees - 2nd light- less intense fill (play with highlights and shadows) - 3rd light - hair accent, background or more fill
4 and 5 source lighting techniques: • There are endless combinations with 3 or more lights. With a combination of main, fill, accent, rim and background lighting your imagination and trial and error will determine the success of your photograph!
Peter Mansbridge Photo Shoot Set Up • 1 – Shot of studio set up • 2 – Diagram of layout • 3 – Effect of snoot backdrop light • 4 – Effect of Backdrop and Fill light • 5 – All 3 lights
Exploration of Studio Lighting Assignment • Create a booklet which shows strong examples of different lighting techniques: • 8 Strong Photos of: • 2 (1 Paramount , 1 Rembrandt) • 2 (1 with main, 1 with main and reflector as fill) • 2 (1 with main and back or rim light, 1 with main and fill light) • 2 Open – be creative – create mood • Please document each photo exactly (This info will be attached to the back of each photo.)
Info on Back: Name or Description Main = 45 degrees to right, 8 feet back Hairlight = directly above, diffused, held from left side Reflector = used on left, white, 3 feet off
Studio lighting Portrait photography tutorial – YouTube • Five-Minute Sunset Shoot with the Elinchrom Quadra – YouTube • Capoeira Shoot LFP – YouTube • Desert Shoot w/Joe McNally - YouTube