ENG2410 Digital Design
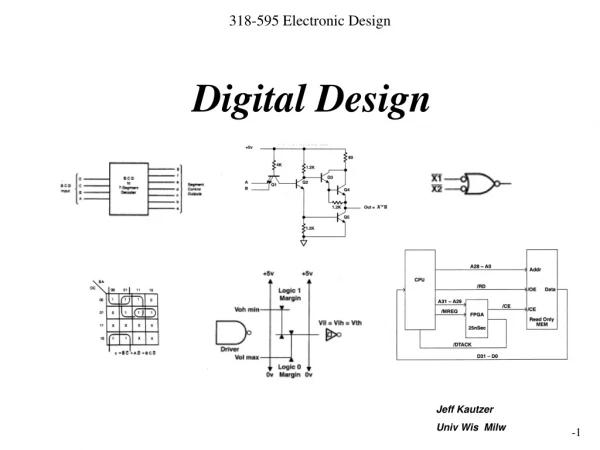
ENG2410 Digital Design. LAB #5 Modular Design and Hierarchy using VHDL. Lab Objectives. Understand the concept of modular design. Study the modular design flow using VHDL. Design adder/subtractor using modular design. Design a 7-segments decoder for 7-segment display.

ENG2410 Digital Design
E N D
Presentation Transcript
ENG2410 Digital Design LAB #5 Modular Design and Hierarchy using VHDL
Lab Objectives • Understand the concept of modular design. • Study the modular design flow using VHDL. • Design adder/subtractor using modular design. • Design a 7-segments decoder for 7-segment display. • Integrate the adder/subtractor and the 7-segment in one unit. ENG241/ Lab #5
Adder/Subtractor • Design 4 bit adder/subtractor. • Design 1-bit Full Adder • The Full Adder is used to design 1-bit adder/subtractor. • Using four 1-bit adder/subtractor to build the four bit adder/subtractor. ENG241/ Lab #5
4 Bit Adder/Subtractor ENG241/ Lab #5
7-Segments Display • 7 LEDs form the display. • Used to display numerical values. • Some 7-Seg. Include extra LED for dots. ENG241/ Lab #5
7-Segment Decoder • Take Binary number as Inputs. • Generate the required bit string that display the numerical value on a 7-Seg Display. ENG241/ Lab #5
7-Segments on NEXYS 3 Board • Four 7-Segments Displays Exist. • The have common input. • Transistors are connected to the Anode to select the required display. • It is Active Low. ENG241/ Lab #5
Complete System • Integrate the Adder/Subtractor and 7-Segments Decoder to form the complete system. • Use the slide switches for data input. ENG241/ Lab #5
Sample Modular Design in VHDL library IEEE; use IEEE.STD_LOGIC_1164.ALL; -- This Code define XOR module entity xor_2 is port ( a,b : in std_logic; f : out std_logic); end xor_2; architecture dataflow of xor_2 is begin f <= a xor b; end dataflow; ENG241/ Lab #5
Sample Modular Design in VHDL Cont. library IEEE; use IEEE.STD_LOGIC_1164.ALL; entity parity_4 is port ( data : in std_logic_vector (3 downto 0); p : out std_logic); end parity_4; architecture structured of parity_4 is signal p_i : std_logic_vector (2 downto 0); --Signal Declaration component xor_2 --Component Declaration port ( a,b : in std_logic; f : out std_logic); end component; begin u1: xor_2 port map (data(0), data(1),p_i(0)); u2: xor_2 port map (p_i(0),data(2),p_i(1)); u3: xor_2 port map (f=>p_i(2),a=>data(3),b=>p_i(1)); p <= p_i(2); end structured; ENG241/ Lab #5
//Slide switches NET SW0 LOC = P126; NET SW1 LOC = P129; NET SW2 LOC = P133; NET SW3 LOC = P135; NET SW4 LOC = P138; NET SW5 LOC = P140; NET SW6 LOC = P145; NET SW7 LOC = P147; // Pushbutton switches NET BTNS LOC = P149; NET BTNU LOC = P150; NET BTNL LOC = P151; NET BTND LOC = P152; NET BTNR LOC = P178; // 7seg digit segments NET CA LOC = T17; NET CB LOC = T18; NET CC LOC = U17; NET CD LOC = U18; NET CE LOC = M14; NET CF LOC = N14; NET CG LOC = L14; NET DP LOC = M13; // 7seg selector transistors NET AN0 LOC = N16; NET AN1 LOC = N15; NET AN2 LOC = P18; NET AN3 LOC = P17; UCF File ENG241/ Lab #5