Essential Techniques for Shoulder Imaging: AP, Lateral, and Transthoracic Views
This guide covers the essential techniques for shoulder imaging using three common views: anteroposterior (AP), lateral, and transthoracic. Each section provides detailed instructions on patient positioning, collimation, and central ray (CR) positioning for optimal visualization of the shoulder anatomy. Key elements include marker placement, shielding considerations, and the precise measurement of projections. The guide aims to ensure accurate and effective imaging of the proximal humerus, clavicle, and scapula for diagnostic purposes, helping radiologists evaluate shoulder pathology accurately.


Essential Techniques for Shoulder Imaging: AP, Lateral, and Transthoracic Views
E N D
Presentation Transcript
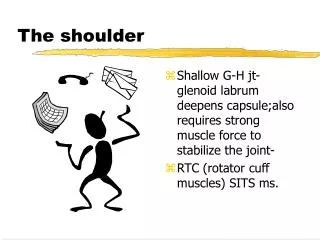
Things to know • 3 views AP, Lateral, Transthoracic • 10 x 12 cassette • Marker • Shield • Collimation • Measures 12 on AP and Lateral • 70 @6
AP External Rotation • 10 x 12 crosswise • Place the posterior side of the shoulder to IR • center shoulder to center of IR • Externally rotate arm until the epicondyles are parallel with IR • Hold breath
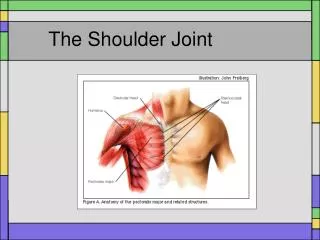
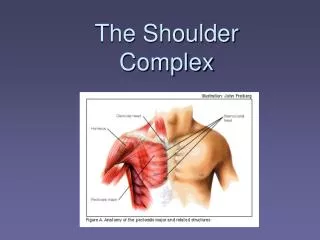
Seen on Film • The Proximal humerus • 2/3 of clavicle • The upper scapula • The greater tubercle in profile
AP Internal Rotation • 10x 12 crosswise • Same position as external • But rotate the arm internally until the epicondyles are perpendicular to IR • Hold breath
Seen on film • The lesser tubercle in profile
Transthoracic • 10 x 12 lengthwise • Measure 34 • 75@60
Positioning Transthoracic • Place affected shoulder against IR • Raise the good arm over the head • Center the surgical neck to IR • Patient in true lateral position • Breath normally
Seen on film • Lateral view of the proximal half of humerus • No superimposition of other shoulder
The AP and Lateral Projections Cassette size 14 x17 lengthwise One cassette per view Measures 9 70@6 Shield Mark Collimate Hold breath
Part Position for AP • Place patient’s shoulder in contact with table or bucky. • Extend the arm as far as patient is able • Abduct arm slightly and supinate hand until the epi-condyles are parallel with IR
Seen on Radiograph for AP • The entire humerus including both joints • The greater tubercle is seen in profile laterally • lateral and medial epi-condyles in profile.
Part Position for Lateral • Same position as AP • Internally rotate the hand until the epi-condyles are perpedicular with IR
CR Mid-Humerus SID 40
Seen on radiograph for lateral • Entire humerus including both joints • The epi-condyles are superimposed • The lesser tubercle is seen in profile medially.