Teeth Whitening
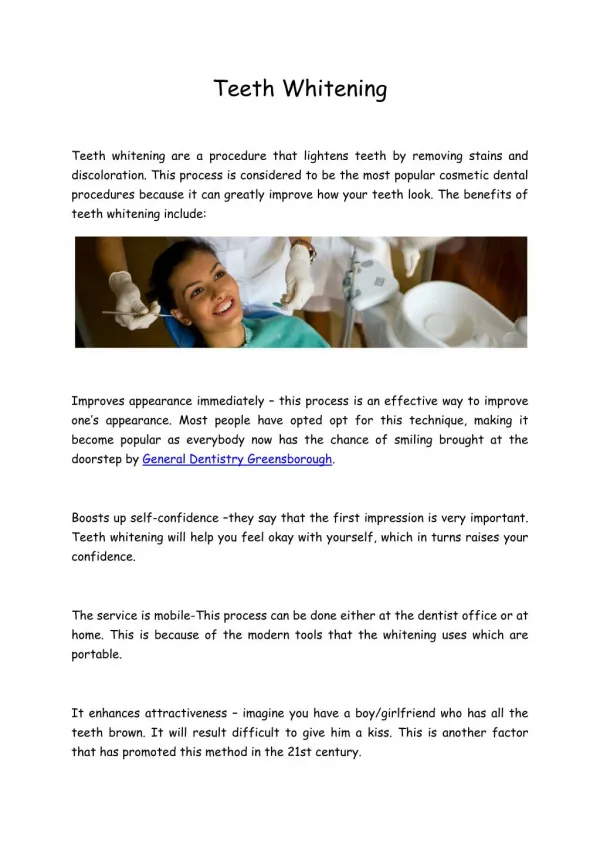
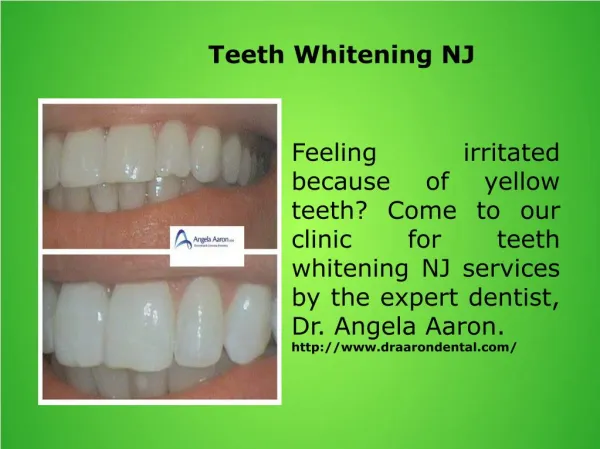
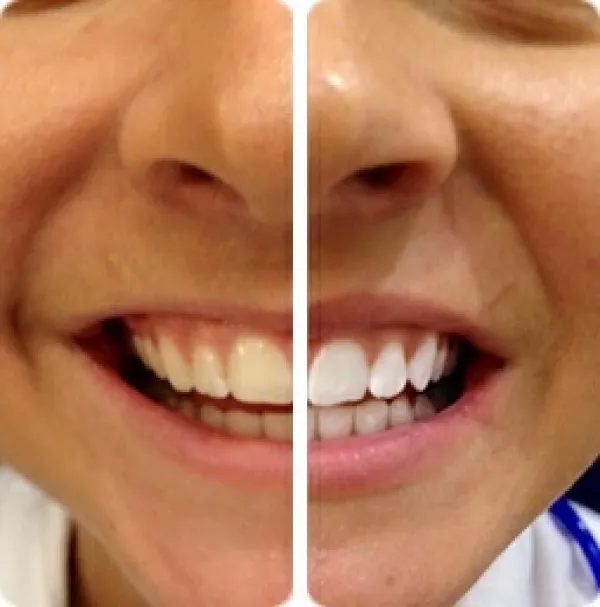
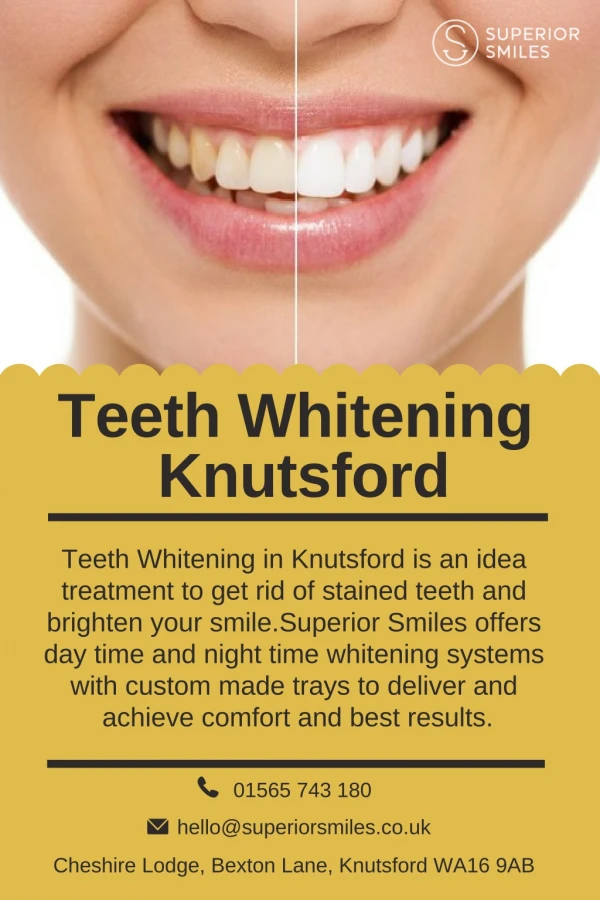
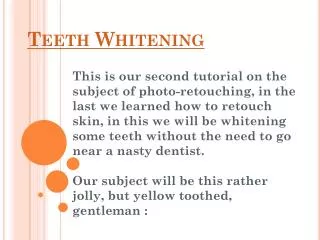
Teeth Whitening. This is our second tutorial on the subject of photo-retouching, in the last we learned how to retouch skin, in this we will be whitening some teeth without the need to go near a nasty dentist. Our subject will be this rather jolly, but yellow toothed, gentleman :.

Teeth Whitening
E N D
Presentation Transcript
Teeth Whitening This is our second tutorial on the subject of photo-retouching, in the last we learned how to retouch skin, in this we will be whitening some teeth without the need to go near a nasty dentist.Our subject will be this rather jolly, but yellow toothed, gentleman :
First off, zoom in to the mouth area and press ‘q’ to go into masking mode, then select a suitable sized brush and begin coloring in the teeth - because you are in masking mode it will paint over the area in a red shade. Don’t worry about going over the edges as you can just delete any bits you messed up with the eraser brush. It should be looking like this :
After you’ve colored-in the teeth, press ‘q’ again and a selection will appear round them, now on the menu go to select : inverse. Now press ctrl+c and then ctrl+v which will paste the teeth onto a separate layer. Now begins the whitening process!
Doesn’t look right does it ? All desaturating does is remove color, now we need to tinker a little bit with it to get it looking correct. Go to, image > adjustments > Hue & Saturation and move the lightness slider up, on this I have used +30 but it will differ from photo to photo. The aim here is to make the teeth super-white :
Now right click on the teeth layer and select blending options :
Slide the opacity down until you have the desired look, think realistic, not Ross off Friends Glow in the dark teeth!
You may have a few bits that don’t look right, such as the teeth in shadow : Just use the eraser brush to delete those bits :