Download

1 / 9
100 likes | 282 Vues
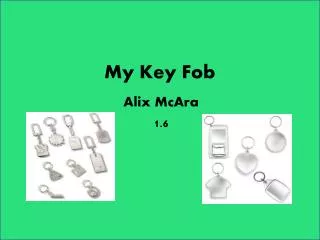
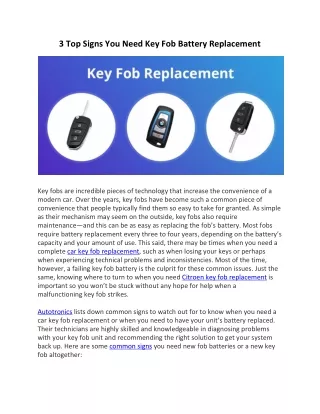
My Key Fob. By S tuart Peters. THE SHAPE!. I got the idea when thinking about my sister and about her getting her new car. So I decided to do a car shaped key fob for my sisters car keys! (When she passes her driving test!) . STARTING THE KEY FOB!.

E N D
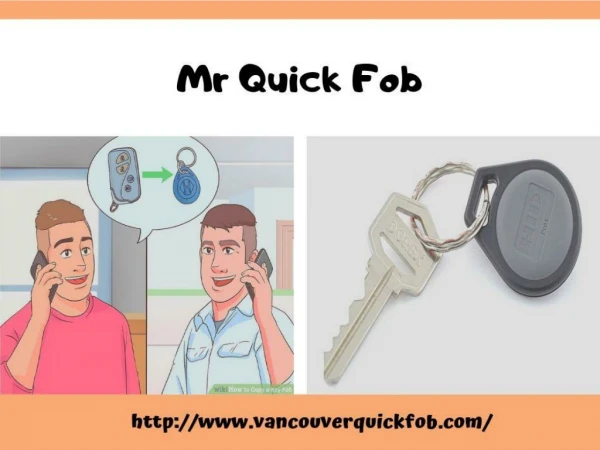
My Key Fob By Stuart Peters
THE SHAPE! • I got the idea when thinking about my sister and about her getting her new car. So I decided to do a car shaped key fob for my sisters car keys! (When she passes her driving test!)
STARTING THE KEY FOB! • I drew out the shape of the car on the masking tape that was on the plastic. • Then I cut the plastic taking off • big chunks of plastic with a coping • saw!
PRODUCTION OF THE KEY FOB! • Then I used a file to get the edges round as most of the car is rounded. • The wheels were the hardest • because they were so small.
PRODUCTION OF THE KEY FOB! • Next was to draw file. This was to make the edges as smooth as possible and to make sure that the key fob was the right shape.
PRODUTION OF THE KEY FOB! • Next was to use the wet and dry paper. This was to make any scratches on the edge of the key fob smooth away, so you can’t see them any more.
FINAL TOUCHES! • Then we had to polish the edges of the key fob. This was to make the edges look shiny and clean so they look better.
THE HOLE! • Then we had to drill the hole. When I drilled my hole I got Frazer to hold my key fob when I was pulling down the drill.
THE RING! • Finally after we drilled the hole we put the ring onto it. This is so you can attach your keys to the key fob! • I am sure Sarah • will like it.