Download
1 / 10
100 likes | 216 Vues
In this guide, I explain how I crafted my own key fob from scratch. Starting with my chosen plastic, I outlined the design using masking tape and a coping saw. I refined the edges with files and smoothened the surface using wet and dry paper. Brasso was used for a polished finish before I drilled holes for the key ring. The final step was adding the keyring to complete my personalized key fob. Follow these steps to create your unique and attractive key fob.

E N D
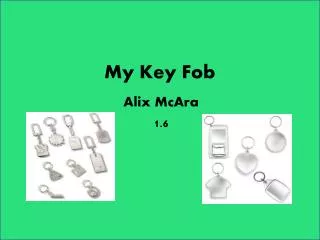
My Key Fob Alix McAra 1.6
I started of my key fob by picking the plastic that I wanted to use and covered it with masking tape so that I could draw on the design that I had chosen and mark on the sizes, then I started to saw it out using a coping saw.
After that I used wet and dry paper to give it a smoother surface.
After the wet and dry paper I then rubbed brasso around the edges until it was shiny and even smoother.
When the edges were smooth and shiny after the brasso I used a white cloth to rub the plastic to polish and dry it.
When I had finished polishing it I marked where I wanted the circle in the middle of my A to go and then drilled it slowly so that I didn't crack the plastic around where the hole was going to be drilled. After that I then marked where I wanted my key hole to go and then again I slowly drilled .
Lastly I chose the size of the key ring and put it through the hole I had just drilled.