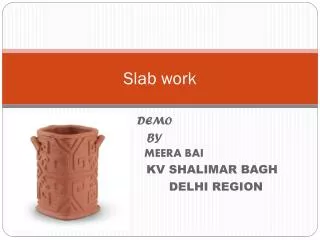
Stiff Slab
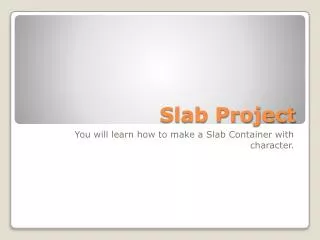
Stiff Slab. Teapot/ Jar Project. “ Technique is nothing, if you have nothing to say with it!” - Peter Voulkos. Requirements/Goal. You are going to assemble your stiff slab container into a tea pot. It should be at least 4” tall by 4” wide by 3” wide in the body. Smooth Finish

Stiff Slab
E N D
Presentation Transcript
Stiff Slab Teapot/ Jar Project
“Technique is nothing, if you have nothing to say with it!” - Peter Voulkos
Requirements/Goal You are going to assemble your stiff slab container into a tea pot. It should be at least 4” tall by 4” wide by 3” wide in the body. Smooth Finish Sharp Crisp Corners Fitted Indexed Lid Functional spout Unique and Decorated with a slip method Sculpted Handle on Lid Glazed completely Name and Period on bottom.
Use a ruler to help you cut a straight line. (Tip: If you want a 90` corner - lay a piece of paper over the clay to show the 90' corner.)
After you cut out your bottom and sides, bevel the edges at a 45* angle. Let them sit until the clay is leather hard. For most clay's this will take about an hour. Or put in a plastic bag overnight.
When your clay is leather hard use a needle or sharp pencil to scratch the edges of the clay where the clay will be joined together. A criss-cross pattern works well for this.
Make some slip by watering down a small amount of clay until it is the consistency of yogurt. Apply the slip to the areas you just scratched.
When placing the edges together slide the two surfaces together in a slight back and forth motion to strengthen the bond between the surfaces.
With experience you will get the feel of a good bond. You will know you have a good bond when most of the slip has squeezed out between the two surfaces being joined together. Also, the clay will not want to slide back and forth easily.
To make the seem stronger place a coil in the corners of the piece. Gently press the coil into the corner. Be careful not to break your corner away.
like to use the top end of a brush to smooth out the corners. Notice my other hand holding the corner so I don't break it away.
I use a damp brush to smooth out all the corners so the seams are no longer visible.
COFFEEPOT WITH HINGED LIDStoneware, stretched slab and extrusions,inlaid black slip, copper matt and shino glazes. 10" h 9" w 6" d$400
TEAPOT WITH HINGED LIDWhite stoneware, black slip on stretched slab, extruded spout and handle. 20019" h 10" w 4" d$450
Drink SETWood-fired stoneware, extruded, flashing slip.bottle: 5" h$260
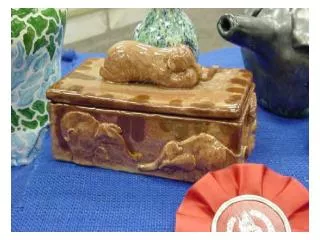
"Nut Teapot," 2005Slab-built ceramic with bronze glaze7" high x 12" wide This teapot was made as a commenton the industrialization of the home.
Circa 1880 8 1/4 inches (21 cm) high
Square teapot with curved rattan handle, black matte glaze outside and shiny crackle grazed teal lid.. 9”h.