Download
1 / 11
110 likes | 276 Vues
Making a Virtual Book With PowerPoint 2007. How to make a virtual book. Tapping into Schema. Using PowerPoint 2007. When students see the layout of the virtual book, they forget that they are in PowerPoint and on a screen. Instead, they fall into what they know about books and reading.

E N D
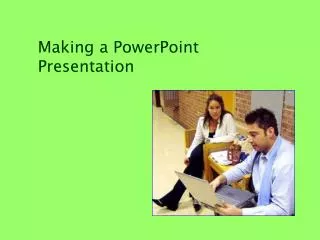
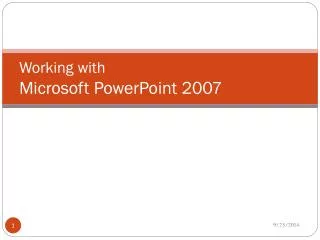
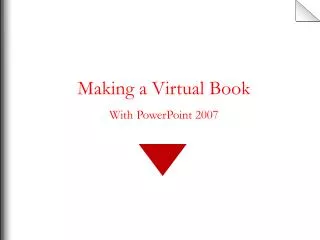
Making a Virtual Book With PowerPoint 2007
How to make a virtual book Tapping into Schema Using PowerPoint 2007 When students see the layout of the virtual book, they forget that they are in PowerPoint and on a screen. Instead, they fall into what they know about books and reading. They know to start at the top-left corner and read left to right down the page and then over to the page on the right. This is not a presentation template. This is not the venue for bullets and colorful backgrounds. This is an interactive book template created using PowerPoint and a bit of illusion.
How These Pages Work How These Pages Work A triangle has been put in the bottom left and top right hand corners of the slide. A slight gradient blend and a gray line have been added to these triangles to give the illusion of a bent page. An action has been assigned to each triangle. The left triangle takes the reader back to the previous page when clicked. The right triangle takes the reader to the next page when clicked. A slight turning sound has been added to the action to give the illusion of a page turning. This PowerPoint slide has a black line drawn through the middle of the slide. A gradient blend of black and white has been added to give the illusion of the shadow of a curved page in a book. Another black line and a gradient blend has been added to the left side of the book to give the 3-d illusion of several pages. The small red house at the bottom of each page takes the reader to the beginning of the book when clicked.
How These Pages Work How These Pages Work When inserting a text-box into a virtual book, your goal will be to maintain the integrity of what we “know” a book to be. That doesn’t mean you can’t break the rules, but it does mean if your intent is to fool the viewer’s eye into thinking they are reading a book, you must maintain that look. Anything else becomes something else. The following page will go over the main points to consider as you design or have your students create their own virtual book. 1. Use book elements such as title page, table of contents, a lot of white space, index, bibliography, and page numbers. 2. Keep your text box away from the edges of the slide and mid-line to maintain your margins. 3. Don’t allow the text box to cross over the mid-line of the slide. 4. Don’t change the background color of the slide, because the gradient blends of the shadows will not match your pages and you will lose the illusion of a book page. 5. Don’t let text or graphic elements interfere with the triangles that are programmed to turn the pages.
How These Pages Work How These Pages Work The standard book features of text on a page become alive when the interactive multi-media tools of PowerPoint are added to the equation. Teachers can scaffold information and lessons into the content of a virtual book by adding hyperlinks that will take the reader to content with more information. Individual words can be provided with pronunciationguides Entire text can be narrated and set to play as soon as a page is turned or by a click. Music, images, animation and video are all elements that can be added to your pages to turn a traditional book into a dynamic and engaging tool.
How to Add Elements New Slides How to Add Elements Text and White Space This template was created using a master slide. Every new slide you insert will look the same and include the gradient shadows and page turning elements. When you insert a new slide, the slide layout window will open. Choose the blank template under the content layout option. When you insert a text box, be sure to line up the edges so that you leave a lot of white space /room for large margins. To increase white-space between the lines of text, click on the Line-Spacing tool in the paragraph module and choose line spacing options. Change the option from Single to Multiple and type in 1.3
How to Add Elements Images How to Add Elements Hyperlinks To add images to your book, click on Insert and choose picture if you have provided your own images or clip art if you are using Microsoft resources. Be sure to resize your images to fit neatly on only one side of the side or “one page” and keep them away from navigation tools and shadows. When linking to another page or to a site on the internet, there are two options. Select a word by highlighting it and right clicking. Choose Hyperlink from the menu that appears and either type in the URL address you wish to link to or choose the slide you wish to link to. The other option is to connect a hyperlink to an image on your page. To do this, right click on the image, choose Hyperlink and follow the above directions.
How to Add Elements Video How to Add Elements Narration Narration can be added to entire pages or to select pieces of text. Unfortunately, when recording small clips of sound, the latest version of PowerPoint does not offer the clarity of sound that previous versions had and so be warned that your sounds might be a bit fuzzy. Click on Insert and choose Sound to record small clips. Have your microphone plugged in, click the red record button and begin your recording. Click the stop button when done and place your recording on your page. To narrate each slide, choose Slide Show and then Record Narration. When you start recording, the screen will be in show mode. Hit escape when you are done and save. The audio will play automatically when a page is turned. Video adds an exciting and unexpected element to virtual books. Click on Insert and choose Movie from file. Navigate to the video clip that you wish to insert. Try to insert only short clips and link to larger video clips. When you have selected the video to embed in your page , click OK. A window will pop up and ask you if you want your video to play automatically or when clicked. Choose one option and click OK. You can resize and decide where you want your video on your page.
Table of Contents Chapter 1 • Chapter 1-Intro • Chapter 2 • Chapter 3 2 1
Chapter One 3 4
Bibliography Websites Books Images Music Video