How to make a Chinese Dragon
140 likes | 1.2k Vues
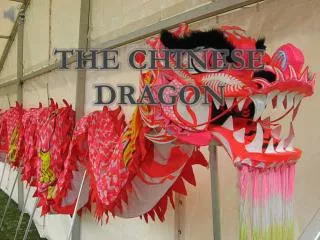
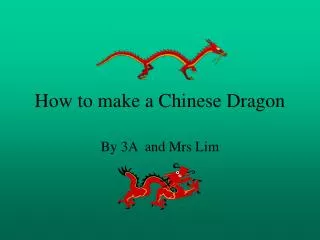
How to make a Chinese Dragon. By 3A and Mrs Lim. Step 1. To make the dragon we needed a box, some wire, scissors, yarn,Spray paint, glue, bells, polystyrene balls,glitter, newspaper, 2m of material , scrap material and a sewing kit. step 2. Use the box as the head for the dragon.

How to make a Chinese Dragon
E N D
Presentation Transcript
How to make a Chinese Dragon By 3A and Mrs Lim
Step 1 • To make the dragon we needed a box, some wire, scissors, yarn,Spray paint, glue, bells, polystyrene balls,glitter, newspaper, 2m of material , scrap material and a sewing kit.
step 2 • Use the box as the head for the dragon. • Using the wire you make the ears, horns, and the mouth. Fill these with newspaper then attach them to the box. Paper mache the box using strips of newspaper.
Step 3 • Cut the scrap material into strips to put on the side of the large piece of material. Use the other scraps to put on the back of the dragon. Sew it into place.
Step 4 • We had to put many layers of paper mache to make the head very strong. After a few days we started laying white paper over the news paper.
Step 5 • After the head was very strong, we started painting the top of the head blue. After it was dry we painted the lower half of the head.
Step 6 • We painted all the head except the teeth and the eyes. This is so that we could paint them special colors to make the head look more realistic.
Step 7 • We painted the teeth yellow and the eyes white with black pupils. We painted the inner mouth black and put a little glitter in it.
Step 8 • We put little slits in the side of the head to make it easier for the person inside to hold it up. Behind our dragon is another dragon made by a different school.
Step 9 • We made the polystyrene balls as the nostrils and put a little glitter on them. We also attached them with wire.
Step 10 • This is a side on view of the dragon’s head. We painted the side gold and green with a little glitter.Then we added bells to the mouth.
finished dragon • Using some wire to attach the back to the head. • This is a picture of the finished dragon.
Finished • This is the dragon finished with people in it.