Download
1 / 12
120 likes | 226 Vues
Learn how to log into ITAMS as an exempt employee for the first time, manage your time sheet, record leave balance, submit for approval, and print reports. Follow step-by-step instructions in this comprehensive guide.

E N D
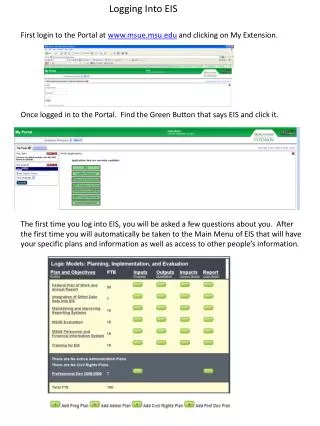
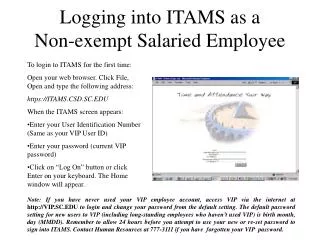
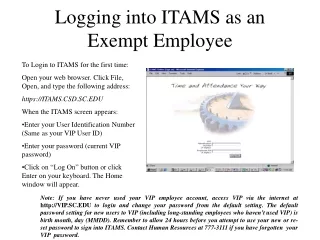
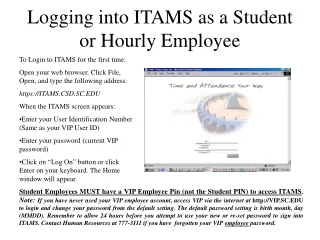
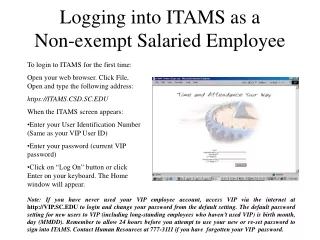
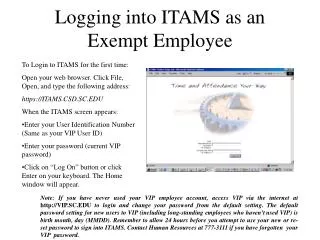
Logging into ITAMS as an Exempt Employee • To Login to ITAMS for the first time: • Open your web browser. Click File, Open, and type the following address: • https://ITAMS.CSD.SC.EDU • When the ITAMS screen appears: • Enter your User Identification Number (Same as your VIP User ID) • Enter your password (current VIP password) • Click on “Log On” button or click Enter on your keyboard. The Home window will appear. Note: If you have never used your VIP employee account, access VIP via the internet at http://VIP.SC.EDU to login and change your password from the default setting. The default password setting for new users to VIP (including long-standing employees who haven’t used VIP) is birth month, day (MMDD). Remember to allow 24 hours before you attempt to use your new or re-set password to sign into ITAMS. Contact Human Resources at 777-3111 if you have forgotten your VIP password.
Home Window • The home window will display the following: • A Menu Bar across the top • An Employee Identification bar with your name and information • A Home box that contains: • Messages about your timesheet • Color Scheme change
Menu Bar • The Menu Bar at the top right of your time sheet shows on all of your ITAMS screens, and displays the links that you can use to open new windows. • Home always takes you back to the home window. • Time Entry will open your current time sheet. • Leave Summary will display your current leave balance information. • Help opens the help files. • Log Off ends your ITAMS session but does not close your browser.
Time Entry • To open your time sheet, click on Time Entry on the Menu Bar • To view your current leave balance information, click on Leave Summary on the Menu Bar
New Time Sheet When you click Time Entry for the first time, your new time sheet will look like the example below since you have never filled in an ITAMS timesheet. The “No data available” message is not an error condition. This just means there are no time codes in use on your timesheet. To fill out your time sheet, click the Time Codes Drop down box
Add Time Code Move your cursor to select a Time Code from the drop down list. Then, click the Add Time Code button. The time code row will appear on your timesheet. Continue to add as many time codes as necessary. Note: Exempt employees will only record leave and “other” types of absences. Hours worked will NOT be recorded. See Appendix A of the ITAMS Manual for information about time codes.
Enter Hours To enter hours, place your cursor inside a cell and type in the hours using quarter hour increments. (For example: 7 for 7 hours; 7.25 for 7 hours and 15 minutes; 7.50 for 7 hours and 30 minutes; or 7. 75 for 7 hours & 45 minutes). Use the arrow bars located at the bottom of your screen to move from the left to the right of the time sheet When you are finished entering time, click on the Save button Time will be totaled for the day, the time code and the pay period. Note: You can edit and re-save your time sheet as often as necessary before it is sent for approval. When you send the time sheet for approval, the time sheet is automatically locked, and you can no longer edit the hours.
Time Sheet Note To make an important note on your timesheet, double click inside the time sheet cell, or click on the yellow sticky note at the top right of the time entry section of the timesheet. The Time Sheet Note box will appear. Enter your note in the comment section. Click Save to save the comment and return to your timesheet. The time sheet cell will turn yellow (right) to indicate the note. Employees and Approvers have the ability to create, edit or delete time sheet notes.
Send for Approval When you have entered all of your time for the pay period, click on the Send for Approval option located on your time sheet.
Submit Time for Manager Approval The Submit Time for Manager Approval window will display. Your supervisor is shown as the default approver. However, if your supervisor is unavailable to approve your timesheet, you can select to send your timesheet to an alternate approver designated by your department. Click on the arrow located to the right of the Approver box and select an alternate approver from the list that displays. When selection is complete, click Send to forward your time sheet.
Printing the Time Sheet To print a copy of your time sheet, click on “View Printable Report” The view will appear on screen. To print, use the command bar at the top of the screen. Click on File, Select Print from the list that appears. The output will be sent to your default printer. 2.5
What happens now? • As soon as you send your time sheet for approval, the message on the time sheet will display as “Time Sheet Waiting for Approval”. Your time sheet is now locked and you cannot make any changes to it. Changes must be made by your supervisor/manager, or a department ITAMS approver. • There will now be a message on your Home window, inside the Home box, that will display “You have 1 Time Sheet Waiting for Approval”. This message will change to “You have no time sheets waiting for approval.” as soon as your manager approves your time sheet. If your manager rejects your timesheet, you will see the message “You have 1 rejected timesheet” and must access your times sheet to change and resend your hours for approval. If you need help with your new time sheet, visit the Payroll Web Site, http://BusFinance.admin.sc.edu/payroll & click on ITAMS, or contact Payroll at 777-4227