Exploring the Water Cycle: Sun's Influence & Process Diagram
100 likes | 190 Vues
Engaging lesson plan for 7th graders to understand the link between the sun and the water cycle. Activities involve hands-on experiments like a Water Cycle Bag, vocabulary explanations, and culminate in diagram drawing.

Exploring the Water Cycle: Sun's Influence & Process Diagram
E N D
Presentation Transcript
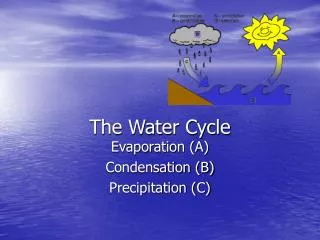
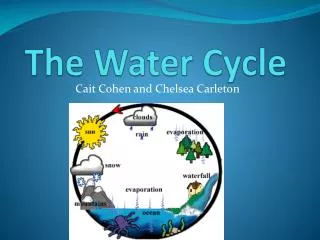
Building the Water Cycle Breanne Thompson & Courtney Domm Standard: E.ES. 07.11 Demonstrate using a model or drawing the relationship between the warming by the sun of the Earth and the Water Cycle as it applies to the atmosphere (evaporation, water vapor, warm air rising, cooling, condensation clouds) Grade Level: 7
Lesson Overview After completion of the lesson, students will be able to: • Explain the relationship between the sun and the water cycle. • Define key terms concerning the water cycle • Engage in critical thinking and form educated hypothesizes concerning the water cycle. • Accurately record and analyze observations • List of Materials • handouts (anticipation guide, EPA facts, prediction/observation worksheet) • construction paper • markers • large zip-lock plastic bags • water • food coloring • masking tape • thermometers
Engage: • Anticipation Guide • Pre- and Post-Assessment Tool • Get students thinking about the sun and the water cycle • EPA Water Facts Handout • Spark discussion about water and the water cycle • Grand Discussion • Instructor lead discussion • Questions including: “What do you already know about the water cycle?” “What questions did the EPA facts make you think of?” • Lead into explore activity
Explain: • Lecture based with a PowerPoint containing definitions, pictures and diagrams of the processes observed in the explore section of the lesson as well as integrating new information pertaining to the water cycle. • Topics covered in power point: • radiation • evaporation • water • warm air rising • cooling • condensation • clouds • precipitation
Explore: Build a Water Cycle Bag Purpose: To identify elements of the water cycle and the sun as the source of power for the water cycle. Procedure: • Put 1 cup of water into the baggie. • Add 1 to 2 drops of food coloring. • Carefully seal the baggie and tape it onto a sunny window. • Hold the bulb of the thermometer against the bag for three minutes and then record the temperature. • Predict what will happen to the contents of the bag if it is left there for several hours. • Let the bag hang in the sun for a couple of hours then observe the bag again. Record any observable changes in the bag. Hold the bulb of the thermometer against the bag again for three minutes. Has there been a change in temperature? Record your findings. • Analyze your findings. What happened to the water in the bag? How did those changes take place?
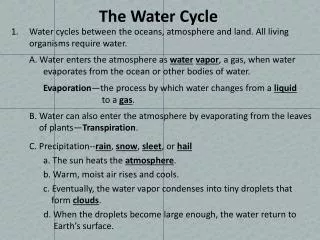
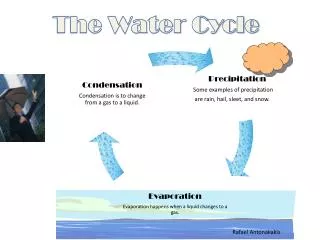
Explain: • Vocabulary presented in the lecture: • Condensation: The process by which water vapor in the air cools to form tiny droplets of water in the clouds • Cycle: Continuing process in which something is used over and over again • Evaporation: The process by which water changes from a liquid to a gas • Precipitation: Water falling to the earth as a liquid (rain) or a solid (snow, hail) • Radiation: The transfer of heat energy in the form of waves • Surface Water: Water which has accumulated on top of the ground • Water Vapor: Water in gas form
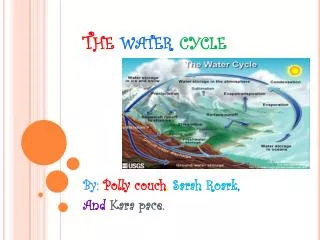
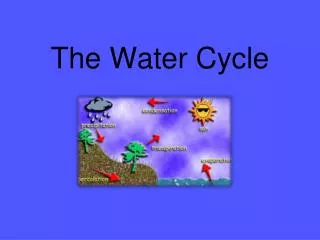
Elaborate: • Using the information obtained from the explore and explain portions of the lesson, as well as their prior knowledge, students will draw a model of the water cycle including the following aspects: • radiation • evaporation • water vapor • warm air rising • condensation • clouds • precipitation • run-off • infiltration • ground water
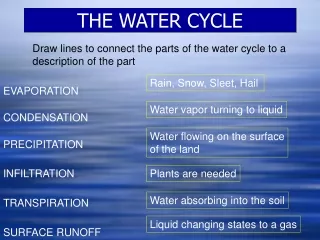
Evaluate: • Water Cycle Diagram • Students will be graded based on the presence of all the required processes and the accuracy of their diagram. • Anticipation Guide • Self-Assessment: Students will fill out the After portion to see their improvement. • Homework Reinforcement • Students will complete The Water Cycle handout for homework to reinforce the lesson which will also be graded.
References: • Water Cycle Bag Lesson Plan: http://www.mos.org/oceans/planet/watercycle.html • The Water Cycle Worksheet: http://www.bogglesworld.esl.com • EPA facts: http://water.epa.gov/learn/kids/drinkingwater/waterfactsoflife.cfm