Download

1 / 13
130 likes | 239 Vues
Learn how to make your own attractive Glog by following these step-by-step instructions. Customize with text, graphics, sounds, and more to create engaging visuals. Save, preview, and publish your Glog with ease!

E N D
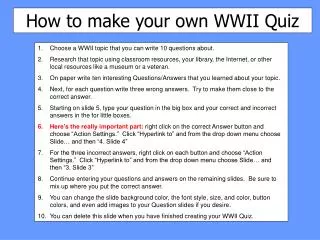
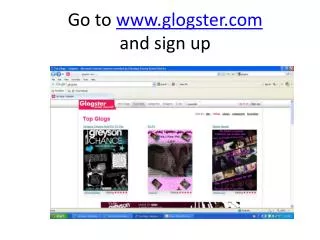
How to Make your own Glog: Go to www.glogster.com
Click on the “Register” button and fill out the short registration form and submit it to begin your first Glog (Glogster may send you to your Dashboard at this point, if so click “Create New Glog”)
Delete the default text boxes by selecting them and then clicking pink “Delete” button on the item’s tool bar.
Begin by selecting a theme or color for the Wall of your Glog. This will be the background for your Glog and set the mood for the rest of the Glog.
Practice inserting a Graphic. Select “Graphics” on the Magnet tool to the left. Choose a type of Graphic, and then click on the graphic to see a close-up of the image
Browse the catalog for one labeled “Animated” and click it to preview the animation in side panel. Once you find a graphic you like, click “Use It” in the side panel, then close out of the Graphics menu.
Explore your editing options for your graphic. • Resize and Rotate- You will see the Expand/Contract arrows at the corners of the image and the Rotation arrows along the sides of the image. • Tool bar- The item tool bar gives you the option to duplicate, edit, or delete your image. You can also bring your image to the front of a pile of images or send it to the back, or undo previous adjustments to the image. • Editing-The “Edit” button allows you to change the color of some parts of your graphic, adjust shadowing and image effects, or attach a link to your image.
Now try inserting a Text box. Use the “Text” button in the Magnet tool to browse your catalog of Text box options. Use the “Edit” button on the item tool bar to replace the default text with your own. Notice that on the Edit options tool bar for Text, there is another option that was not available for Graphics, this button gives you the option to change text color, size, and font.
The next 3 options on the Magnet Tool are Image, Video, and Sound. Each of these gives you the ability to embed media from your computer or somewhere else on the internet onto your Glog
The menus for each will give you the options to “Upload,” “Link,” or “Grab” your media • Uploadingwill allow you to search your computer for media already saved onto your hard drive. • Linkingwill allow you to insert the address of media somewhere else on the web to access it on your Glog. • Grabbinguses your computer’s camera and/or microphone to record or photograph yourself. You can also Upload, Link, or Grab with the tool bar at the top of your Glog’s editing view.
Frames and Players Once you have selected your media in the Magnet tool menu, Click the “Add a Frame” button (or “Add a Player” for sounds and videos) to choose the themed frame that fits your Glog.
Saving Finish your Glog by using Text, Graphics, Sounds, Images, and all the other tools at your disposal to make your Glog into the poster, blog, or instructional tool of your choice. If you need to leave and come back to your Glog, click the Exit button and choose to save your Glog, or click “Save and Publish” and choose to save as a “Private” Glog
Publishing You may choose to “Preview” your Glog before publishing it. Use this option to test your media and links before sharing your Glog with your students or peers. Once you are satisfied, Name and Publish your Glog