Download
1 / 22
230 likes | 516 Vues
Electronic Data Interchange (EDI) Invoices. Kim Seagraves February 21, 2007 Oklahoma State University - Stillwater. Electronic Data Interchange (EDI) allows your library to electronically exchange information with participating vendors. I will outline the following: Security

E N D
Electronic Data Interchange (EDI)Invoices Kim Seagraves February 21, 2007 Oklahoma State University - Stillwater
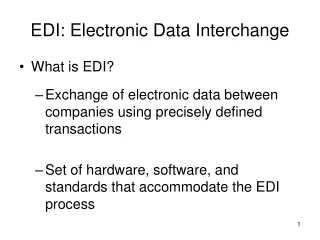
Electronic Data Interchange (EDI) allows your library to electronically exchange information with participating vendors. • I will outline the following: • Security • EDI Connection Profile • Receiving a file
Security • An operator must have adequate security to work with incoming or outgoing EDI messages. The EDI Incoming (for invoices) and/or EDI Outgoing check boxes should be selected in SysAdmin security. • SysAdmin > Security > Acquisitions/Serials Profiles > Select the appropriate profile > Profile Values Cont. tab. Check the EDI boxes as needed. See example below.
EDI Connection Profile • An EDI connection profile is required in order to send messages to a vendor. The profile contains library, vendor and usage sections. • Acquisitions module > Vendors > New EDI Connection Profile
Library Section • Location – required. Select “Any Location” unless different locations at your institution have separate EDI relationships with vendors, and therefore need to be protected from accidentally working with each other’s messages. If all EDI transmissions are done from a single location, then you can select Any location for your profiles. • Envelope Address – required. This is the receiver code for incoming messages that match this particular connection profile. • OPTIONAL: User Vendor Account number. Used for outgoing messages. • OPTIONAL: Inside Address – no required. Used for outgoing message.
Vendor Section • Vendor Code – required. You can use the search button beside the field. • Envelope Address – required. The receiver code for incoming messages. The vendor will give this to you. • OPTIONAL: Inside Address.
Usage Section • Usage check boxes – required. Specify the use(s) of the profile by clicking one or more of the check boxes. • OPTIONAL: XM check box. Allows you to designate the Library Location of this profile as the default location.
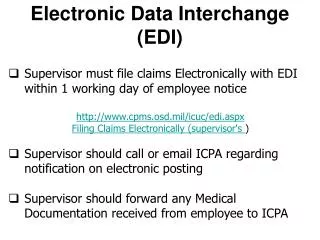
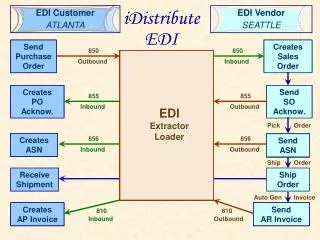
Example of EDI Process • Step 1: • EBSCO notifies via email that an invoice file is ready. Transfer the file from the EBSCO FTP site per their instructions. • Place the incoming file on the Voyager server at /m1/voyager/xxxdb/edi/incoming. • Step 2: • Receive the file into Voyager: Voyager Acquisitions > EDI > Process EDI messages > Receive a file. Select the File and OK.
Resources • Voyager 6.1 Acquisitions User’s Guide • Pages 4-4 through 4-54 • Chapter 15 • Tip – Periodically delete older files off server.