Download
1 / 35
350 likes | 605 Vues
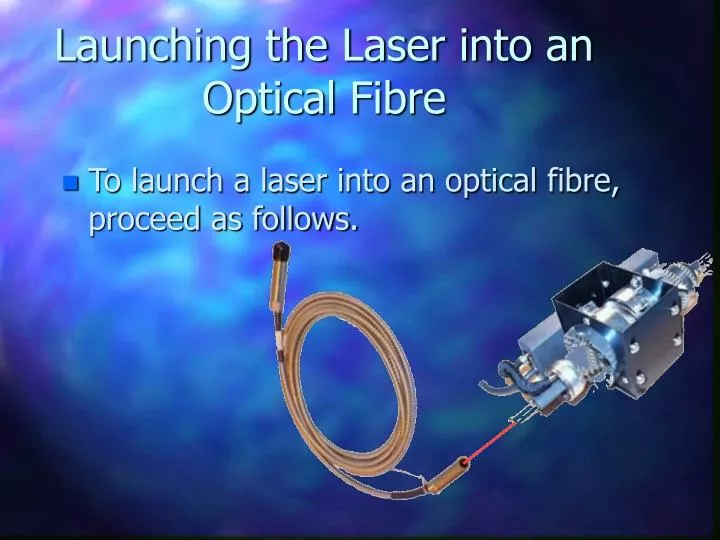
Launching the Laser into an Optical Fibre. To launch a laser into an optical fibre, proceed as follows. Remove the Shutter. Rotate the Filters. Set 100%, all lines. Switch the laser on and let it warm for about 20 minutes Select high power. Measure the Laser Power with the Fibre Removed.

E N D
Launching the Laser into an Optical Fibre • To launch a laser into an optical fibre, proceed as follows.
Rotate the Filters • Set 100%, all lines. • Switch the laser on and let it warm for about 20 minutes • Select high power.
The 4 Axis Manipulator • The manipulator has four adjustment screws and one spring tipped locking screw
The Locking Screw is Underneath when the Manipulator is Installed
First get the beam to pass centrally through the alignment tool
As the beam passes through the tool it may look like this • Note the glow to the right
It looks like this when the 4 axis manipulator is properly adjusted • Now the glow is symmetrical
Now insert the fibre • The fibre is polarisation preserving. • The mark on the Knurling must face up (12:00 o’clock).
Adjust each Screw in turn to Brighten the Spot • Adjust the screws one at a time. • Do not persist too long at this stage.
This is done by adjusting the four axis manipulator screws in pairs
Rotate one screw so the power falls slightly from Maximum • Remember which way the screw is rotated
If the power has increased overall, continue the process until improvement ceases
Repeat for the Other Pair of Screws • Alternate between each pair until there is no more improvement in power from the fibre. • More than 60% of the input power must be transmitted.
Rotate the Fibre slightly and Repeat the Walking • It is necessary to co-align the polarisation of the laser and the fibre. • This is achieved by slightly rotating the fibre and repeating the walking until the maximum possible power issues from the fibre. • Warning. This process is tedious.
Conclusion • Tighten the locking screw. • Replace the shutter and covers. • The procedure is complete.