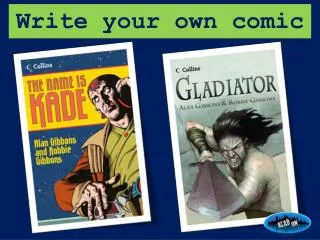
Create Comic Style Effect on Your Image with Easy Steps
110 likes | 228 Vues
Transform your images into stunning comic-style artwork with this simple tutorial. Begin by opening your image and duplicating it four times. Follow the steps to adjust various layers using filters like Surface Blur, Poster Edges, and Find Edges, ensuring each layer serves its purpose. Adjust settings for smoothing skin, enhancing edges, and altering layer properties with Color Burn and Overlay effects. In the end, explore the differences with a before-and-after comparison. Unleash your creativity and give your images a unique comic flair!

Create Comic Style Effect on Your Image with Easy Steps
E N D
Presentation Transcript
Get the Comic Style Effect on your Image
2. Duplicate your image 4 times. Choose the Background layer and hit Ctrl + Delete (or backspace) Here's what your layer palette should look like. Don't worry about the names. As long as you know which layer is which in this tutorial, you should be fine. Name them AS SHOWN
Then, go to Filter > Blur > Surface Blur. The settings I used are shown below. The goal is to smoothen the skin area. You can play around with the settings as long as you get something similar to the preview image below: Un-check each box/layer except Layer 1 copy Radius : 15 Threshold : 55
4. Next, select Layer 1 copy 2 on your layer palette. Go to Filter > Artistic > Poster Edges. Adjust the setting on the right until you got something similar to the preview image below. I also include the setting I used for this particular outcome on my image. Un-check each box/layer except Layer 1 copy 2 Number of Levels : 2 Edge Simplicity : 1 Edge Fidelity : 2
5. Then, select Layer 1 copy 3. Go to Filter > Stylize > Find Edges. You'll have something like this: Un-check each box/layer except Layer 1 copy 3
7. Still working with Layer 1 copy 3, go to Image > Adjustment > Desaturate. Then, go to Filter > Stylize > Diffuse. When the Diffuse window appear, select the Anisotropic option. Un-check each box/layer except Layer 1 copy
8. Now we're gonna change the layer properties. Use the settings below:- Set Layer 1 copy 2 to Color Burn with 25% opacity.- Set Layer 1 copy 3 to Overlay with 30% opacity.You can always change the opacity of these two layers depending on what looks good for your image.See examples below:
Now re-check all the layers and see what you have created! (:
& Before After