Download
1 / 20
210 likes | 502 Vues
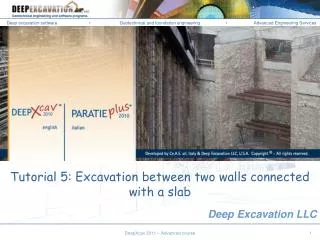
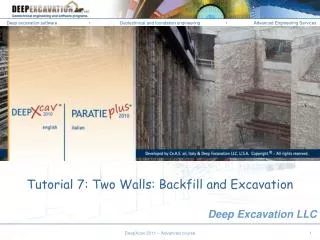
Tutorial 7: Two Walls: Backfill and Excavation. Deep Excavation LLC. DeepXcav 2011 – Advanced course. 1. INTRODUCTION .

E N D
Tutorial 7: Two Walls: Backfill and Excavation Deep Excavation LLC DeepXcav 2011 – Advanced course 1
INTRODUCTION DeepXcav is a software program for braced excavations in soils with 2D limit-equilibrium and non-linear analysis methods, and structural verification of all elements (with AISC, ASD, Eurocodes). It offers the ability to analyze walls with multiple braces (tiebacks) in multilayered soils. The non-linear analysis considers elastoplastic behavior for the whole soil-wall-support system. The program also offers the ability to perform traditional limit-equilibrium analyses. The graphical interface is completely interactive and the input is simplified to a great extend. The program utilizes archives of wall types, structural and soil materials, ground anchors etc. The analysis can be performed in either an utlimate state or at a service state (allowable design or LRFD). The program offers the ability to automatically set all critical settings according to the desired design methodology. The program also offers the ability to perform slope stability analyses with soil nails. Corso Paratie, Milano 30 settembre 2009 DeepXcav 2011 – Advanced course 2
Change the Surface Level to -3 m Go to the General Tab and press the Move Model Elevation button Change the Elevation to -3 m and select All Boreholes Press Ok DeepXcav 2011 – Advanced course
Add 2nd Wall At Stage 0, go to Model Tab and press the Add 2nd Wall button. DeepXcav 2011 – Advanced course
Edit Wall Section By double-clicking on the wall, you can change the wall properties DeepXcav 2011 – Advanced course
Edit Left Wall Data Press Edit Section Data Set the top Wall Elevation to 0 Change the Wall Depth to 7m Press Ok DeepXcav 2011 – Advanced course
Edit Left Wall Section Properties Select a Sheet pile AZ 19 Section Select a Sheet pile wall Press Ok DeepXcav 2011 – Advanced course
Edit Right Wall Data Press Edit Section Data Set the top Wall Elevation to 0 Change the Wall Depth to 15m Change the Wall x-coordinate to 20m DeepXcav 2011 – Advanced course
Edit Right Wall Section Properties Select a Sheet pile AZ 25 Section Select a Sheet pile wall Add a new Wall Section Press Ok DeepXcav 2011 – Advanced course
Apply the new Wall Section Select and apply the new Wall Section Press Ok DeepXcav 2011 – Advanced course
Add a new Stage and a tieback Press the Add Stage button Select the two Walls to add the tieback Press to Add a tieback DeepXcav 2011 – Advanced course
Edit Tieback Properties Select D32 and 1 bar Change the tieback’s z-coordinate to -2.5m Press Add New Tieback Section Press Edit Press Ok DeepXcav 2011 – Advanced course
Edit Tieback Properties Select Tieback Section Press Ok DeepXcav 2011 – Advanced course
Add a new Stage and Backfill Press the Add Stage button Change the Left and Center Elevation to 0 DeepXcav 2011 – Advanced course
Add a new Stage and Excavate 4m to the right side Press the Add Stage button Change the Right Elevation to -7 DeepXcav 2011 – Advanced course
Calculate Design Section Press Calculate Selected Design Section DeepXcav 2011 – Advanced course
Results – Wall Deflections , Stage 3 Press to show min, max values Press Dx to show Wall Deflection
Results – Wall Moment , Stage 3 Press to show Wall Moment Capacity Press to show Wall Moment
Results – Wall Shear, Stage 3 Press to show Wall Shear Capacity Press to show Wall Shear
Results – Support Reactions, Stage 3 Press to show Support Reaction