Download

1 / 7
70 likes | 202 Vues
How to Use Microsoft Word’s Reviewing Tools for Peer Editing. Step one. Open your classmate’s assignment in Microsoft Word. Go to Dropbox.com Go to class folder Download the story Click on it Click on Show in Folder Click on the story Once it is open in word, click on the yellow

E N D
How to Use Microsoft Word’s Reviewing Tools for Peer Editing
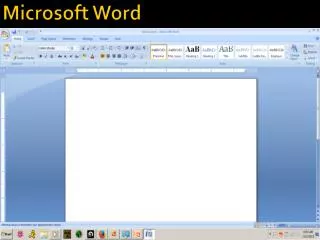
Step one • Open your classmate’s assignment in Microsoft Word. • Go to Dropbox.com • Go to class folder • Download the story • Click on it • Click on Show in Folder • Click on the story • Once it is open in word, click on the yellow “Enable Editing” button.
Step two • Turn on Word’s reviewing toolbar (review—reviewing pane)
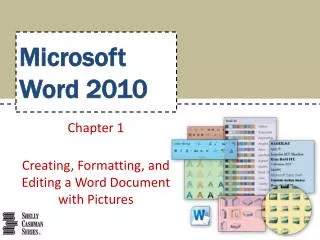
Step three • Use the comment icon to make suggestions or ask questions about your peer’s writing.
Step three—cont. • Use the highlight pen icon to point out spelling or usage errors .
Step three—cont. • Use the track changes icon to add content (just type in the text). • Use the track changes icon to delete content (highlight the text and hit delete).
Final step • Save the markup in the Dropbox folder. • Let him/her know you have finished.