
Uploaded by
keely
0 SLIDES
182 VUES
0LIKES
Applying for a U.S. Visa
DESCRIPTION
Applying for a U.S. Visa . U.S. Embassy, Ottawa. What is a U.S. Visa?. Allows the holder to apply for admission to the United States, in a given status, at a port of entry Customs and Border Patrol officer decides permitted length of stay at port of entry
Download

1 / 0
Télécharger la présentation 
Applying for a U.S. Visa
An Image/Link below is provided (as is) to download presentation
Download Policy: Content on the Website is provided to you AS IS for your information and personal use and may not be sold / licensed / shared on other websites without getting consent from its author.
Content is provided to you AS IS for your information and personal use only.
Download presentation by click this link.
While downloading, if for some reason you are not able to download a presentation, the publisher may have deleted the file from their server.
During download, if you can't get a presentation, the file might be deleted by the publisher.
E N D
Presentation Transcript
-
Applying for a U.S. Visa
U.S. Embassy, Ottawa November 2010 - What is a U.S. Visa? Allows the holder to apply for admission to the United States, in a given status, at a port of entry Customs and Border Patrol officer decides permitted length of stay at port of entry I-94 issued at port of entry includes length of stay
- Who needs a Visa? Canadian Permanent Residents Third Country Nationals Individuals possessing Canadian Work or Student Permits Nationals from Visa Waiver Countries do not need a visa if the purpose of their trip is tourism or business ≤ 90 days
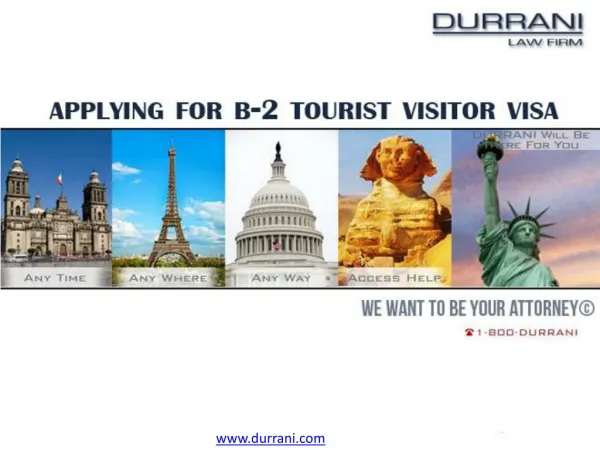
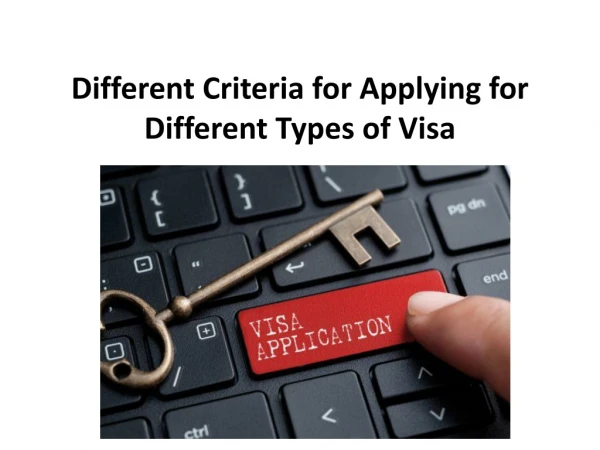
- Visa Categories Visitor (business / tourism)Visa (B-1/B-2) Student Visa (F-1) requires I-20 J-1 Exchange Visitor Visa (J-1) requires DS-2019 Temporary Work Permit (H1-B) requires I-129/I-797
- Application Requirements Online DS-160 application Online appointment USD$140 fee for B1/B2, F, and J visas USD$150 fee for H visas Recent color photograph with neutral background Passport (preferably with at least six months of validity) Digital fingerprints taken on-site Interview
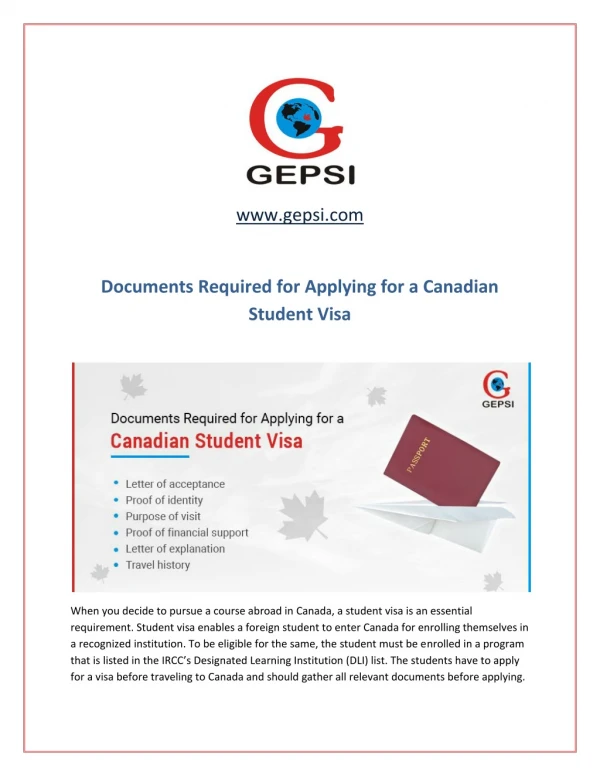
- Documents To Bring (Students) Current official transcripts showing grades from completed courses Certification of enrollment Scholarship or sponsorship letter Proof of other financial support Old passports showing prior travel
- Students in the Sciences Graduate students pursuing independent research in Science based fields should also bring: Curriculum Vita (CV) listing all papers and presentations Letter from academic advisor describing the nature of your research Conference invitation Abstract of paper or poster you are presenting
- Not everyone gets a Visa Refusals do happen Come prepared with documents Must be entering the U.S. for the purpose stated Must be returning to Canada Must have strong ties to Canada Refusal is not permanent, but time is typically required to establish stronger ties
- Validity and Issuance The length of the Visa varies Different visa types Different countries Generally the length of valid student status in Canada Reciprocity fees Administrative Processing
- Complete the DS-160 application Ceac.state.gov/genniv Application Process Reserve an appointment at Canada.usvisa-info.com Pay Application Fee Interview At Embassy Fingerprint Receive Visa After processing DHL Office
- Complete the DS-160 application Ceac.state.gov/genniv Application Process
- Completing the DS-160 Step 1 – Accessing the Application https://ceac.state.gov/genniv Read the instructions and press “Start Application” Step 1 – Accessing the Application https://ceac.state.gov/genniv
- Completing the DS-160 Step 2 – Choose the Embassy Choose the Embassy or Consulate where you will apply Step 2 – Choose the Embassy Choose the Embassy or Consulate where you will apply Step 2 – Choose the Embassy Choose the Embassy or Consulate where you will apply Press “Test Photo” to begin uploading your photo
- Completing the DS-160 Step 3 – Upload Photo Browse to your photo and press “Upload Selected Photo”
- Completing the DS-160 Step 3 – Upload Photo Browse to your photo and press “Upload Selected Photo” If your photo meets the quality standards, you can press “Continue Using This Photo”
- Completing the DS-160 Step 3 – Upload Photo Browse to your photo and press “Upload Selected Photo” If your photo meets the quality standards, you can press “Continue Using This Photo” If your photo does not pass, press “Continue Without A Photo” (BRING A PASSPORT PHOTO)
- Completing the DS-160 Step 4 – Complete Form Complete all questions carefully and accurately. Providing inaccurate information or leaving required items blank will only delay your application
- Completing the DS-160 Tips If a question doesn’t apply to you, you must check the “Does Not Apply” box
- Completing the DS-160 Tips If a question doesn’t apply to you, you must check the “Does Not Apply” box Answer fully and include as much detail as you can
- Completing the DS-160 Tips If a question doesn’t apply to you, you must check the “Does Not Apply” box Answer fully and include as much detail as you can Be especially careful with the yes/no questions near the end – misrepresenting the facts can result in a permanent ban
- Completing the DS-160 Step 5 – Reviewing Your Application You have an opportunity to review and edit all your answers before submitting your application Check carefully that everything is correct – it’s impossible to make changes later
- Completing the DS-160 Step 6– Submitting Your Application Once you submit your application, you can’t change it Pressing “Sign and Submit Application” constitutes your electronic signature, certifying that all the answers on the application are true
- Completing the DS-160 Step 7 – Printing Your Confirmation Page Print the confirmation page You only need to bring the printed confirmation sheet to the interview
- Completing the DS-160 Step 7 – Printing Your Confirmation Page Print the confirmation page You only need to bring the printed confirmation sheet to the interview You can print the entire application for your own records if you wish
- Completing the DS-160 Step 7 – Printing Your Confirmation Page Print the confirmation page You only need to bring the printed confirmation sheet to the interview You can print the entire application for your own records if you wish You can e-mail the confirmation to someone else (e.g., if you are completing the application for another person)
- Completing the DS-160 Step 7 – Printing Your Confirmation Letter (cont) This is what the confirmation page looks like if your photo was not uploaded You will need to bring a photo with you to the interview
- Complete the DS-160 application Ceac.state.gov/genniv Application Process Reserve and appointment at Canada.usvisa-info.com http://Canada.USvisa-info.com Must have already completed DS-160 Will need Passport Number, Date of Birth, and Nationality Be careful to select the proper DHL location for pick-up (Nepean is closest to Ottawa)
- Complete the DS-160 application Ceac.state.gov/genniv Application Process Reserve and appointment at Canada.usvisa-info.com Four Options Telephone. Ottawa - 613.800.0917 or toll-free from out of the area - 877.341.2441. Scotia Bank. Complete the online appointment and select Scotia Bank. Print out receipt and pay at any branch. Return to website to enter MRV Fee Receipt Number. Credit Card. Follow directions on the online appointment web site. PayPal. Click the PayPal link when completing online appointment, print confirmation, and enter MRV Fee Receipt Number. Pay Application Fee
- Complete the DS-160 application Ceac.state.gov/genniv Application Process Reserve and appointment at Canada.usvisa-info.com Pay Application Fee Interview At Embassy Fingerprint Receive Visa After processing DHL Office
- Questions? www.consular.canada.usembassy.gov/ottawa.asp


More Related