
SlideServe
Menu
Préférences
© SlideServe · v2026

Introduction to Visual Basic

kellsie avatar
27 diapositives · 506 Views · Jul 04, 2012

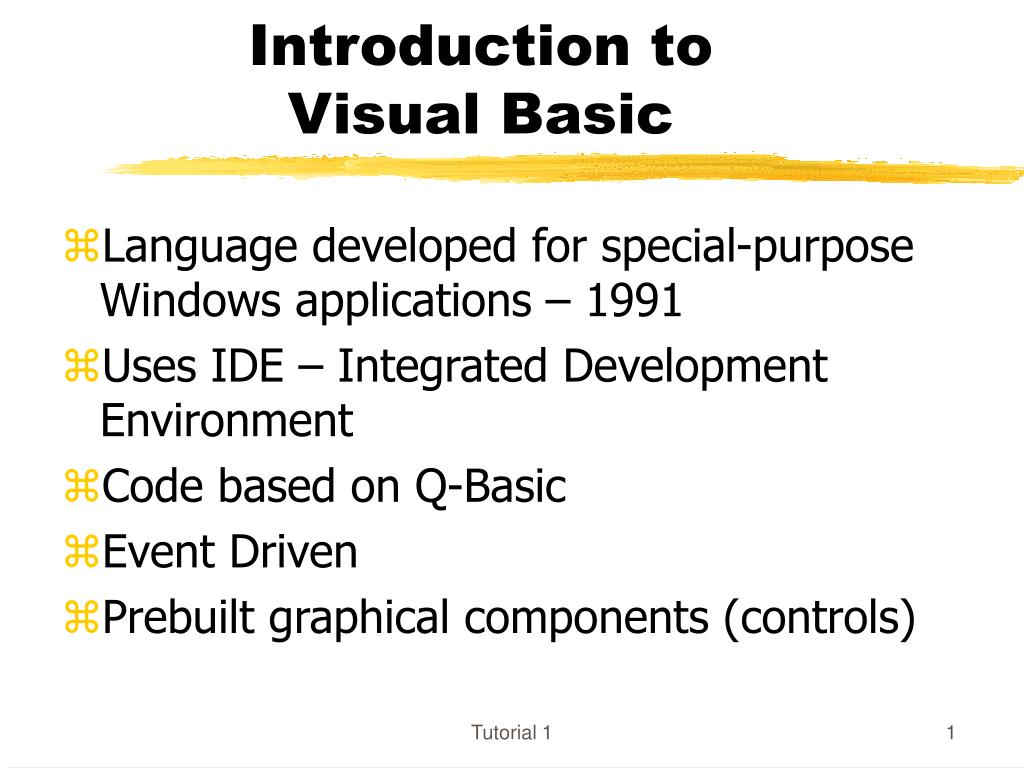
Introduction to Visual Basic. Language developed for special-purpose Windows applications – 1991 Uses IDE – Integrated Development Environment Code based on Q-Basic Event Driven Prebuilt graphical components (controls). Two Time Frames. Design Time – when application is being built
Introduction to Visual Basic - slide 1
01 / 27Introduction to Visual Basic
1 / 17

Télécharger la présentation

Introduction to Visual Basic
Une image / un lien ci-dessous est fourni (tel quel) pour télécharger la présentation

Politique de téléchargement : le contenu du site vous est fourni TEL QUEL pour votre information et votre usage personnel ; il ne peut être vendu, concédé sous licence ni partagé sur d’autres sites sans l’accord de son auteur.Le contenu vous est fourni TEL QUEL, pour votre information et votre usage personnel uniquement. Téléchargez la présentation en cliquant sur ce lien. Lors du téléchargement, si vous ne parvenez pas à télécharger une présentation, l’éditeur a peut-être supprimé le fichier de son serveur.Pendant le téléchargement, si vous ne parvenez pas à obtenir une présentation, le fichier a peut-être été supprimé par l’éditeur.

F I N

Plus de contenu associé

Transcription de la présentation
  1. Introduction to Visual Basic • Language developed for special-purpose Windows applications – 1991 • Uses IDE – Integrated Development Environment • Code based on Q-Basic • Event Driven • Prebuilt graphical components (controls) Tutorial 1

  2. Two Time Frames • Design Time – when application is being built • Run Time – when application is actually functioning Tutorial 1

  3. Steps in building a VB Application • Create the GUI • Set the properties for all controls • Write the code Tutorial 1

  4. 1. Creating the GUI • Form – container for different components of the interface • Becomes window on desktop at Run time • Shows grid for aligning controls at Design time – measured in TWIPS (1/1440 in) • Graphical elements placed on Form called Objects or Controls • Controls can be added (& properties changed) during Design & during Run times Tutorial 1

  5. Opening a Project • To open a new project, use the File menu’s New Project command. • To open an existing project, click the Open Project button on the Standard toolbar. You also can use the Open Project command on the File menu, or the Ctrl+O key combination. Tutorial 1

  6. Five windows included in the Visual Basic Startup Screen • Main • Form • Toolbox • Project Explorer (Project) • Properties Tutorial 1

  7. Visual Basic startup screen Toolbox Form Tutorial 1

  8. Default-size label control added to the form Tutorial 1

  9. Classes and Objects • Each tool in the toolbox represents a class, which is a pattern from which one or more objects, called controls, are created • Each control you create is an instance of the class from which it was created Tutorial 1

  10. Sizing, Moving, and Deleting Controls • You can size, move, and delete a control, as well as set its properties • Before you can delete a control, the control must be selected and the form must be the active window Tutorial 1

  11. Selecting More Than One Control • You can change a property for more than one control at a time • Click the first control you want to select, then Ctrl-Click the remaining controls • Use the mouse pointer selection method Tutorial 1

  12. 2. Setting the properties • Properties – attributes of a control (size, color, caption, etc.) • Properties Window • Default values • Form is actually a control itself with properties Tutorial 1

  13. Project and Properties Windows Tutorial 1

  14. Caption vs Name Property • Caption property • the text seen by the user • Name property • assigns a name to an object • used by the programmer to refer to an object in code Tutorial 1

  15. Name Property • Must begin with a letter • Can contain letters, numbers, and the underscore character only • Must not contain punctuation characters or spaces • Must not exceed 40 characters • Use the three-character IDs shown in Figure 1-10 (lbl, cmd, txt, frm,…etc.) Tutorial 1

  16. 3. Writing the Code • Event – action that can occur at run time • Code written in code window – can double click a control at Design time & write code or click on View Code button & select control • Event procedure – the code that tells computer what to do if an event happens Tutorial 1

  17. Open Code Window Tutorial 1

  18. Listing of Properties and Methods Tutorial 1

  19. Editor Tab in the Options Dialog Box Tutorial 1

  20. Saving a Project • Click the Save Project button on the Standard toolbar. Provide a name for the form and the project. • You also can use the Save <filename> As and Save Project As commands on the File menu. However, be sure to save the form before saving the project. Tutorial 1

  21. Starting and Ending a Project • To start a project: Click the Start button on the Standard toolbar. You also can press F5 or use the Start command on the Run menu. • To end a project: Click the End button on the Standard toolbar. You also can use the End command on the Run menu. Tutorial 1

  22. Printing an Application Tutorial 1

  23. Getting Help • Use the Help menu’s Contents, Index, or Search commands. • Click the object, window, property, and so on for which you want help, then press the F1 key. Tutorial 1

  24. MSDN Library Visual Studio 6.0 Tutorial 1

  25. Caption Property’s Help Screen Tutorial 1

  26. Making an Executable File • Visual Basic’s compiler translates the application’s code into machine code • The machine code is stored in a file with a .exe extension on its name Not in working model of VB! Tutorial 1

  27. Debugging Technique • Print the application’s properties (Form As Text) and code. • In the properties printout, look for a property that is not set correctly. • In the code printout, look for an instruction that is either in the wrong object’s Code window or in the wrong event procedure. Tutorial 1