Windows Movie Maker
Windows Movie Maker. Overview and Getting to know Movie Maker Connecting the camera to the computer Capturing the video Importing the Files Editing the Raw Material to Make a Movie Rendering the Final Result Miscellaneous. Overview.

Windows Movie Maker
E N D
Presentation Transcript
Windows Movie Maker • Overview and Getting to know Movie Maker • Connecting the camera to the computer • Capturing the video • Importing the Files • Editing the Raw Material to Make a Movie • Rendering the Final Result • Miscellaneous
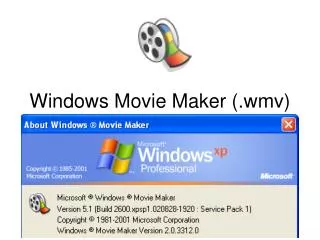
Overview • There are four basic steps to creating a movie in Windows Movie Maker 2 : • Get the original images, sounds, and film clips on the computer; • Import them into a Movie Maker "collection;" • Edit the clips by arranging them in order, trimming them, adding titles and narration and any special effects; and • Render the result, converting it into a movie that can be stored on the computer's hard drive, a CD, or the web.
Connecting the Camera to the Computer and Capturing Video • There are two main ways to perform this task: • i.Link (also known as FireWire or IEEE 1394), and • USB. You can also use a memory card , but it is not ideal.
Capture the video • The wizard should start automatically. • Start the videotape. • Go to the point in the tape where you want to start recording. • Begin the capture with the Start Recording icon. • End the capture with the Start Recording icon. • Stop the videotape.
Importing Files • Importing files
Editing the Raw Material to Make a Movie • Trimming Video clips • Adding text or titles • Adding video Effects • Adding transitions • Adding audio • Adding narration
Rendering the Final Result • Saving the project
Miscellaneous • Take a picture from a video