TRACK AND FIELD
200 likes | 469 Vues
TRACK AND FIELD. HISTORY. Track and field originated from the Greek athletics and the Ancient Olympic Games with the first recorded sprinter in 776 B.C. Today, track and field originated in the British Isles.

TRACK AND FIELD
E N D
Presentation Transcript
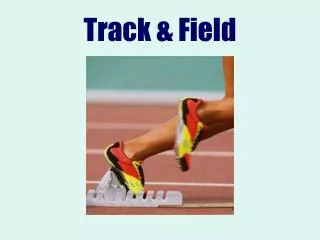
TRACK AND FIELD
HISTORY • Track and field originated from the Greek athletics and the Ancient Olympic Games with the first recorded sprinter in 776 B.C. • Today, track and field originated in the British Isles. • It is for people of all sizes and abilities whether of strength, agility, speed or endurance.
EVENTS INCLUDE: For high schools Sprints: 100m, 200m, 400m Distance runs: 800m, 1600, 3200m Hurdles: 110m highs and 400m lows for males 100m highs and 300m lows for females Relays: 400m, 800m, 1600, and 3200m Field Events: pole vault, high jump, shot put, discus, long jump, and triple jump
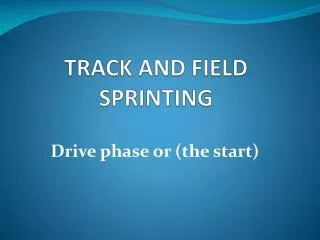
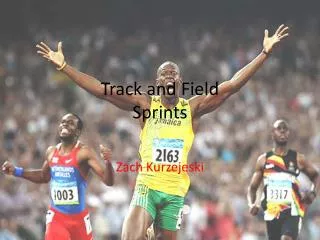
Sprinting Key Points to Sprinting • Keep your chin up • trunk, head and feet are facing straight forward • arms bent at a 90° angle close to body • fists are relaxed not tense • when sprinting, try to sprint on the balls of your feet or toes for quickness • keep relaxed and avoid any twisting motions
Sprinting cont. (optional) • The placement of the starting blocks is essential to a good start. The starting commands are "on your marks“, "set" and the firing of the gun. • In the “on your mark” position, the hands are parallel to the starting line, the arms are shoulder width apart, the dominant leg is forward in the blocks with the opposite knee resting on the track, and the head should be relaxed. • After assuming this position, the sprinter will then slide or roll forward until the shoulders are over or in front of the starting line with the pressure being on the knee and finger tips. • On "set" the sprinter raises the hips until slightly higher than the shoulders. In this position the knees are parallel or at a slight angle to the track. The sprinter feels good power in both legs in this position if the blocks are spaced properly. The head is relaxed with no tension on the neck.
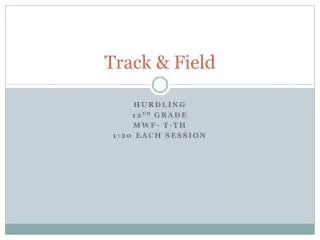
Hurdling • Hurdling is a run over action, NOT a jumping movement action. • All hurdlers must "run tall" on the toes and run fast. • The knee of the leading leg must be driven at the hurdle first with the foot held back, then the heel is driven through to clear the hurdle and brought rapidly down as the hurdle is cleared. • The thigh of the trail (back) leg must clear the hurdle parallel to the hurdle rail with the heel behind the hip and the foot parallel to the ground. • As soon as the thigh crosses the hurdle the knee moves round in front of the hip without dropping and the foot begins to reach for the next stride. • ARMS: • move in conjunction with the legs ie: Right arm is parallel to left leg. **It takes speed, flexibility, courage, patience, and concentration to be successful in hurdling.**
High Jump is broken down into three phases: • Approach • Plant/Take-off • Bar clearance • Approach • 90% of success is in the approach. High Jump • Jumpers should measure their approach and and know where their jumping mark is located. • Approach should look like a “J” • Straight part of “J” used to build up speed. • Curve is used to build up force for the jump.
Plant/Take-off • This term is used when the jumper arrives at the bar and about to jump. • For right-handed jumpers, the plant is done with the left foot and take off as if you are doing a lay-up in basketball. (Vise versa with left-handed jumpers.) • During the take-off, the head should lead the body up and over the bar. • Arms should be in a safe place, no where near the bar. Usually on the stomach or in the air. High Jump Cont.
Bar Clearance • The head should lead the body in an arc position. • Hips should thrust up ward towards the sky till hips and rear clear the bar. • The key to the clearance is timing. High Jump Cont.
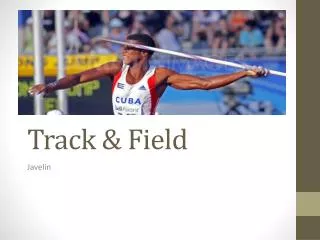
Shot Put • Shot put is an event that emphasizes on speed, strength, and explosive power. • There are two styles of putting: • spin • glide • Key factors are: • Don’t throw the shot but putt it. • Make sure throwing area is clear of people before putting. • When putting, don’t have the shot put on the palm of your hand. Have it on the base of your hand and finger tips. • Also, make sure the shot put is right under the side of your chin and neck, not the back of the neck.
Long Jump • Is broken down into four phases: • run-up • flight • plant/take-off • landing • Most athletics start from a “standing start”. • Then start a run with a forward lean to pick up speed. (Should be running on the balls of your feet as if you were sprinting.) • The jumper then prepares for the take-off by sinking the hips and raising hips for the take-off phase.
Long Jump Cont. • Heel of take-off foot should land first, on the board, to allow a rolling action onto the balls and toes of your foot. This will give maximum lift. • During landing, try to get heels away from the take-off board as possible. • Landing position is shown below. Make sure heels land first to prevent falling back.