Download
1 / 12
120 likes | 304 Vues
Inclined Plane. Vanderbilt Student Volunteers for Science Fall 2013 Training Presentation. Important!!!. Please use this resource to reinforce your understanding of the lesson! Make sure you have read and understand the entire lesson prior to picking up the kit!

E N D
Inclined Plane Vanderbilt Student Volunteers for Science Fall 2013 Training Presentation
Important!!! • Please use this resource to reinforce your understanding of the lesson! Make sure you have read and understand the entire lesson prior to picking up the kit! • We recommend that you work through the kit with your team prior to going into the classroom. • This presentation does not contain the entire lesson—only selected experiments that may be difficult to visualize and/or understand.
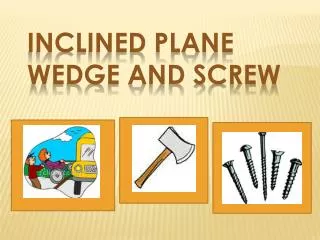
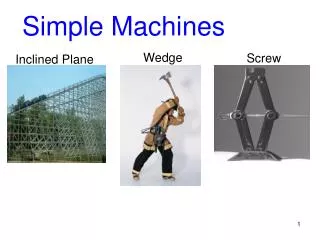
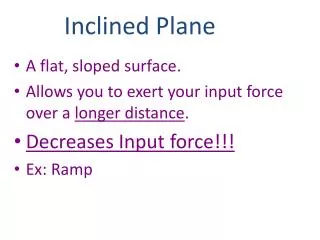
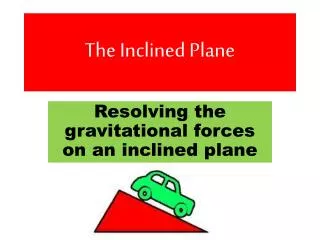
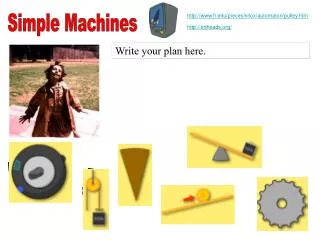
Introduction • What is a simple machine? • Object that allows us to do work more efficiently. • Work = force it takes to move an object a certain distance. • Main idea = compare amount of work it takes to move an object without a simple machine to amount of work it takes while using a simple machine • Examples • Lever, pulley, wheel and axle, inclined plane, wedge, screw • Big machines are made of smaller simple machines • This lesson focuses on inclined plane and screw.
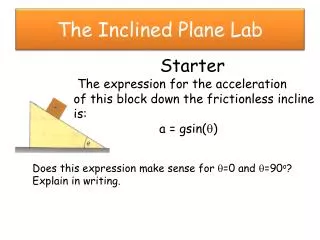
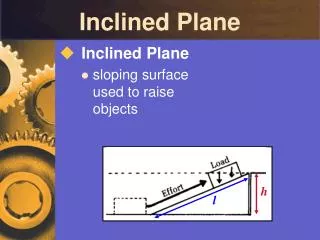
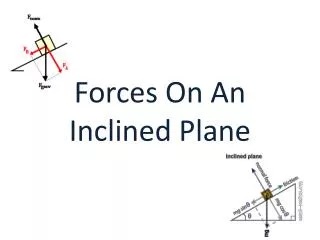
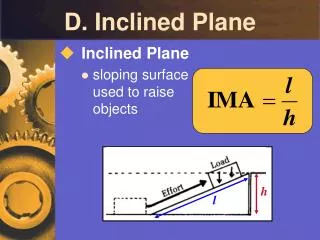
I. Inclined Plane • Inspect the spring scale. Note the side marked “grams” and the side marked “Newtons”. • Show students the white “bolt” at the top of the spring scale – this is used to “zero” the balance. • We are interested in the side measuring Newtons (N) as it is a direct measurement of force. • Draw a right triangle on the board and identify the parts: base, height and hypotenuse. hypotenuse height base
I. Inclined Plane (cont.) • Have the students measure the force it takes to lift the block vertically without using the ramp. This is done by simply hanging the block on the spring scale. • Have the students record the force reading on the observation sheet.
I. Inclined Plane (cont.) • Make a ramp using the block and the longest ramp. The block forms the height and the ramp forms the hypotenuse. • Measure the height of the ramp at the highest point and have the students note this number on their data sheet. • Measure the length of the ramp (hypotenuse). Have the students enter this value on their data sheet.
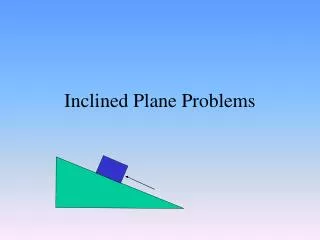
I. Inclined Plane (cont.) • Place the block so that it rests on the edge of the ramp. • Attach the spring balance to the block and practice moving the block slowly and smoothly up the plane. Tell students to try to keep the force (pulling the block up the ramp) consistent. • Tell the students to record the force readings on their observation sheet. • Repeat with the 2 shorter ramps and ask students which method took more force.
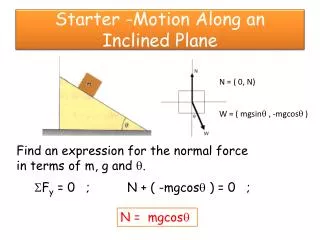
Mechanical Advantage • Enter the data and complete the calculations. • What is the disadvantage of using a ramp? The block has to be moved over a longer distance. • 1. Compare the values you get for “Work (to pull up vertically, no ramp)” and “Work (using ramp)”. Are they about the same? • 2. How is the force required to raise the 0.250 kg block affected by the height of the ramp? • 3. What are the MA of the ramps? • MA = (length of slope) (height of plane) hypotenuse height
II. Screws • Tell students that a screw is an inclined plane (look at triangular pieces of paper). • Students will test for the pitch of a screw. • Pitch: amount of space between the threads of a screw. • Typically, the smaller the pitch, the easier the work. • Pass the sample screws to the students and have them observe the differences in pitches.
II. Screws (cont.) • Have the students take the large PVC pipe and measure its diameter. Record the diameter on the observation sheet. • Tell the students to line up and tape the red edge of the triangle against the red end of the pipe. • Carefully wrap the triangle around the PVC pipe and hold the corner securely. Pitch
II. Screws (cont.) • Tell students to measure the pitch of the model of the screw. The highlighted hypotenuse on the paper triangle will form a spiral around the PVC pipe. • Have students measure the distance between two adjacent highlighted edges of the right triangle. • Tell students to record the measurements of the pitch. • Repeat the activity for the small PVC pipe. • Refer to manual for detailed discussion of the results.
Mechanical Advantage • The mechanical advantage of a screw is found approximately by dividing the circumference of the screw by the pitch of the screw. • For example, if the circumference of a screw is ¼ inch and the pitch is 1/5 inch, then the mechanical advantage is 1.25 • Mechanical advantage of a screw = circumference / pitch • Calculate the MA for the models of the screws and for the real screws.