
Student Management SmartGuide: A Pictorial Walkthrough for Effective Student and Course Management
E N D
Presentation Transcript
A pictorial walkthrough Student management SmartGuide Manage students Manage courses Manage AVETMISS
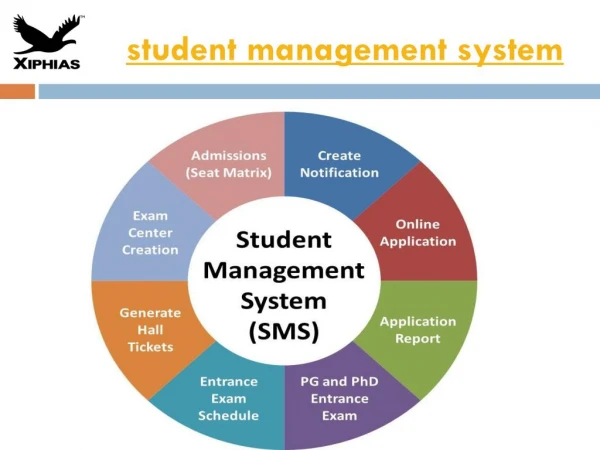
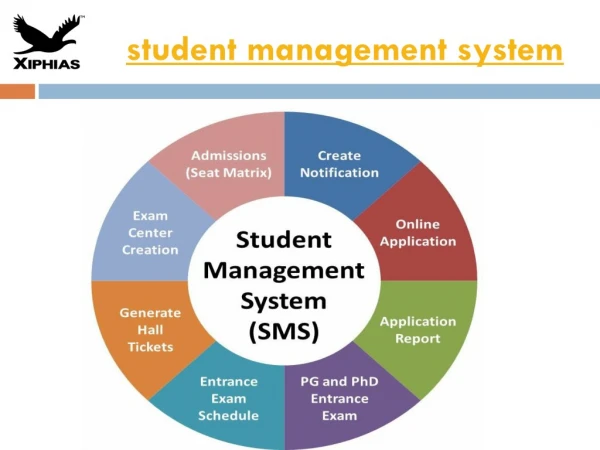
Contents Course Administration Section Student Administration Section • Course Main Menu • Training Organisation Details • List of Courses • Modules / Units • Learning & Assessment Material • Staff Qualifications • Reports & Printing • Contact WorkSmart Systems • Student Main Menu • Student Personal Details • Trainee Details - AVETMISS • Employer Details • Course Details • Enrolments – AVETMISS • Qualifications – AVETMISS • Student Attendance • Reports & Printing • Export AVETMISS File
After installing the Student Management SmartGuide you will see the desktop icon for the program. Double clicking the icon opens the Student Management SmartGuide.
This is the Main Menu screen for the Student Management SmartGuide. Lets look at the buttons at the bottom.
Opens a Help file detailing how the program works. If you have a problem or query clicking this will open a new email message for you to send to us. Closes the program down, make sure your work is saved first!
When using the program for the first time it is recommended that you complete the Course Administration section first. That way all unit details in this section will be available for use in student enrolments in Student Administration. We will select the Course Administration button.
This is the starting form for Course Administration. You navigate by clicking the tabs to move to different data forms. The tabs with top edge in orange are the active tabs.
Note that each top row tab contain several lower sub tabs. Clicking each sub tab will show a different form to complete. If the information on the tab sheet is specific to AVETMISS requirements this is labeled on the tab.
Notice the drop down arrows. These contain a selection of choices for you to select from. These are set descriptions by AVETMISS and must be used.
Clicking the next top tab takes you to the List of Courses data forms. There are four sub tabs. These tabs all relate to summary level course information. Note the drop down arrows. All information has been entered for you, just select the applicable option.
Clicking the next top tab takes you to the Modules / Units data forms. Note that each top tab goes down to a greater level of detail. There are four sub tabs. These tabs all relate to summary level module / unit information. Each form contains example information. Any blue underlined text is a hyperlink to external website information.
Clicking the next top tab takes you to the Learning & Assessment Material data forms. There are five sub tabs. These tabs all relate to specific learning & assessment materials for each unit in the selected course.
Clicking the folder icon allows you to link your documents to the program for each unit / module. Clicking the page icon opens the linked document. Have lots of documents to link? No problem. Make a list of documents you want to link to in a Word document and hyperlink to those documents in Word (under menu Insert: Hyperlink). Now click the folder icon and link to the word document with the hyperlinked list. Now you can link all your learning & assessment documents for each unit / module in one place!
Clicking the next top tab takes you to the Staff Qualifications data forms. There are four sub tabs. These tabs all relate to a specific trainer for each unit / module in the selected course.
Note that you can enter any number of trainers and / or assessors for each unit. Selecting each trainer will bring up their specific information in these tab forms.
The final tab gives you print options. Enter your organisation’s name here. Select your options and click the applicable button to go to a print preview window.
You also have many print or export options available to use. Click the drop down arrow for export printing options.
With the Course Administration section completed we can now start on the Student Administration section. We will select the Student Administration button.
This is the starting form for Student Administration. The first tab screen is where you enter the student’s personal details. This form is explained in detail in the following pages.
For each new student enter their First and Last name and allocate them a unique Student ID number here to create their student record in the system. There are three main tabs, the one shown Student Details tab, contains all the tab forms for each student (8 in total).
This is the student navigator. By default students are sorted alphabetically by Last Name. If you want to sort by Student ID click the Up arrow in the title of that column. To find a specific student quickly start typing their last name and the browse list will change to show names to match what you are typing. Note that each column can be re-sized and the navigator made wider by dragging with the mouse to suit your monitor size.
Do you deliver training to international students? If so check the overseas / international student box and these four entry boxes appear to complete the details for the relevant student. Note that if you do not deliver training to international students leave the box unchecked and the four entry boxes will remain hidden.
This is the Trainee Details – AVETMISS tab form on the student’s personal tab. Note that the student navigator and name details bar (in red boxes) do not change but remain constant for each tab form.
This is the Trainee Details – AVETMISS tab form on the student’s personal tab. Note that the student navigator and name details bar (in red boxes) do not change but remain constant for each tab form. Note the drop down arrows. All AVETMISS information has been entered for you, just select the applicable options.
This is the Employer Details tab form. Note that there are 2 sub tabs on this form Company Contact and Company Site Visit Details. Record details of any site visits done. If student is an apprentice or has a documented Training Agreement you can link that here.
This is the Payment Details tab form. Use this form as a way of tracking student payments overtime. Allows entry of a different invoice address (if applicable), and multiple invoices as they are issued.
This is the Course Details tab form. This form shows all the courses and units that were entered in the Course Administration section of the program. Select the course to display the units.
Course Details tab form explained. After highlighting the course row in the course table clicking this button will add all the units to the students enrolment form below. By selecting a course row in the course table above all units will be displayed here. Select specific units for a student and click the Select Unit button to add only specific units to a students enrolment form. These show the units selected for the students enrolment. Any unit can be deleted by clicking the red cross.
This is the Enrolments – AVETMISS tab form. This form shows all required AVETMISS data for each unit the student is enrolled in. Information auto filled from previous entry. Most of the details for these boxes will be supplied by your training authority.
This is the Qualifications – AVETMISS tab form. This form collects all required AVETMISS data for completed qualifications for each student. With the details previously entered you can generate and print a plain Statement of Attainment or qualification Certificate for each student. This means you can print onto your paper stock and use your own logo and layout.
The last sub tab of the Student Details top tab is the Student Attendance tab form. Use this to track student attendance and absences for each unit. When a student is absent enter the unit against their name and keep track of absences. If attendance level matches or exceeds stated allowed absences document actions to be taken. This is a CRICOS requirement for international students.
This is the Reports and Printing tab form. Use this to select the information you want for your reports. This screen represents to different print options. Option 1: Select a course and print out a summary list of all students enrolled. Option 2: For the selected course choose the desired report options and whether you want to print for one student or for all. Clicking the View Report button takes you to a print preview screen.
This is the Print Preview Window. Again you can select your print options as described before. Click the drop down arrow for export printing options.
The final top tab is the Export AVETMISS Files tab form. Here the information is auto filled for you, just select the required start and end date of the desired collection period. Click the Save AVETMISS Files button and a browse box will appear for you to choose a save location. The required AVETMISS files will be saved in the required format ready for you to submit to your training authority when requested.
This concludes the pictorial guide to the Student Management SmartGuide specifically designed for training organisations to manage all their course materials, manage student enrolments, attendance and progress plus meet AVETMISS requirements. If you have any queries or wish to talk to someone about the Student Management SmartGuide call: John on 0413 055 446 Steve on 0429 001 796 Or visit our website at www.worksmartsystems.com.au.