Step-by-Step: Insert and Remove a Manual Page Break
70 likes | 276 Vues
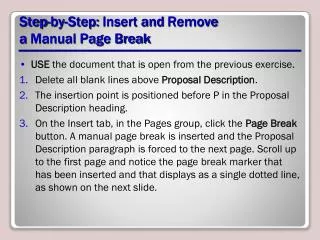
Step-by-Step: Insert and Remove a Manual Page Break. USE the document that is open from the previous exercise. Delete all blank lines above Proposal Description . The insertion point is positioned before P in the Proposal Description heading.

Step-by-Step: Insert and Remove a Manual Page Break
E N D
Presentation Transcript
Step-by-Step: Insert and Remove a Manual Page Break • USE the document that is open from the previous exercise. • Delete all blank lines above Proposal Description. • The insertion point is positioned before P in the Proposal Description heading. • On the Insert tab, in the Pages group, click the Page Break button. A manual page break is inserted and the Proposal Description paragraph is forced to the next page. Scroll up to the first page and notice the page break marker that has been inserted and that displays as a single dotted line, as shown on the next slide.
Step-by-Step: Insert and Remove a Manual Page Break • Scroll down and position the insertion point before the O in the Option 1 heading to insert a manual break using the Page Layout tab to force text to the next page. • On the Page Layout tab, in the Page Setup group, click the drop-down arrow to display the Breaks menu. The Breaks menu appears, as shown on the next slide.
Step-by-Step: Insert and Remove a Manual Page Break • Select Page from the menu and a manual page break is inserted. • Position the insertion point before the O in the Option 2 heading and repeat step 5. • Position the insertion point before the O in the Option 3 heading and press Ctrl+Enter to enter a manual page break using the keyboard shortcut. • SAVEthe document as draft3_proposal in the lesson folder on your USB flash drive.
Step-by-Step: Insert and Remove a Manual Page Break • Scroll to the second page and notice the manual page break marker, shown below.
Step-by-Step: Insert and Remove a Manual Page Break • On page 2, select the Page Break marker and press the Backspace key. The page break is deleted, and text from the previous page is moved to page 2. • Scroll up to page one, select the Page Break marker below the last paragraph in the Description, and press the Backspace key. The Proposal Description heading is moved to page one. • Select the remaining Page Break markers and press Delete. • Keep the document open without saving the changes made in the last three steps. • LEAVEthe document open to use in the next exercise.