Jerky
Jerky. Jerky is meat cut into thin strips and dried to preserve it for future use. One of the most ancient methods of food preservation known. The meat can be flavored or treated during the drying process to improve flavor or nutritional content.

Jerky
E N D
Presentation Transcript
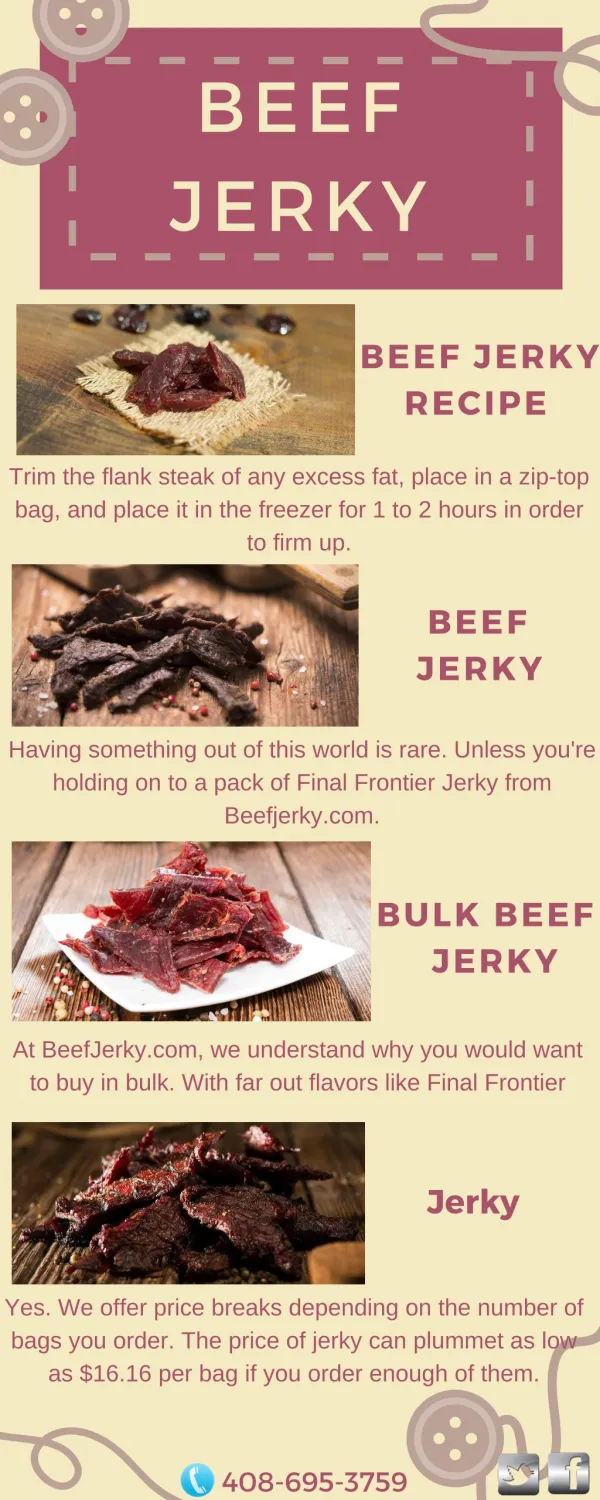
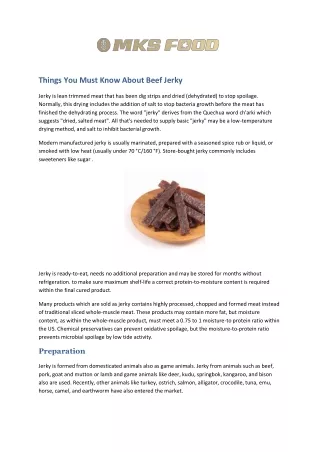
Jerky Jerky is meat cut into thin strips and dried to preserve it for future use. One of the most ancient methods of food preservation known. The meat can be flavored or treated during the drying process to improve flavor or nutritional content. The American Indians made pemmican out of dried venison or buffalo meat, mixed with dried berries and buffalo fat. This was packed and sealed into leather bags where it would keep for months without spoiling. The most popular use for jerky today is as a high protein snack, and as a source of meat on outings where fresh meat is not available, or where weight is a factor. Jerky may also be rehydrated and used for cooking.
Meat Selection • may be made from beef, venison, moose, elk, antelope and other game animals. • The fat in meat goes rancid and will cause jerky to spoil a lot faster than meat with no fat. When using beef, we recommend using only the leaner cuts. • Wild game animals are typically very lean, so this is less of a problem. • Trim off all of the fat and membrane that you can as you cut up the meat. below is a list of beef cuts ( most preferred at the top of the list) • Loin (Boneless T-bone) • Sirloin • Rib eye (Lean as possible) • Inside or Top Round • Eye of the round • Bottom Round • Flank Steak (This is usually too tough) • Brisket (This is usually too tough and fatty) Remember that about 4 pounds of lean, boneless meat, sliced into 1/4 inch slices produces about 1 pound of the final product.
Jerky Recipes • 3 lbs lean meat, thinly sliced • 1 cup soy sauce • ½ cup Lea and Perrins worcestershire sauce • ½ cup dry white wine or sherry • ½ cup sugar • 2 tbs. coarse ground black pepper. For the marinade, mix the above ingredients in a pan and heat until sugar melts, then allow to cool before using. Marinade the meat for 3 hours. To give the meat a Teriyaki flavor we use store bought Kikoman Teriyaki Marinade, instead of the above marinade
Slicing • Cleanliness and sanitation are of utmost importance. Be sure all work surfaces, equipment and hands are thoroughly clean. • Cut the meat into thin strips across the grain of the meat. The thinner the strips are, the quicker it will dry. • 1/4" thick and 6" long is about right. You will be able to cut the meat into slices easier if it is partially frozen. Freeze, or thaw, the meat until the meat is just barely pliable and still cutable.
Marinating This step is optional • but if you chose to marinate your meat before drying, the result will be added flavor and character to your jerky. • Marinades are flavored liquid concoctions in which the meat is soaked before drying. • A wide range of flavors may be conjured up, limited only by your imagination and good taste. • Some ingredients in marinades, such as • salt • and sodium nitrate, 'cure' the meat and help to preserve it, as with hams. Other ingredients, such as vinegar and soy sauce, will tenderize the meat. Marinades can also cut down on the gaminess in the taste of certain meats.
Marinating cont. Use glass or ceramic containers when working with marinades, as many will react with metal. Blend the ingredients in a bowl. Allow roughly 1/2 cup of marinade for each pound of meat. Dip each piece of meat into marinade, coating well. Place in shallow glass dish. Pour remaining marinade over top, cover and refrigerate for 8-12 hours. When the meat is ready, remove it from the marinade and pat dry with paper towels. Proceed with drying as normal, but be aware that marinated meat will drip more when drying.
Seasoning • Lay the slices out in rows and in a single layer. • Do not allow the pieces to touch. • Sprinkle with coarse ground black pepper and salt and any other spices that you like the taste of, such as garlic powder, chili powder, crushed red peppers etc.
Drying • The next step is to dry your meat. There are several methods you may use. • Method 1: Lay out the strips on a cookie sheet lined with foil, turned up at the edges so juice won't get over everything. Lay out meat in rows and a single layer. This is easiest, but the pieces in the middle will dry slower than the edge pieces. You also need to turn the pieces over at the end and dry a while longer to ensure the bottoms get dry. • Method 2: Lay the meat slices on a grill or grate that allows air to reach both sides and to flow around each piece. The meat will drip, especially if marinated, so you need to place a tray or aluminum foil under the meat to catch the drips. Space it as far underneath the meat as possible to avoid restricting the air flow. • Method 3: The best solution and the one we use, is to use a dehydrator with a built-in electric heater and fan. This allows fast, even drying with little risk of food spoilage. Look for a unit with a fan and a thermostat for best results. You can also use your oven set to WARM (120 - 170 deg. F.) instead of a dehydrator, which will also ensure slow and complete drying.
Drying cont. • Whatever method of drying you chose, remember that the meat will drip as it dries. • Do not place your racks so that one layer can drip on another layer. If using your oven you may want to place a try or aluminum foil under the bottom layer of meat to catch the drips. • The time it takes to dry the meat will depend on the thickness of the meat to begin with, as well as the temperature at which the meat is dried. It is normal for the meat to darken as it dries. To test for proper dryness, bend the pieces. They should bend just slightly before they break. As a general rule meat dried in an oven will take between 6 and 24 hours, and meat dried in a dehydrator will take between 4 and 12 hours.
Storage • always make sure that it has completely cooled. If you do not do this it will sweat, when you put it into a airtight container, and mould will set in. • If you have not dried your jerky sufficiently and there is too much moisture left in the meat, mold will set in.
Storage cont. • 1 Week Store at room temperature in a cool, dry area in a sealed plastic container or Ziploc bag. • You can also use a paper bag but this will cause the jerky to dry out more. • Several Weeks Store in a sealed plastic container or Ziploc bag, and refrigerate 32 -38 degrees F. • 1 Year Store in a sealed plastic container or Ziploc bag, and preferably vacuum seal, then freeze.
A Word About Smokersis one of two ways to process jerky (The other being dehydration) • Smoking provides a more natural flavored jerky. • It also tends to be more tender. • Meat is slowly cooked and dried at around 150 degrees for approximately 10 hours in a lightly vented enclosure that is filled with smoke and a heat source. • The heat to cook the meat is provided by the use of either an electric heating element or charcoal. • Because of the difficulties associated with keeping charcoal at a consistent burning rate for the 10 hours required, • it makes practical sense to use electricity as your fuel source. • The smoke then is created through a small metal pan placed directly on the heating element filed with the hard wood chips or chunks of your choice (hickory or mesquite are typical). The result is a slow smoldering smoke and more consistent heat that provides for a superior smoked jerky.
Water Smokers • The Brinkman is an all around smoker. This unit is known as a water smoker where the wood chips or chunks are put directly on lava rock adjacent to the electric heating element. • There is a steel pan that sets on top of the electric element that is filled with water. • The element boils the water into steam which mixes with the smoke from the smoldering wood and passes over the meat. • Some of the moisture escapes through a designed 1/2" gap between the top and the smoker, but drippings from the meat fall back into the water pan which then pass over and through the meat again as they are steamed. • The result is a wet basting smoke that tenderizes while it smokes leaving meat moist, tender and full of flavor.
Electric Smoker • The Totem smokers by Pop Geer are also electric smokers but do not use water. • Instead the unit is a somewhat tight aluminum box which traps the smoke, heat and moisture from the meat in. • The smoke and moisture weep out the riveted seams of the unit (which makes things a little messy).
Jerky Making tips • Use fresh lean meat that is as free of fat and connective tissue as possible. • Slice the meat across the grain. • Experiment with the spices and marinades that you use, but always write down what you do, so that you will remember the great ones next time. • Cure / Marinade the meat the correct length of time at refrigerator temperatures. • Salted meat should be placed in plastic, wooden, stainless steel or stone containers. • Keep the drying or smoking temperature at 120 F. or below (use a thermometer). • If an oven is used, bottom with aluminum foil or a tray, to catch the drippings. Open the door to the first or second stop to allow moisture to escape and to lower the oven temperature when necessary.
Jerky making tips cont. • If a dehydrator with stackable trays is used, you must rotate the trays from time to time or the bottom pieces will dry much faster than the top. • Use any hardwood for smoking. Do not use pine, fir or conifers. • Remove the jerky from the smokehouse or oven before it gets too dry / hard for your taste. • Four pounds of fresh meat should weigh approximately 1 pound after drying or smoking. • Although jerky will last almost indefinitely at any temperature, its quality deteriorates after a few months.
Some useful sites http://www.3men.com/jerky_recipes.htm www.jerky.com/beef-jerky-recipes.html www.allrecipes.com//recipe/docs-best-beef-jerky/detail.aspx
Ok, now…lets make some jerky! • You can work in groups of 2 • You can make up to 4 lbs of meat into jerky • 1 lb raw meat/approx 4oz of jerky to turn in and the rest to keep for yourself! You must slice the meat yourself either on a slicer or by hand You must sample your own jerky in front of class You can make it at home or in the Meat Lab for the 1st round You must duplicate the jerky recipe once you are in the top 5 The final recipe must be made in front of class and duplicate the original jerky sample saved back. This means you cannot buy the jerky (you must know your recipe and it must pass the test taste when you make in in class.)