Download
1 / 24
240 likes | 495 Vues
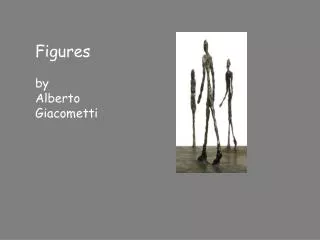
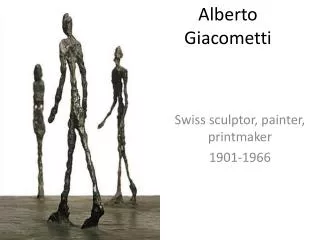
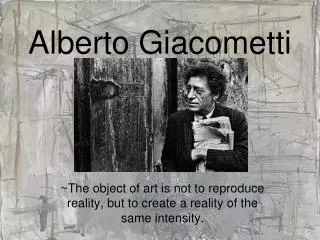
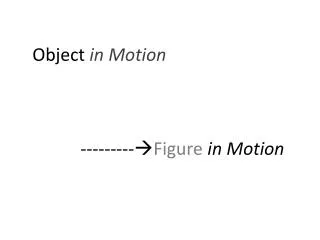
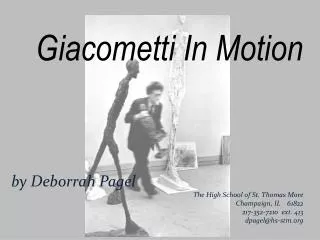
Giacometti In Motion. by Deborrah Pagel The High School of St. Thomas More Champaign, IL 61822 217-352-7210 ext. 413 dpagel@hs-stm.org. Project steps : Planning. 1. Gesture Drawings to study proportion and movement. 2. Thumbnails using gesture style. Exaggerate movement.

E N D
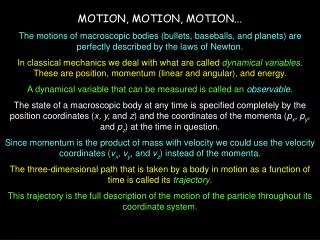
Giacometti In Motion by DeborrahPagel The High School of St. Thomas More Champaign, IL 61822 217-352-7210 ext. 413 dpagel@hs-stm.org
Project steps:Planning • 1. Gesture Drawings to study proportion and movement. • 2. Thumbnails using gesture style. Exaggerate movement. • 3. Select the most interesting design and draw from 4 viewpoints. A student could model a pose and rotate so others can see different viewpoints
Sculpture Construction • Armature • Cut an arms span worth of wire. • Tape the ends for safety. • Bend in half to form a loop in the middle, twist. • Arm wire should be approximately twice the length of the neck and head, bend back toward torso and twist. • Bend wire downward in a V to form the chest and waist. • Form hips, then bend wire back downward. • Double the wire back and twist to form legs. • Pose figure and nail to base.
Two fencing nails should securely hold the wire to the block.
Plastering • Fabric • Tear strips of cotton 1” wide, 6-12” long. • Tear 10 to 15 strips per student. • Plaster • Distribute safety gear • Cover work surfaces • Mix plaster according to directions. • Dip strips into plaster, wiping off some of the excess, but don’t wipe off all (like paper mache). • Wrap the wire starting at the bottom and work up. Plaster may need to set up before continuing. • If new plaster fabric is needed after the sculpture is dried, spray water onto the area.
Both the sculpture and artist have to go through contortions!
Painting • Can be painted with acrylic, tempra or watercolor. • A protective coating should be applied to bare plaster or paints with minimal binders. • Paint colors should enhance the concept of the design.