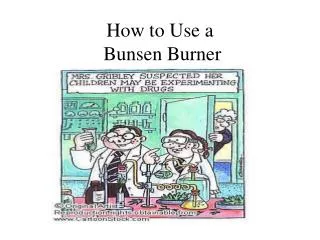
Bunsen Burner
Bunsen Burner. Mr. Skirbst Physical Science Topic 10. Bunsen Burner. Device developed by Robert Bunsen used to produce a hot, efficient flame. Review diagrams of Bunsen Burner. Steps to light burner. FIRST , prepare your area! Clear Table Check Clothing Put Hair back Clear Floor.


Bunsen Burner
E N D
Presentation Transcript
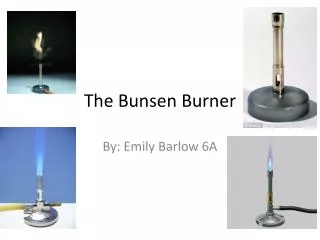
Bunsen Burner Mr. Skirbst Physical Science Topic 10
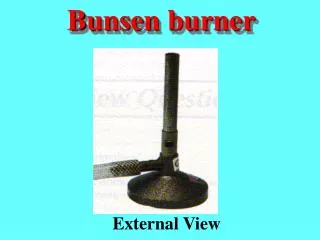
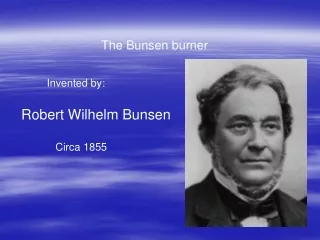
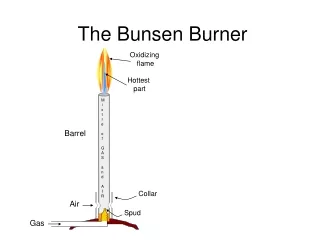
Bunsen Burner Device developed by Robert Bunsen used to produce a hot, efficient flame
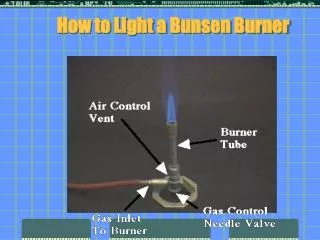
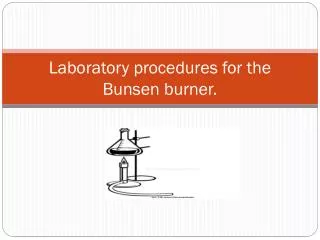
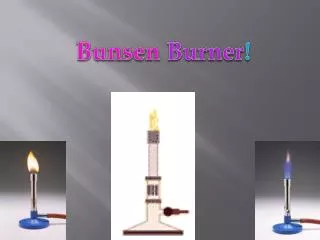
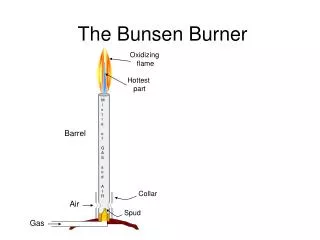
Review diagrams of Bunsen Burner
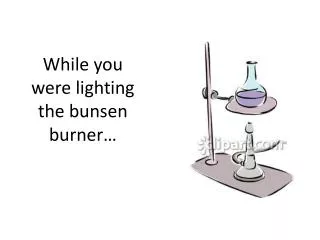
Steps to light burner FIRST, prepare your area! • Clear Table • Check Clothing • Put Hair back • Clear Floor
Steps to light burner STEP 1: Familiarize yourself with the parts of the Bunsen burner before going on to the next step.
Steps to light burner STEP 2: Get Ready: Select a “Safety Person” to operate the jet and a “Burner Person” to operate the burner.
Steps to light burner STEP 3: Check System: Check the tightness of the gas tube connections. Is the valve closed? Is the jet closed? Is the collar closed?
Steps to light burner STEP 4: System On: Turn the gas jet on and light a match, then quickly go to the next step.
Steps to light burner STEP 5: Light Burner: Open the valve on the burner and hold the match over the barrel. (NOTE: If the flame does not light within two seconds, IMMEDIATELY close the gas valve and jet and return to step 3 above.)
Steps to light burner STEP 6: Adjust Flame: In order to obtain a “good flame,” adjust the collar in order to regulate the amount of air mixing with the fuel.
Steps to light burner STEP 7: Follow the teacher’s instructions at this point.
Steps to light burner STEP 8: Shut Down: Close the collar first! Then close the gas jet. Finally, close the gas valve on the bottom of the burner. Allow your unit to cool before disassembling it.