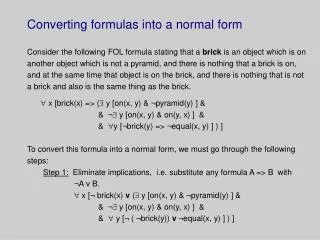
Converting Scanned Maps into GIS Data for Habitat Protection Planning
70 likes | 203 Vues
This guide outlines the process of converting a scanned map into GIS data, aimed at environmental science students and land planners. By setting up your scanned map in ArcGIS, you can create and enhance new GIS features essential for habitat protection, especially in remote areas lacking prepared GIS data. The steps include opening the scanned image in ArcMap, zooming in to identify coordinate points, and using the Georeferencing toolbar to add control points. Ultimately, this skill aids land trusts in prioritizing conservation areas.

Converting Scanned Maps into GIS Data for Habitat Protection Planning
E N D
Presentation Transcript
Converting a scanned map into GIS data John McVay
My Field of Study: Environmental Science with a concentration in Community Land Planning. • Career Aspiration: work for a land trust
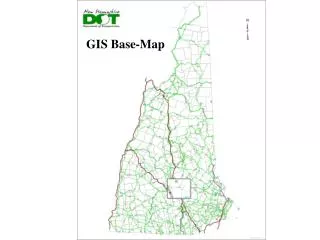
How can this skill be applied? • Project that this information comes from prioritized areas for habitat protection – what some land trusts do. • Sometimes work in remote areas with no previously prepared GIS. Physical map may be all you start with. • As a planner, you can create new features in GIS by sketching features on the scanned map
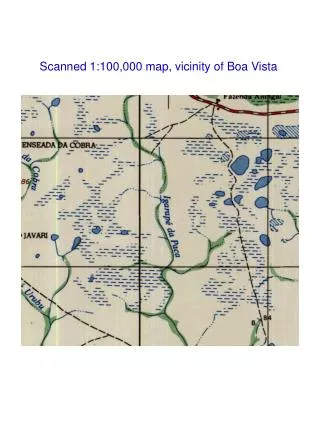
But First… You Have to Get Scanned Map Set Up in ArcGIS How to do this: • Open scanned image in ArcMap, click yes to build pyramids.
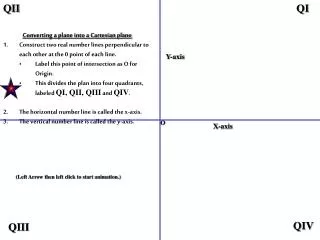
Set coordinate system • Determine x,y coordinates for control points - Zoom in enough so that you can read the coordinates - Coordinates along the top and y-coordinates down the left side
Adding Coordinates: • Zoom in • Display the Georeferencing toolbar. • Click the View Link Table button • Click the Add Control Points button • Position the crosshair so that it lines up precisely with the intersection of the blue tic mark and the black line of the map border.
Right-click and choose “input X and Y.” • Enter x and y coordinates • Once all four coordinates added, to permanently apply the transformation to the data, you must use the “Rectify” command from the Georeferencing menu